
LET IT SNOW!
Here is a look at our personal Christmas cards for this year! They feature our little dude and our little dog making some snow angels.
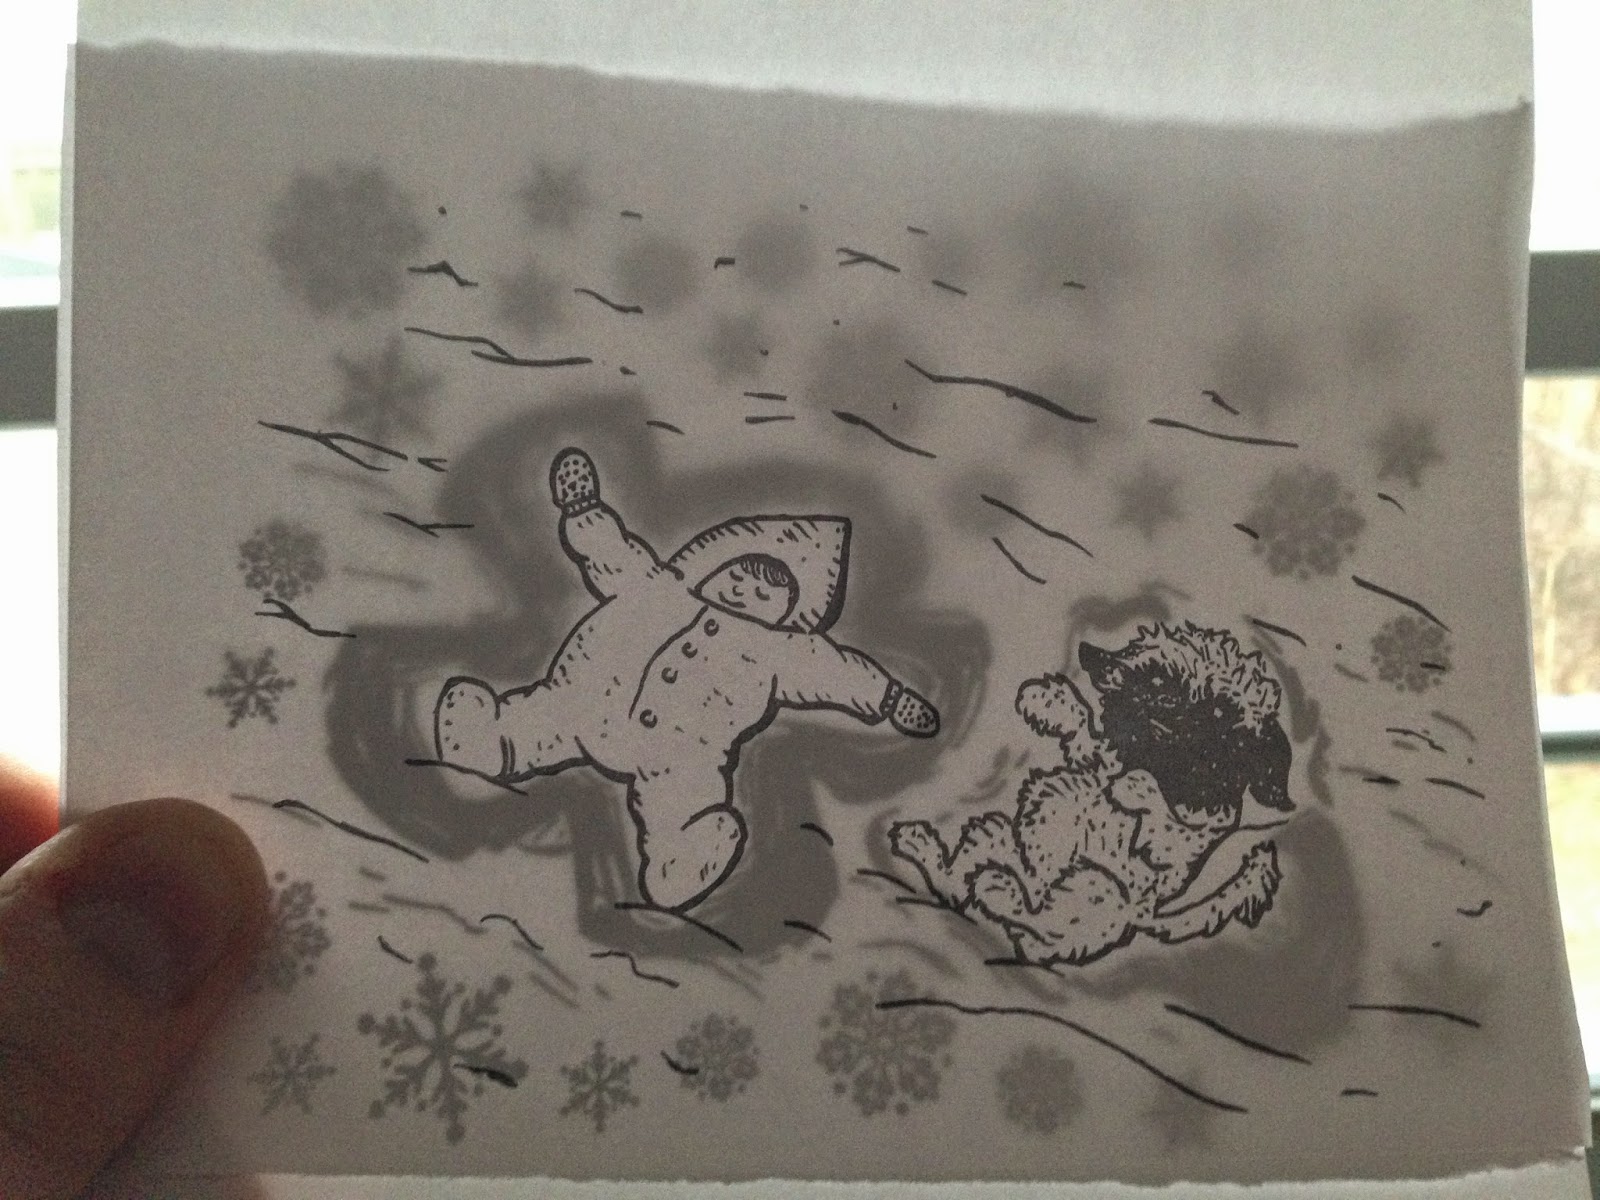
The drawing was separated into 2 images, one that will be printed blue and the other which will be blind debossed with no ink. This is a peek at the registration before the plate is ordered and made.
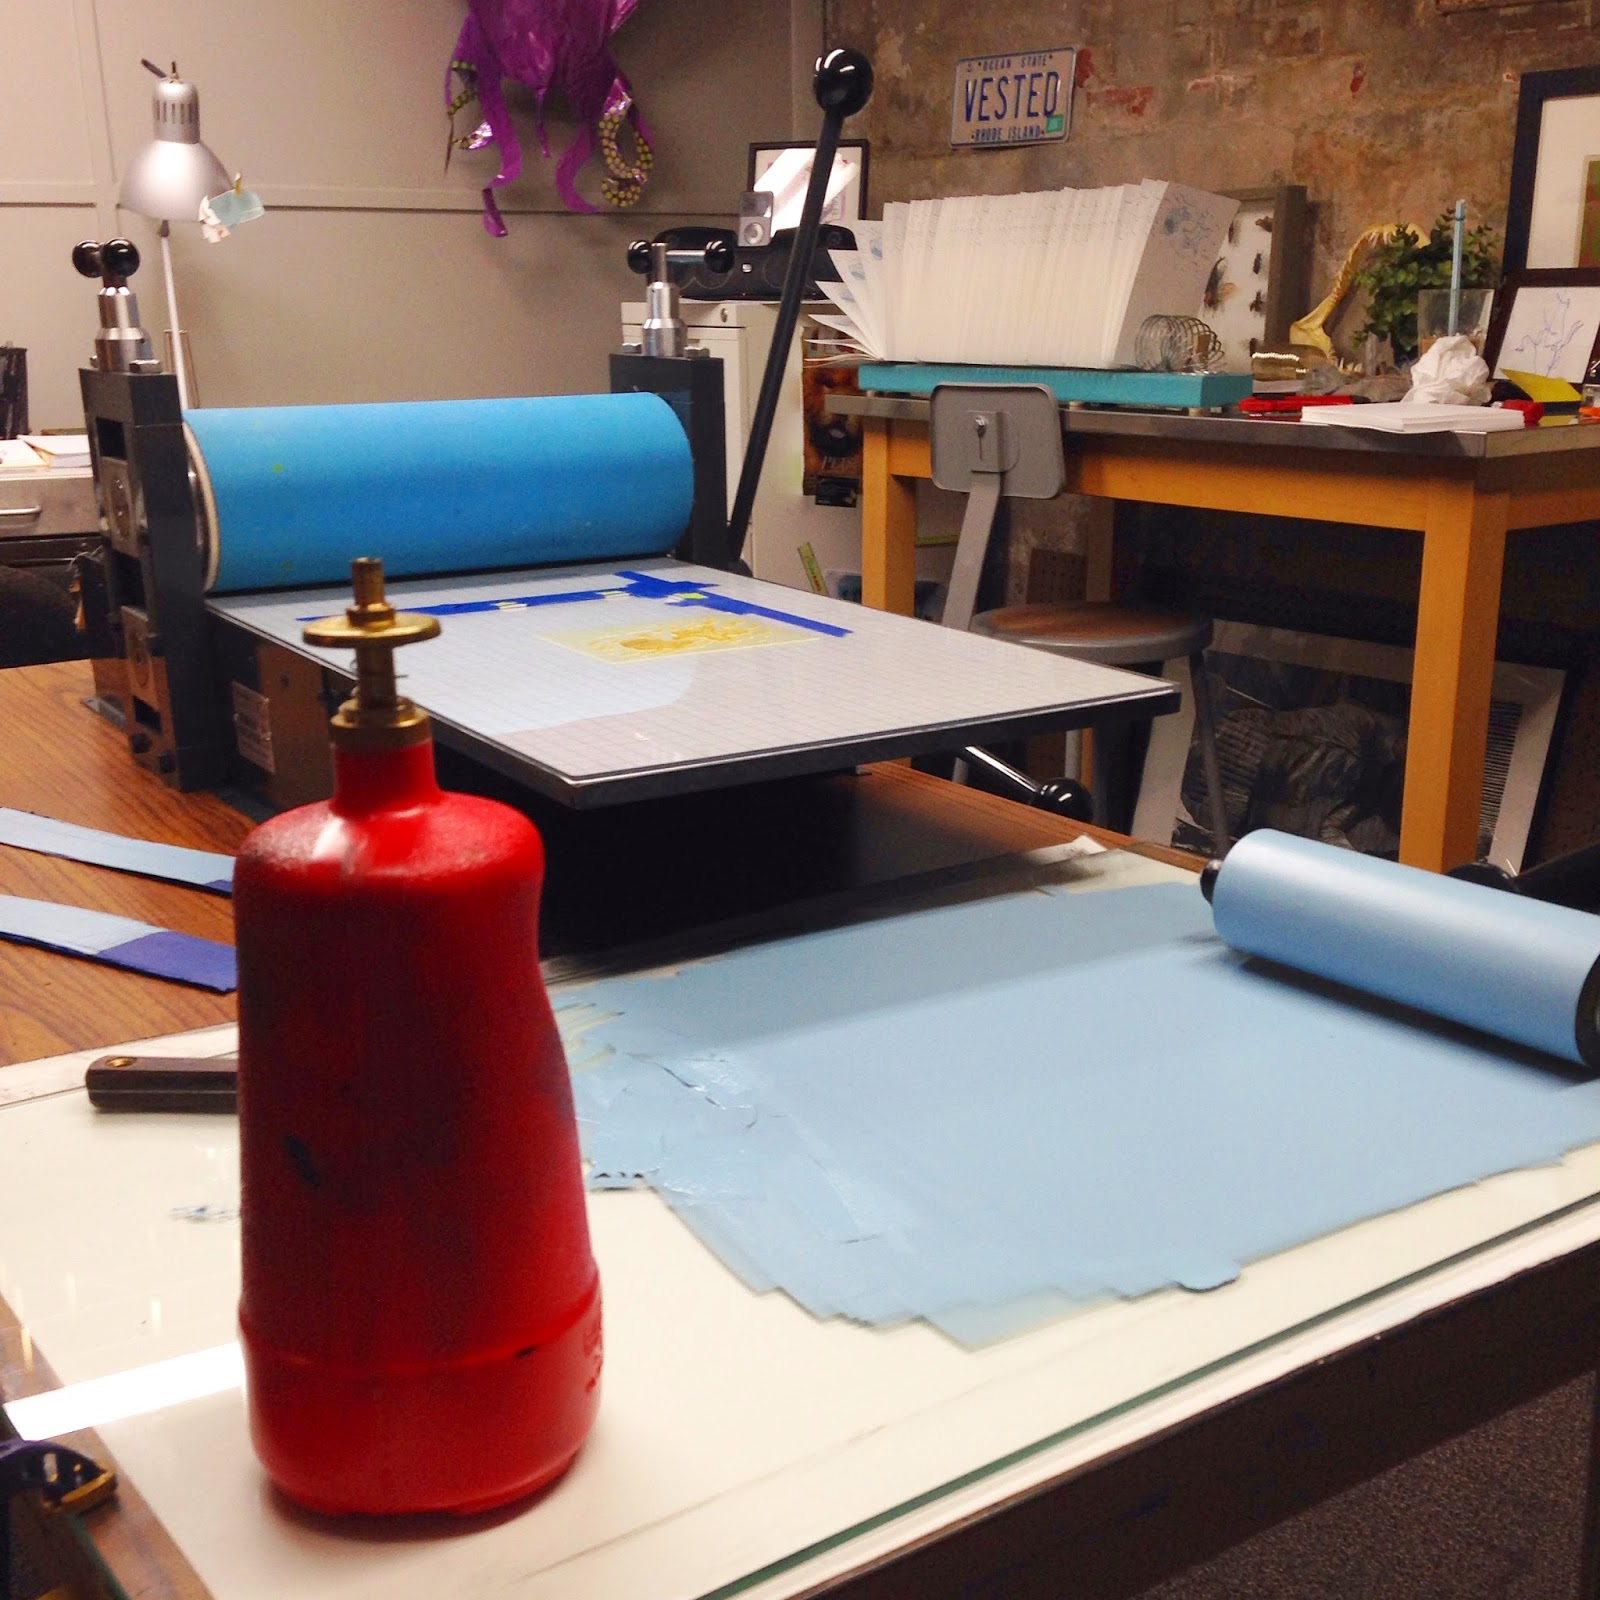
Look at that blue!

The 1st plate was printed using a hand-mixed icy blue ink.

These were printed on 110lb Cranes Lettra paper for a soft feel and a heavy impression!
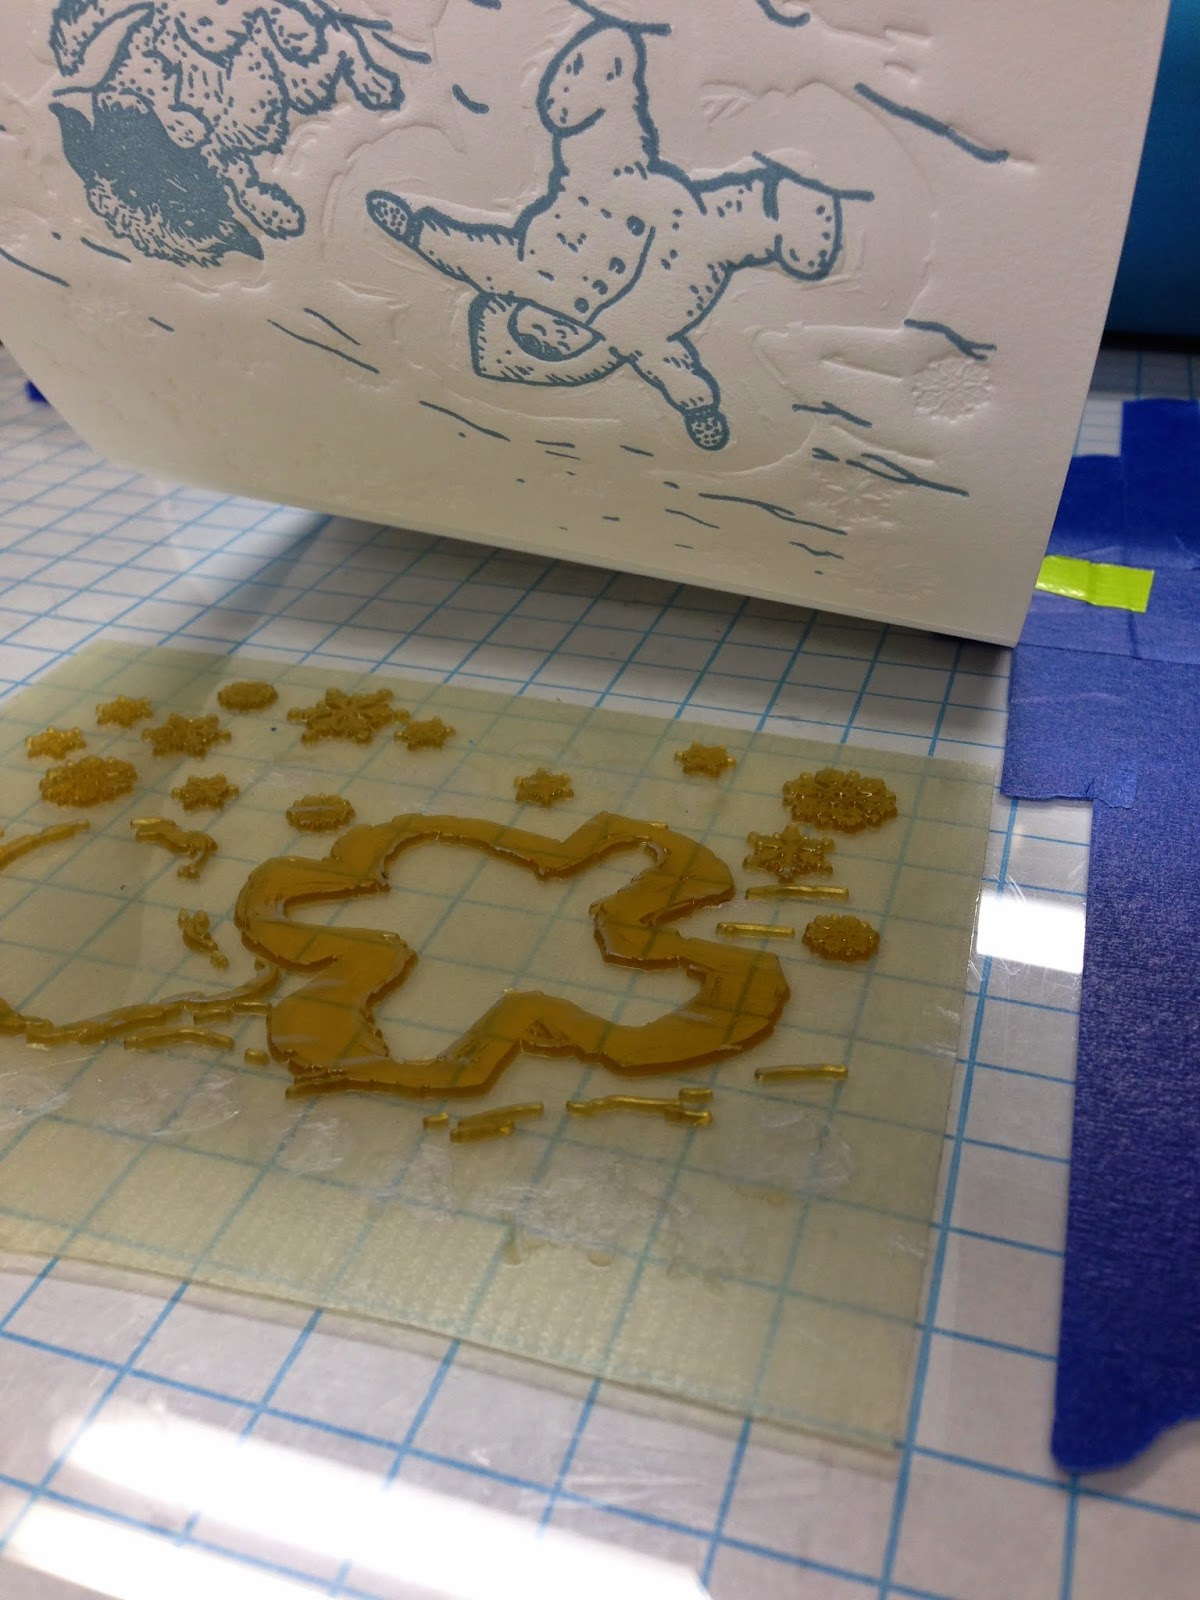
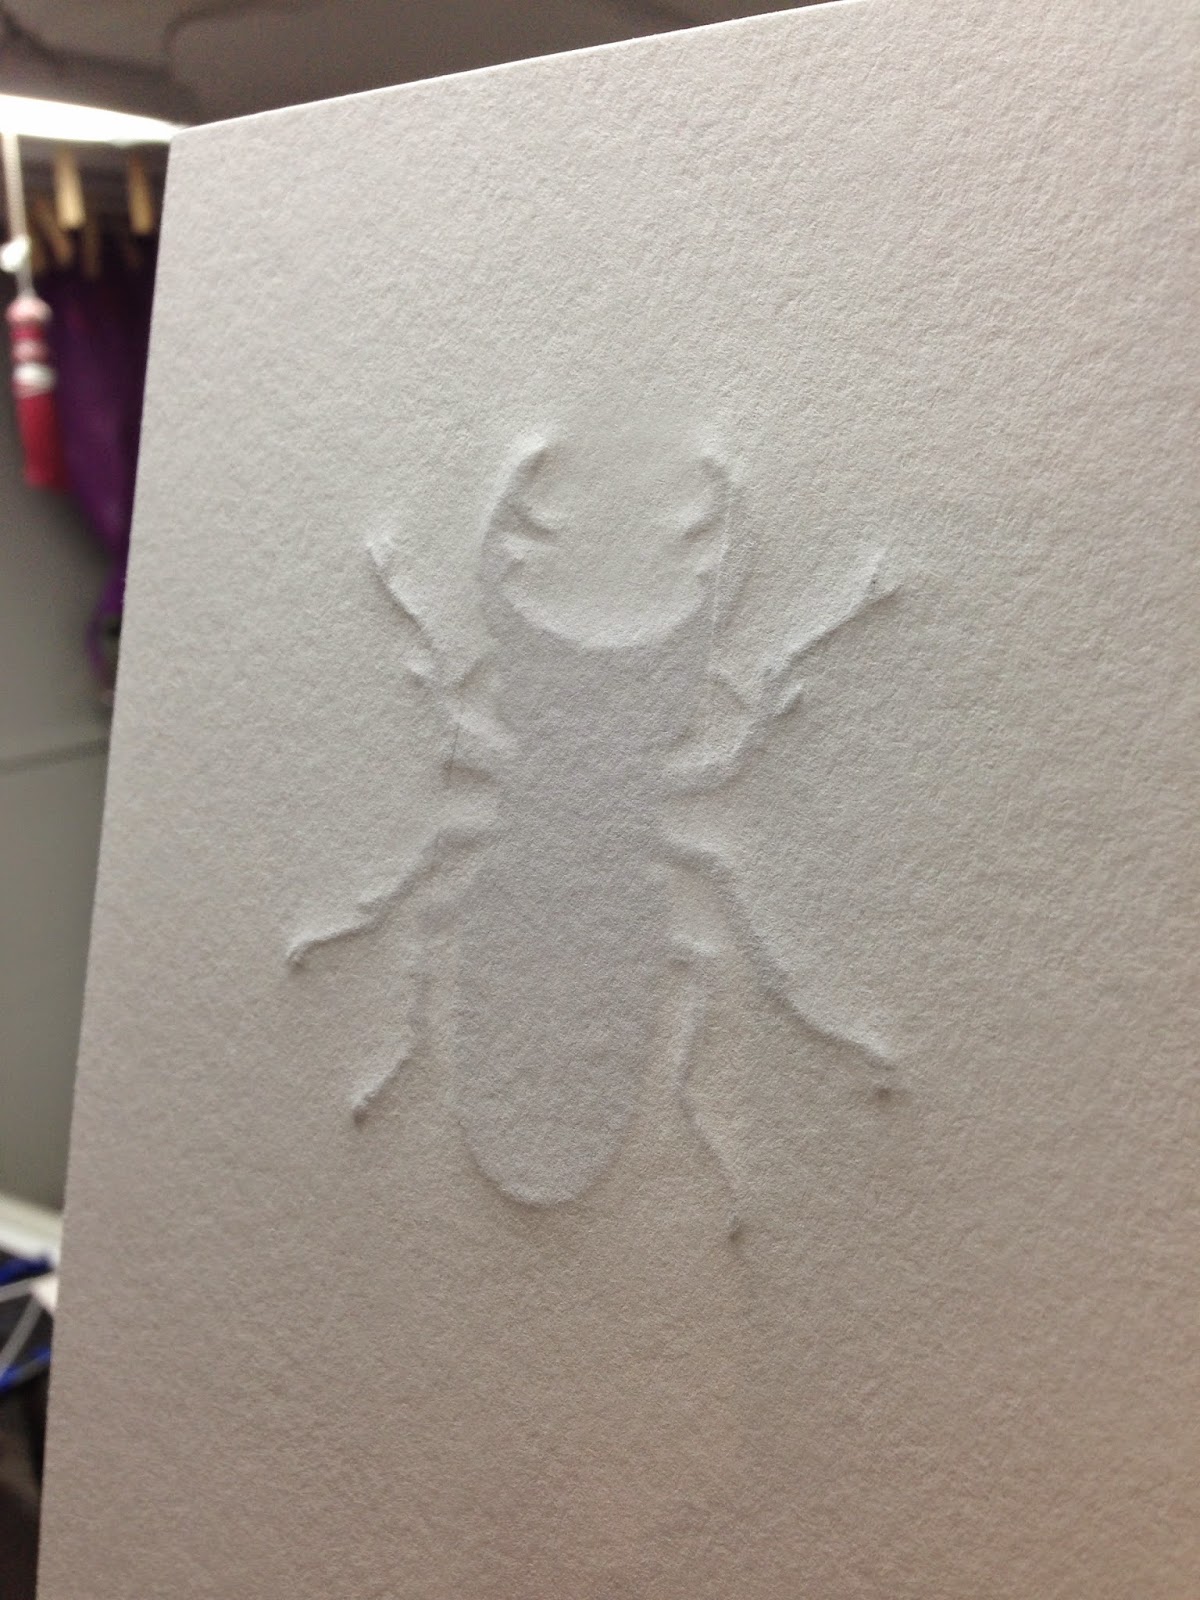
The 2nd plate was printed with no ink. This plate had the snowflakes and the snow angel outline on it. Just using the pressure of the press created a cool effect that looks like the "snow" of the paper has its own impression!
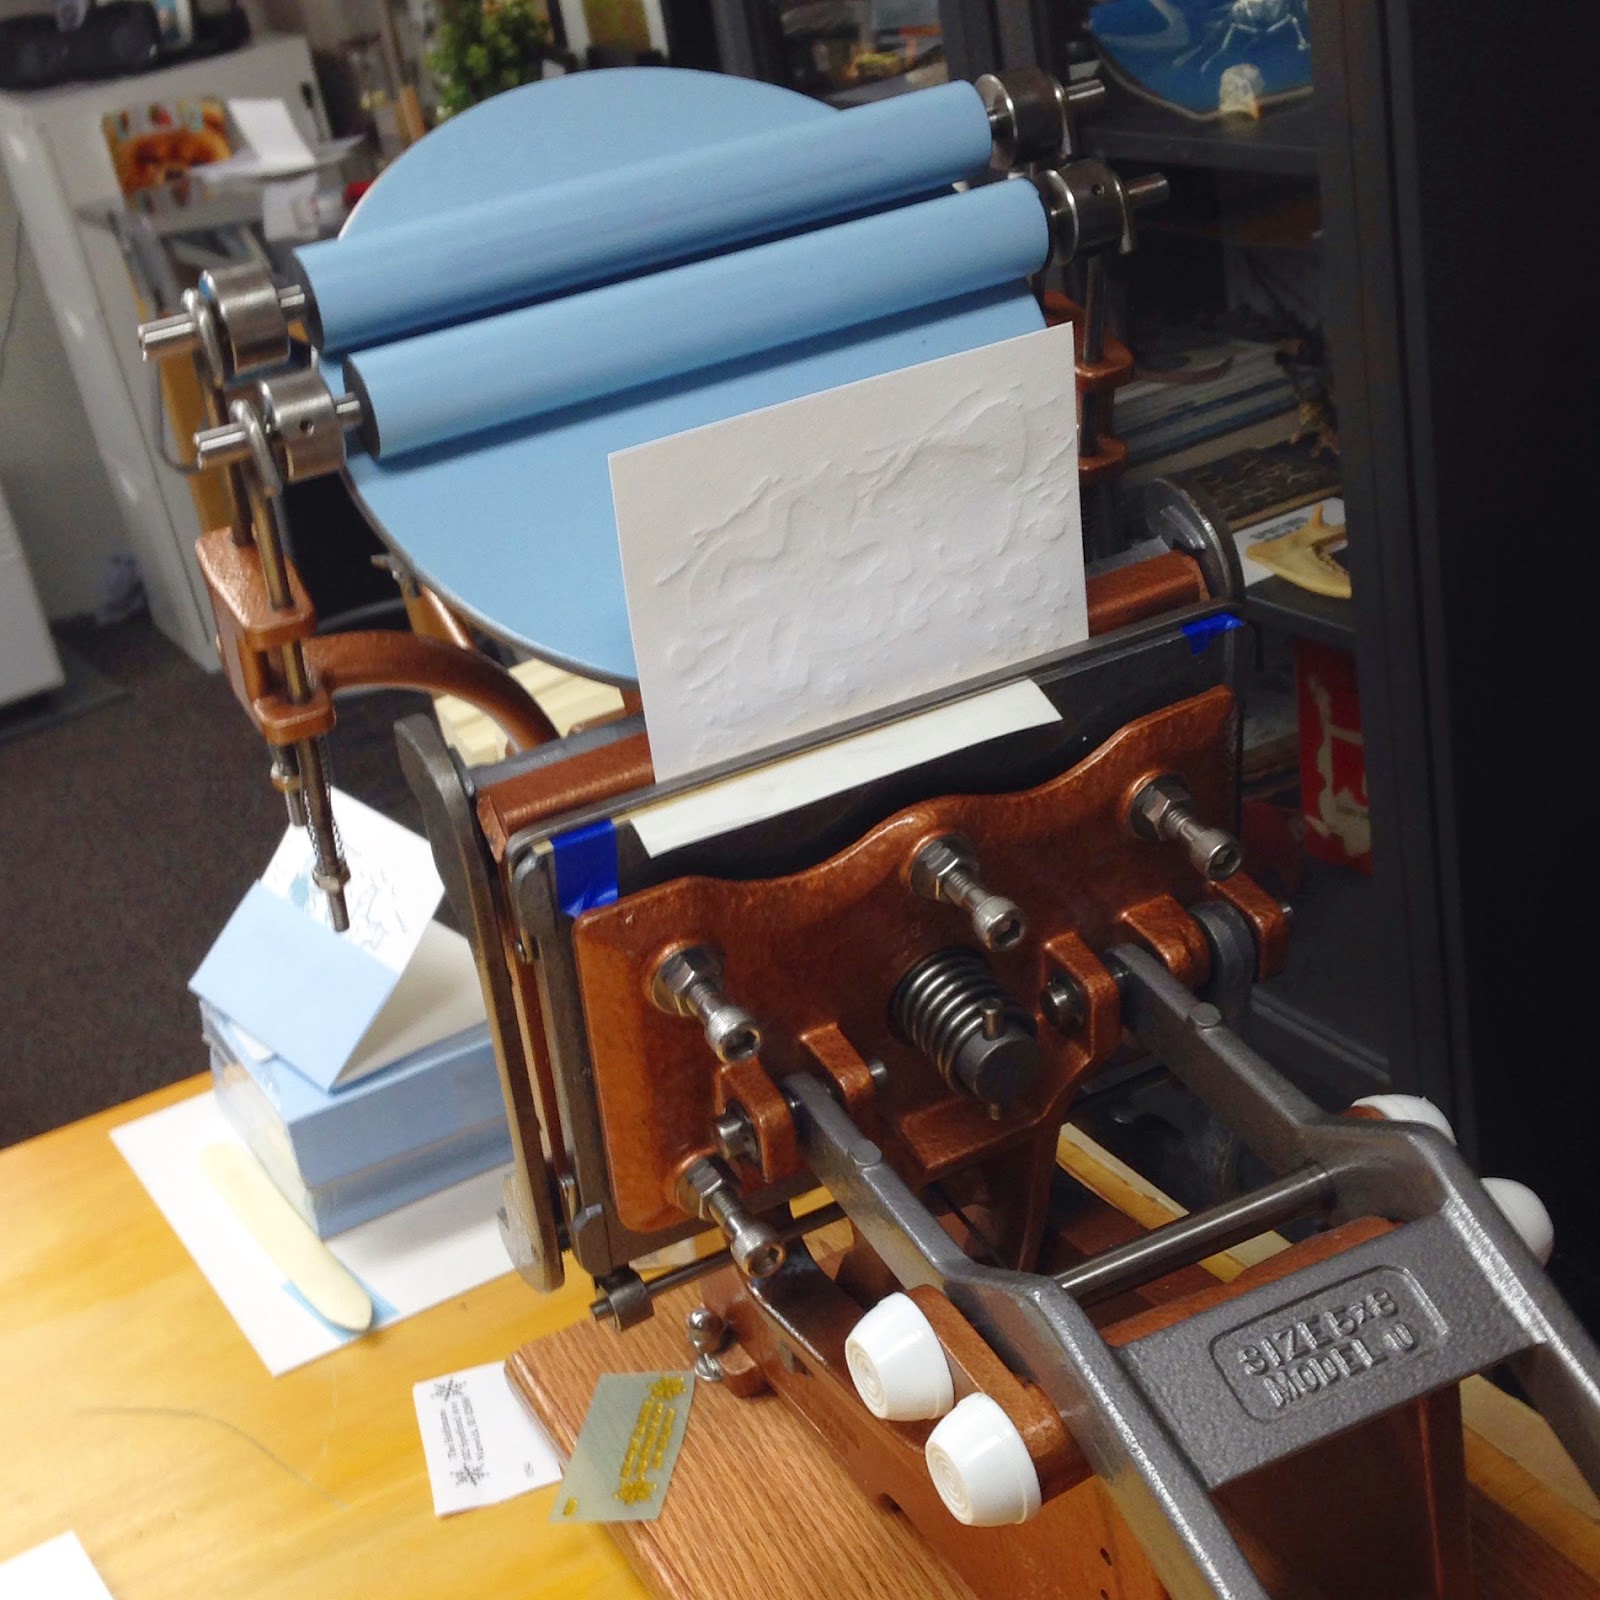
I used the Kelsey press to print the backs of the cards and the return addresses on the envelopes.

Love this press!!
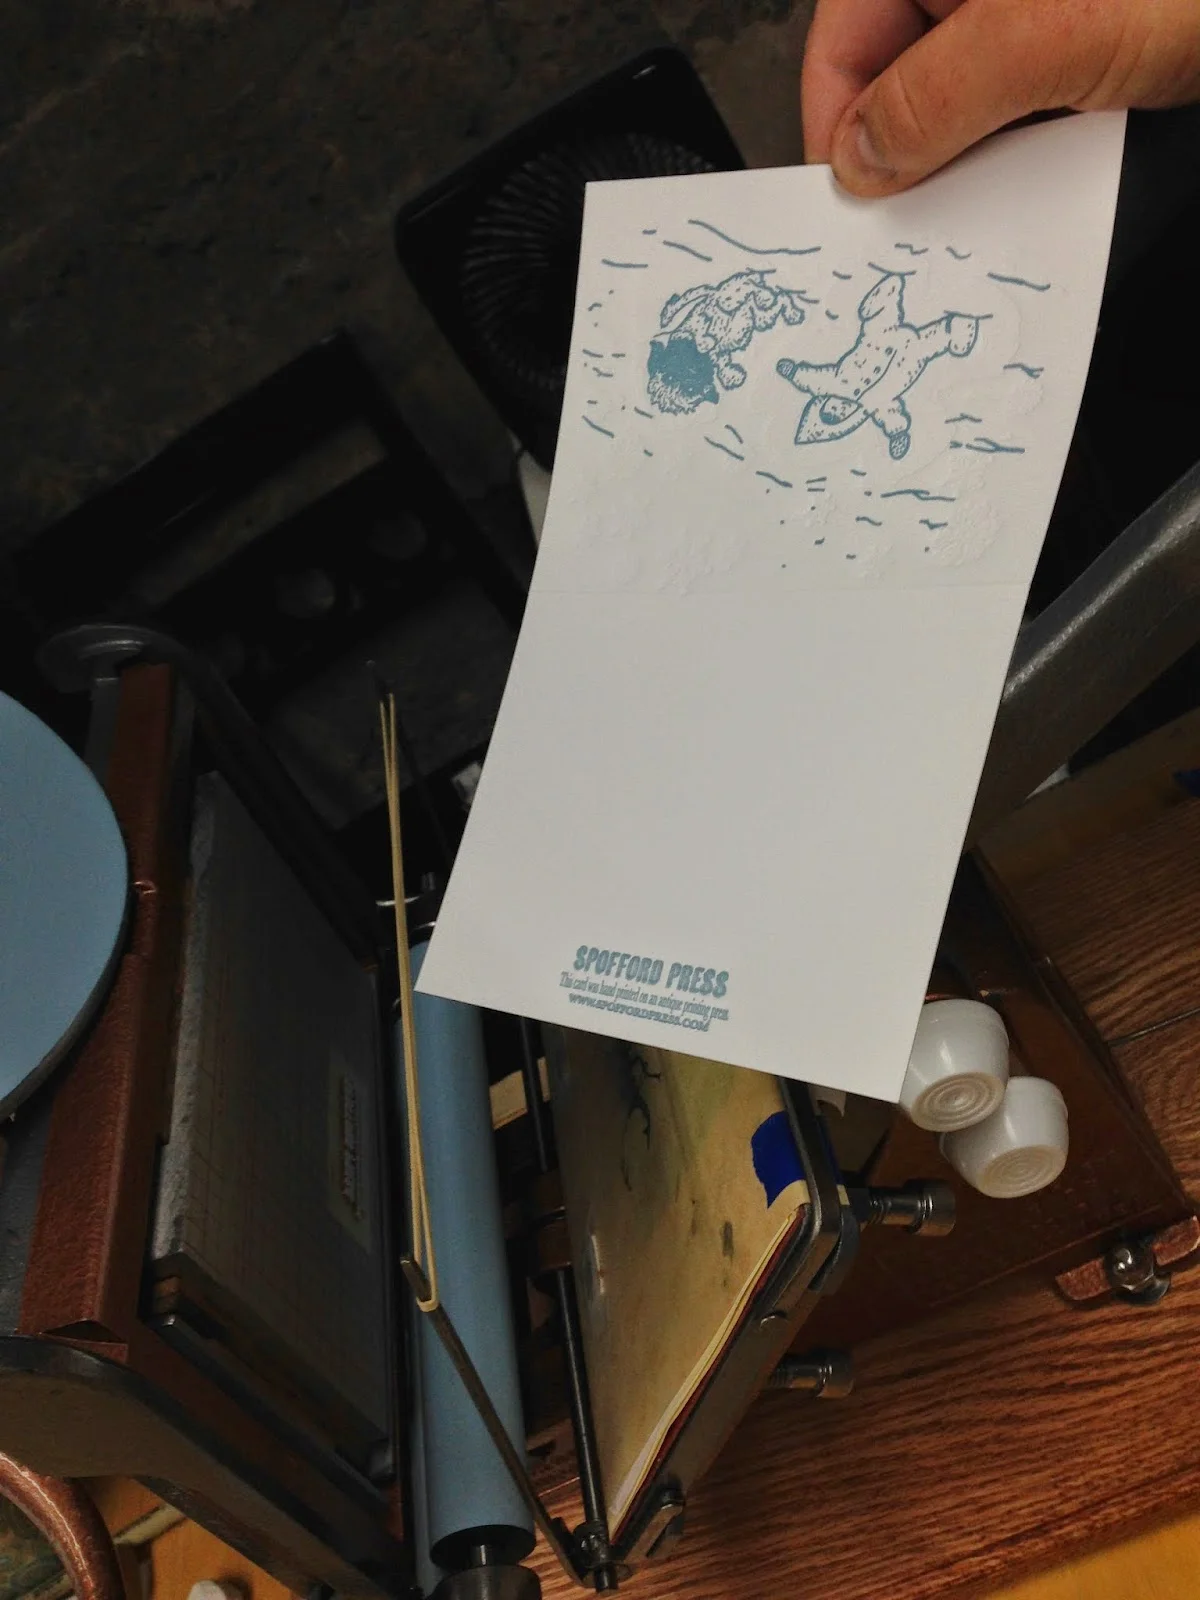
Here's the back of the card.
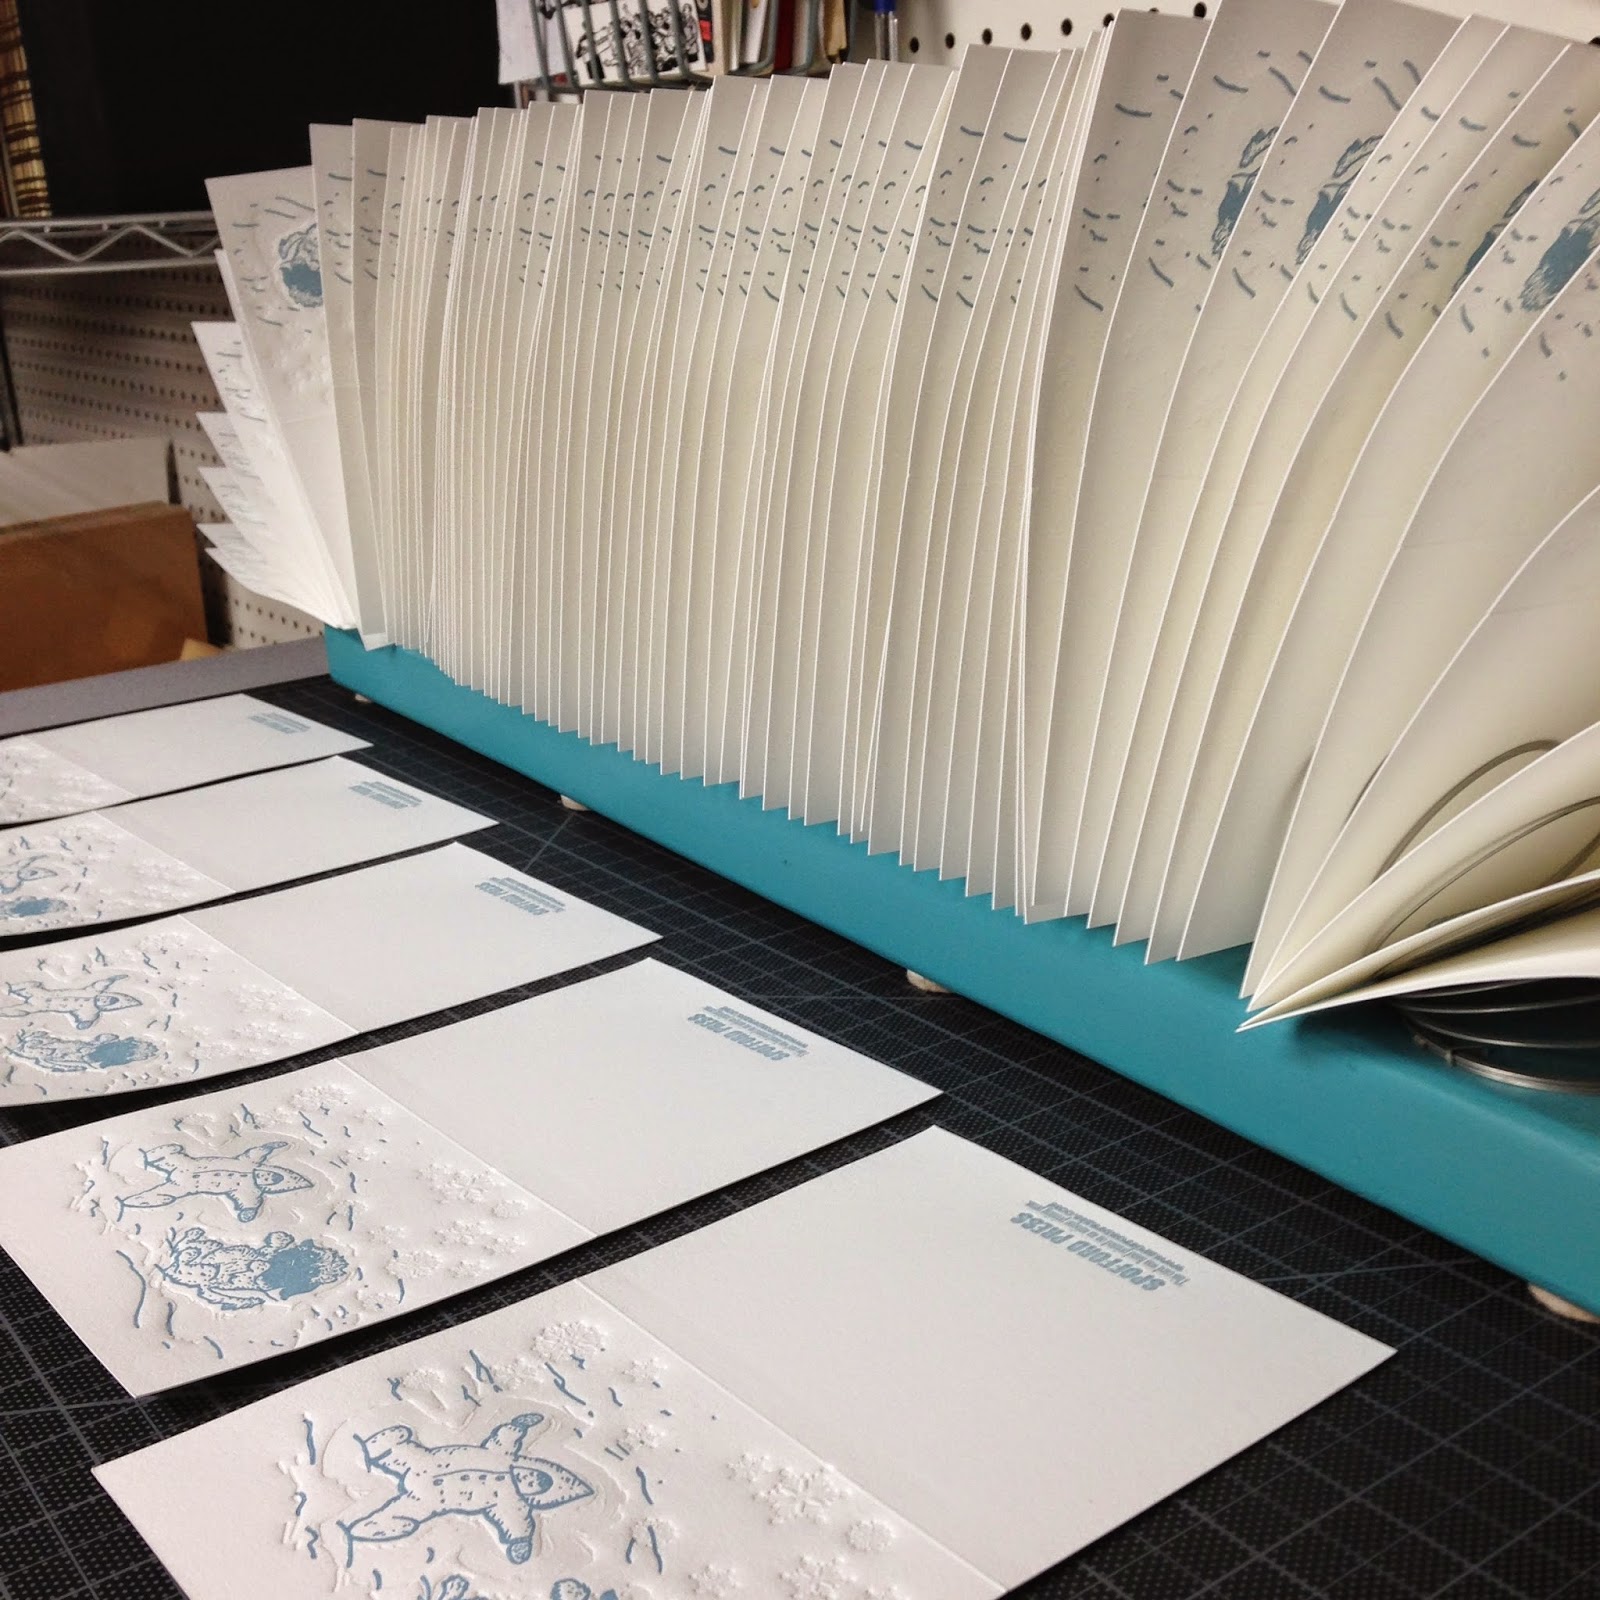
Drying
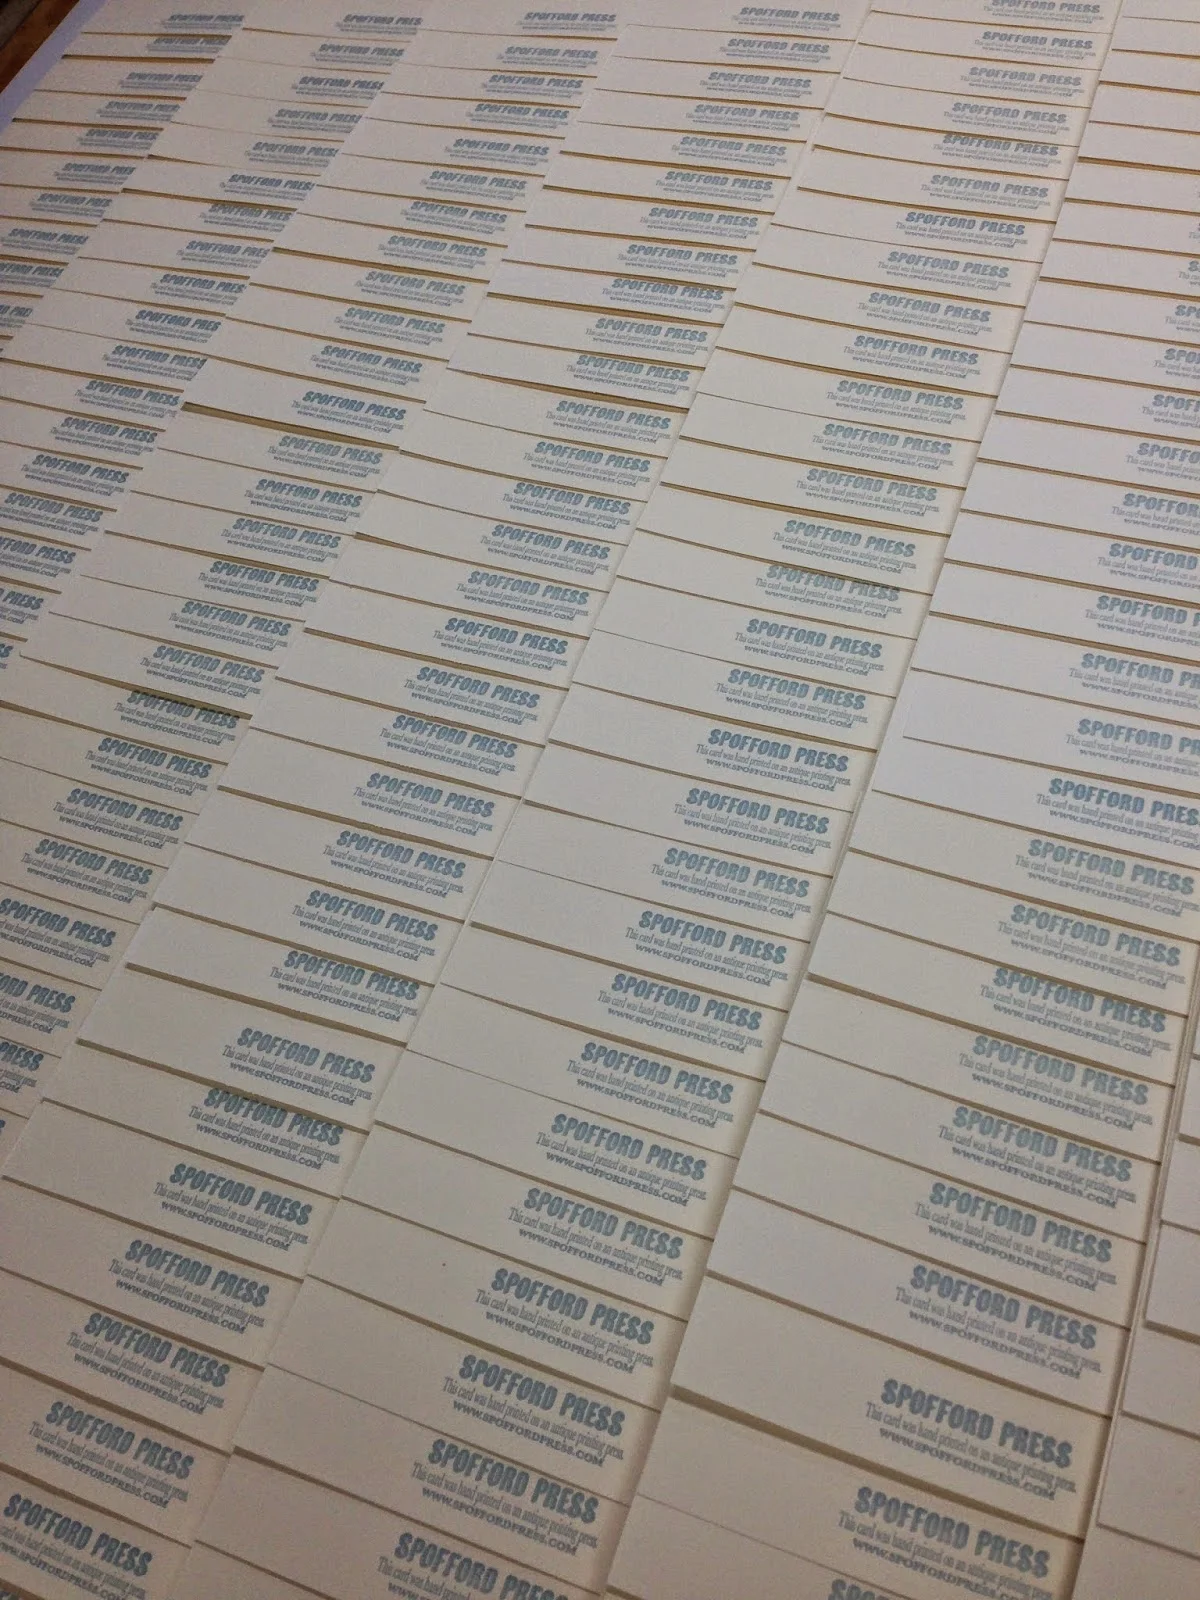
Yeah, we printed a few...

The 1st sketch.
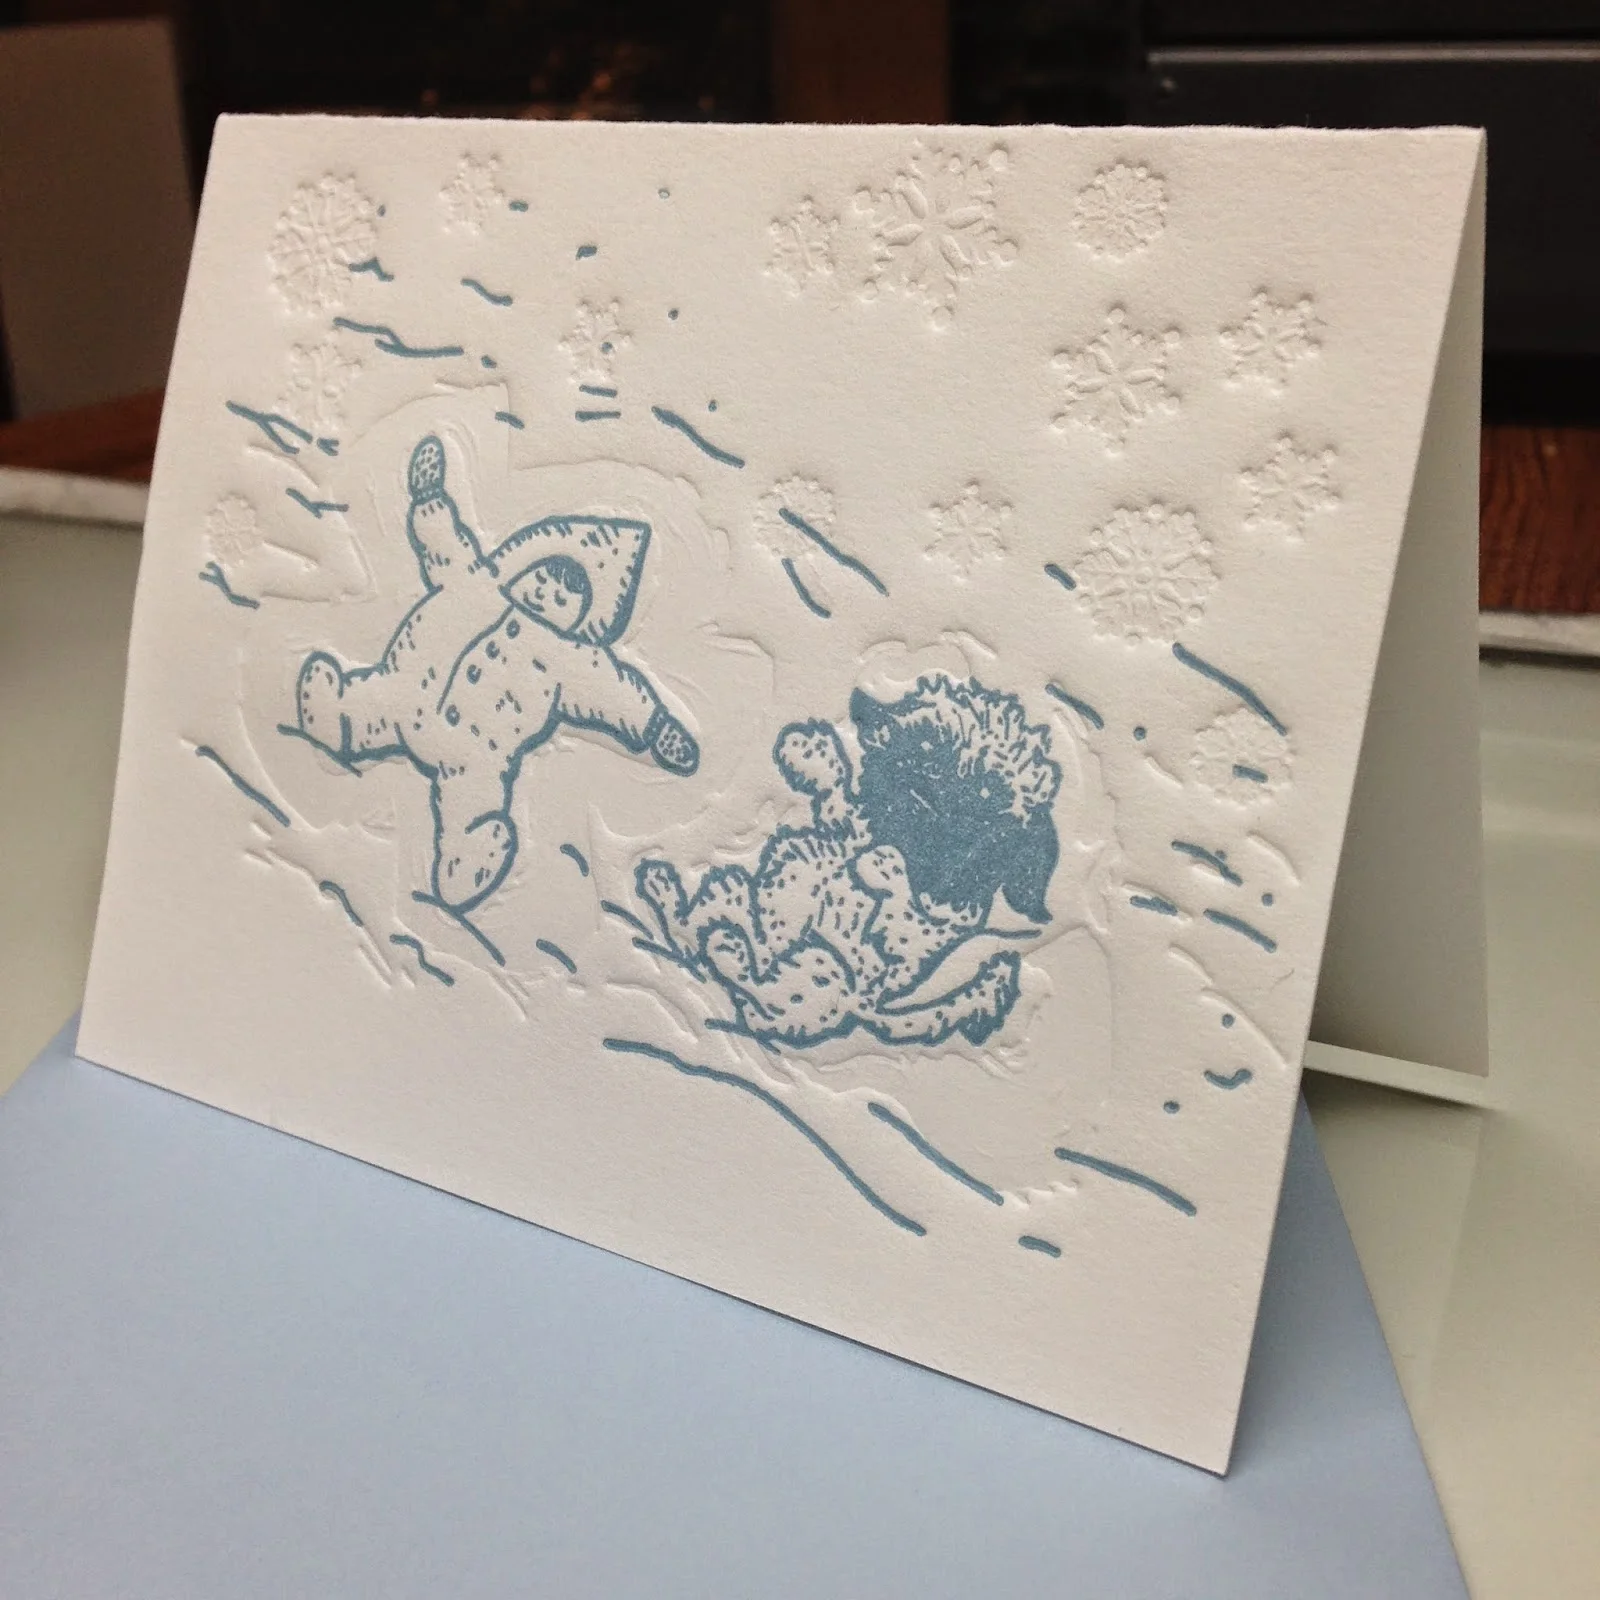
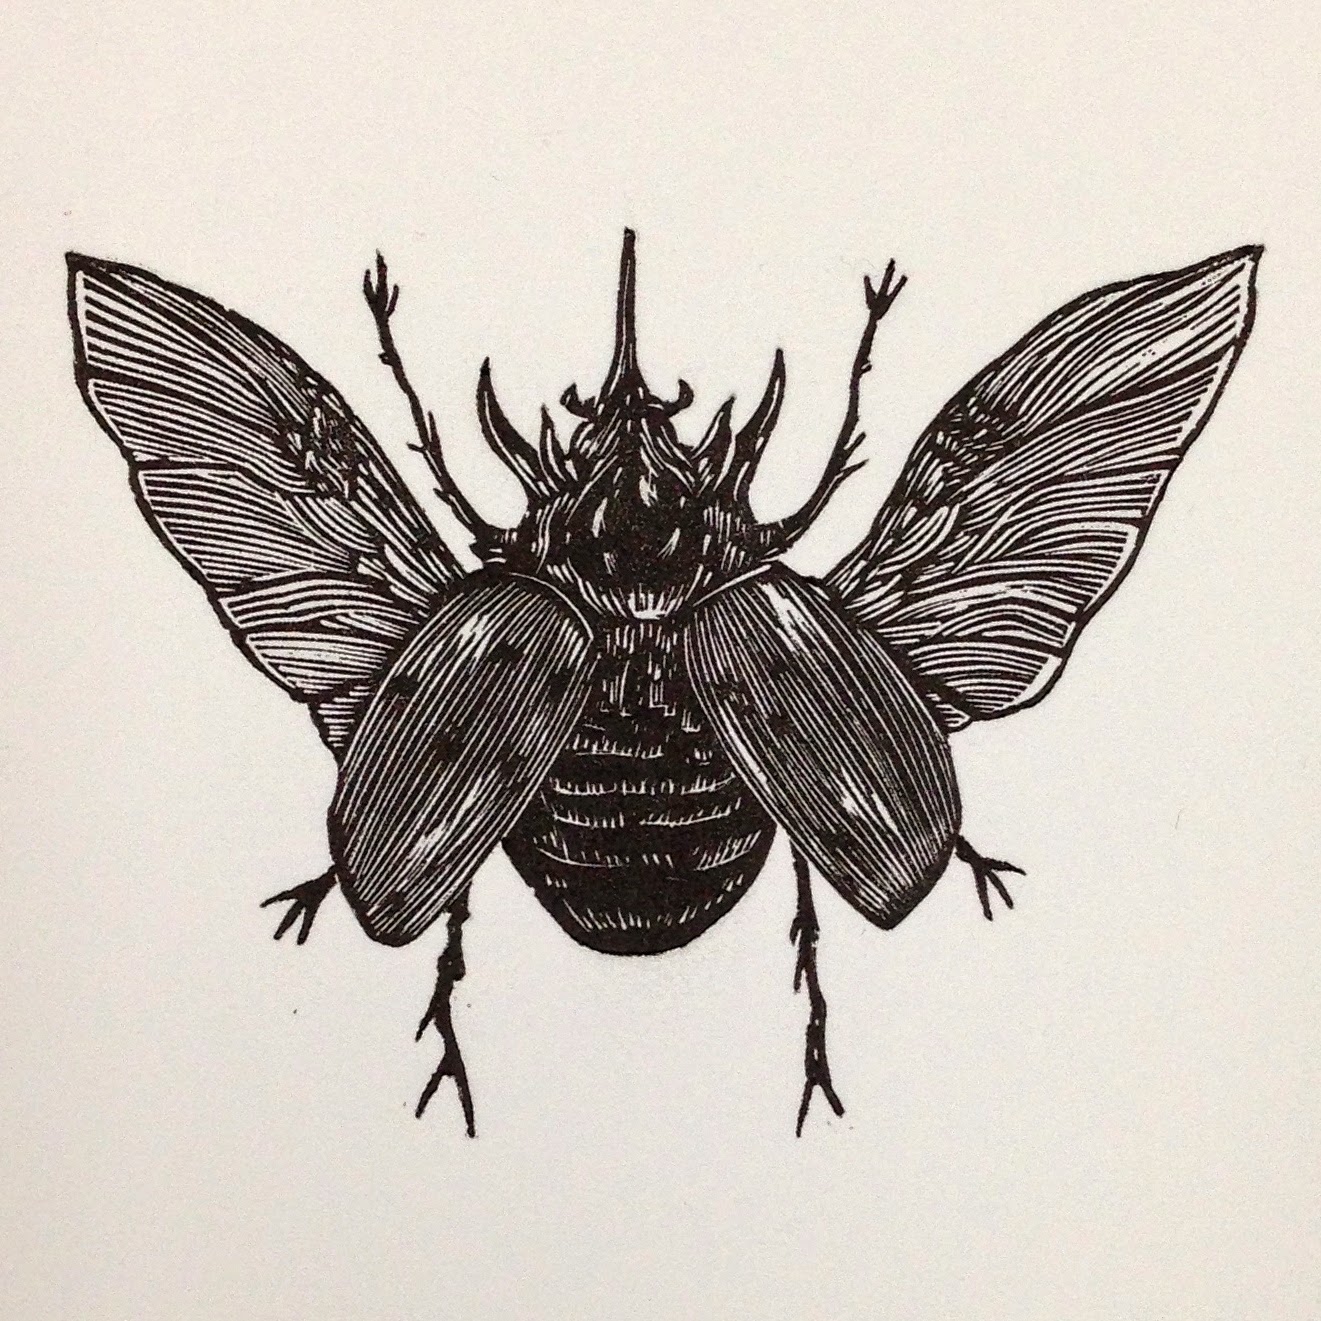
Here's the final card. We sent them out in matching envelopes.
Wishing you all a very happy holiday season and a wonderful new year! 2015 is going to be amazing!


