
Hundreds of Stag Beetles
I've always liked Stag Beetles and interesting insects. I have a small collection of preserved bug specimens in with my cabinet of curiosities. I decided it would be interesting to make some small engravings based on a few of these specimens. I wanted to work from the exact specimens, flaws and all, and not make the engraved beetles look so perfect and sterile.
The completed blocks were printed using heavy pressure on a very thick 110lb cotton paper called Cranes Lettra. The results are these beautiful thick prints that almost have dimension from the impression.

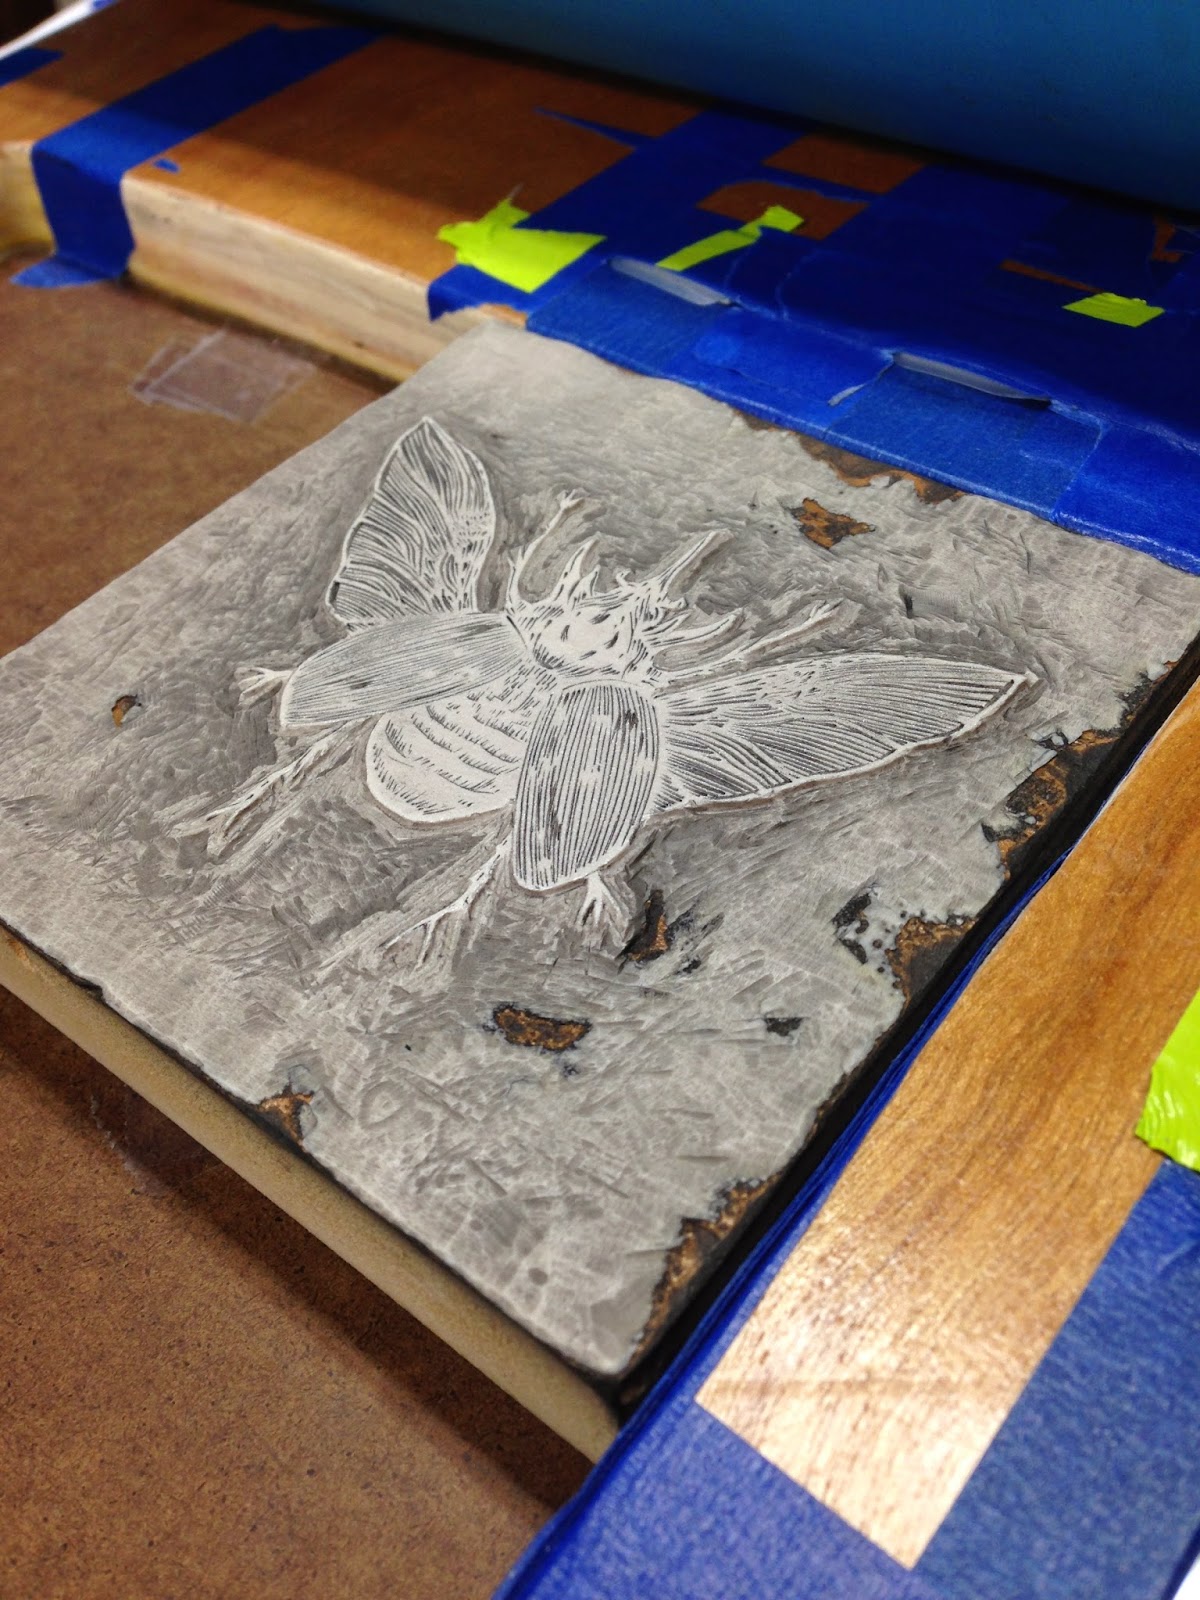
Engraving the "Stag Beetle" block.

This is a little flip book video to show the steps that go into engraving a block. The block pictured is the "Atlas Beetle".

"Atlas" block ready to print.
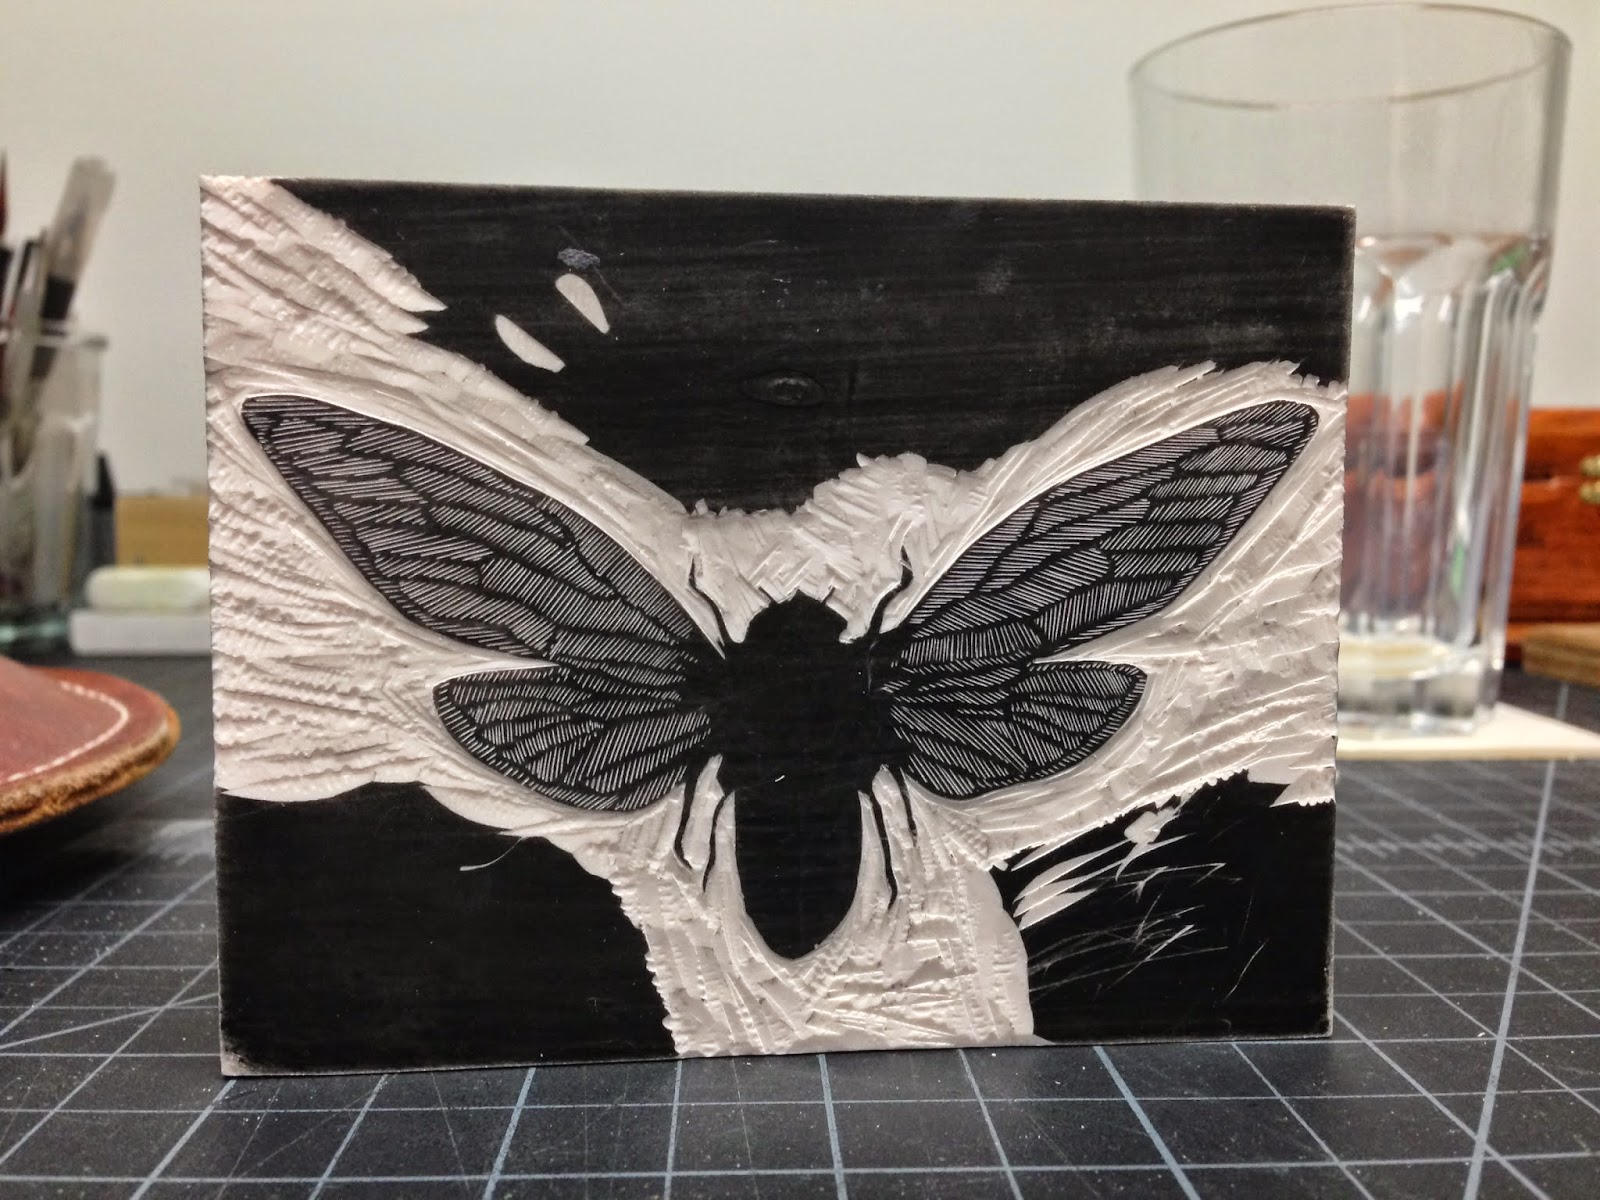
An early stage of the "Cicada" block.
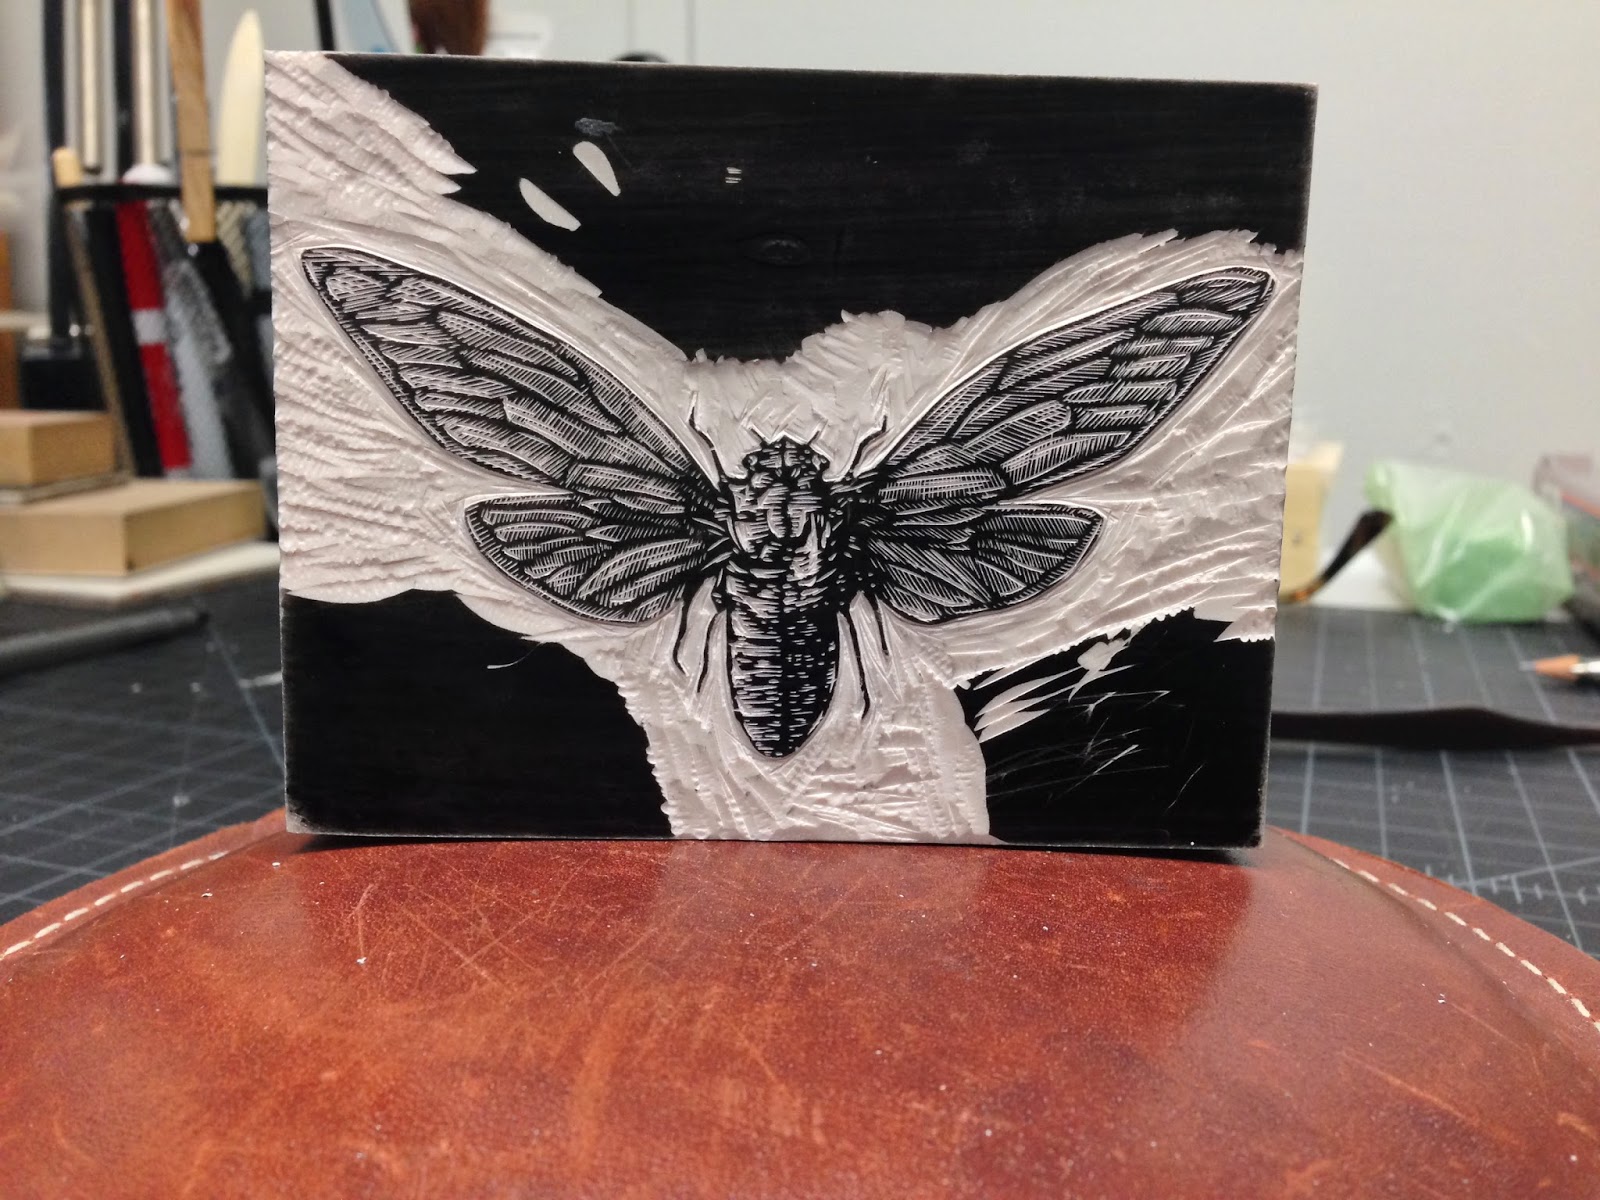
About 2 hours later...

The actual Cicada is finished. The final step was to clear out all of the remaining area around the insect, allowing for just the cicada to print on the paper.
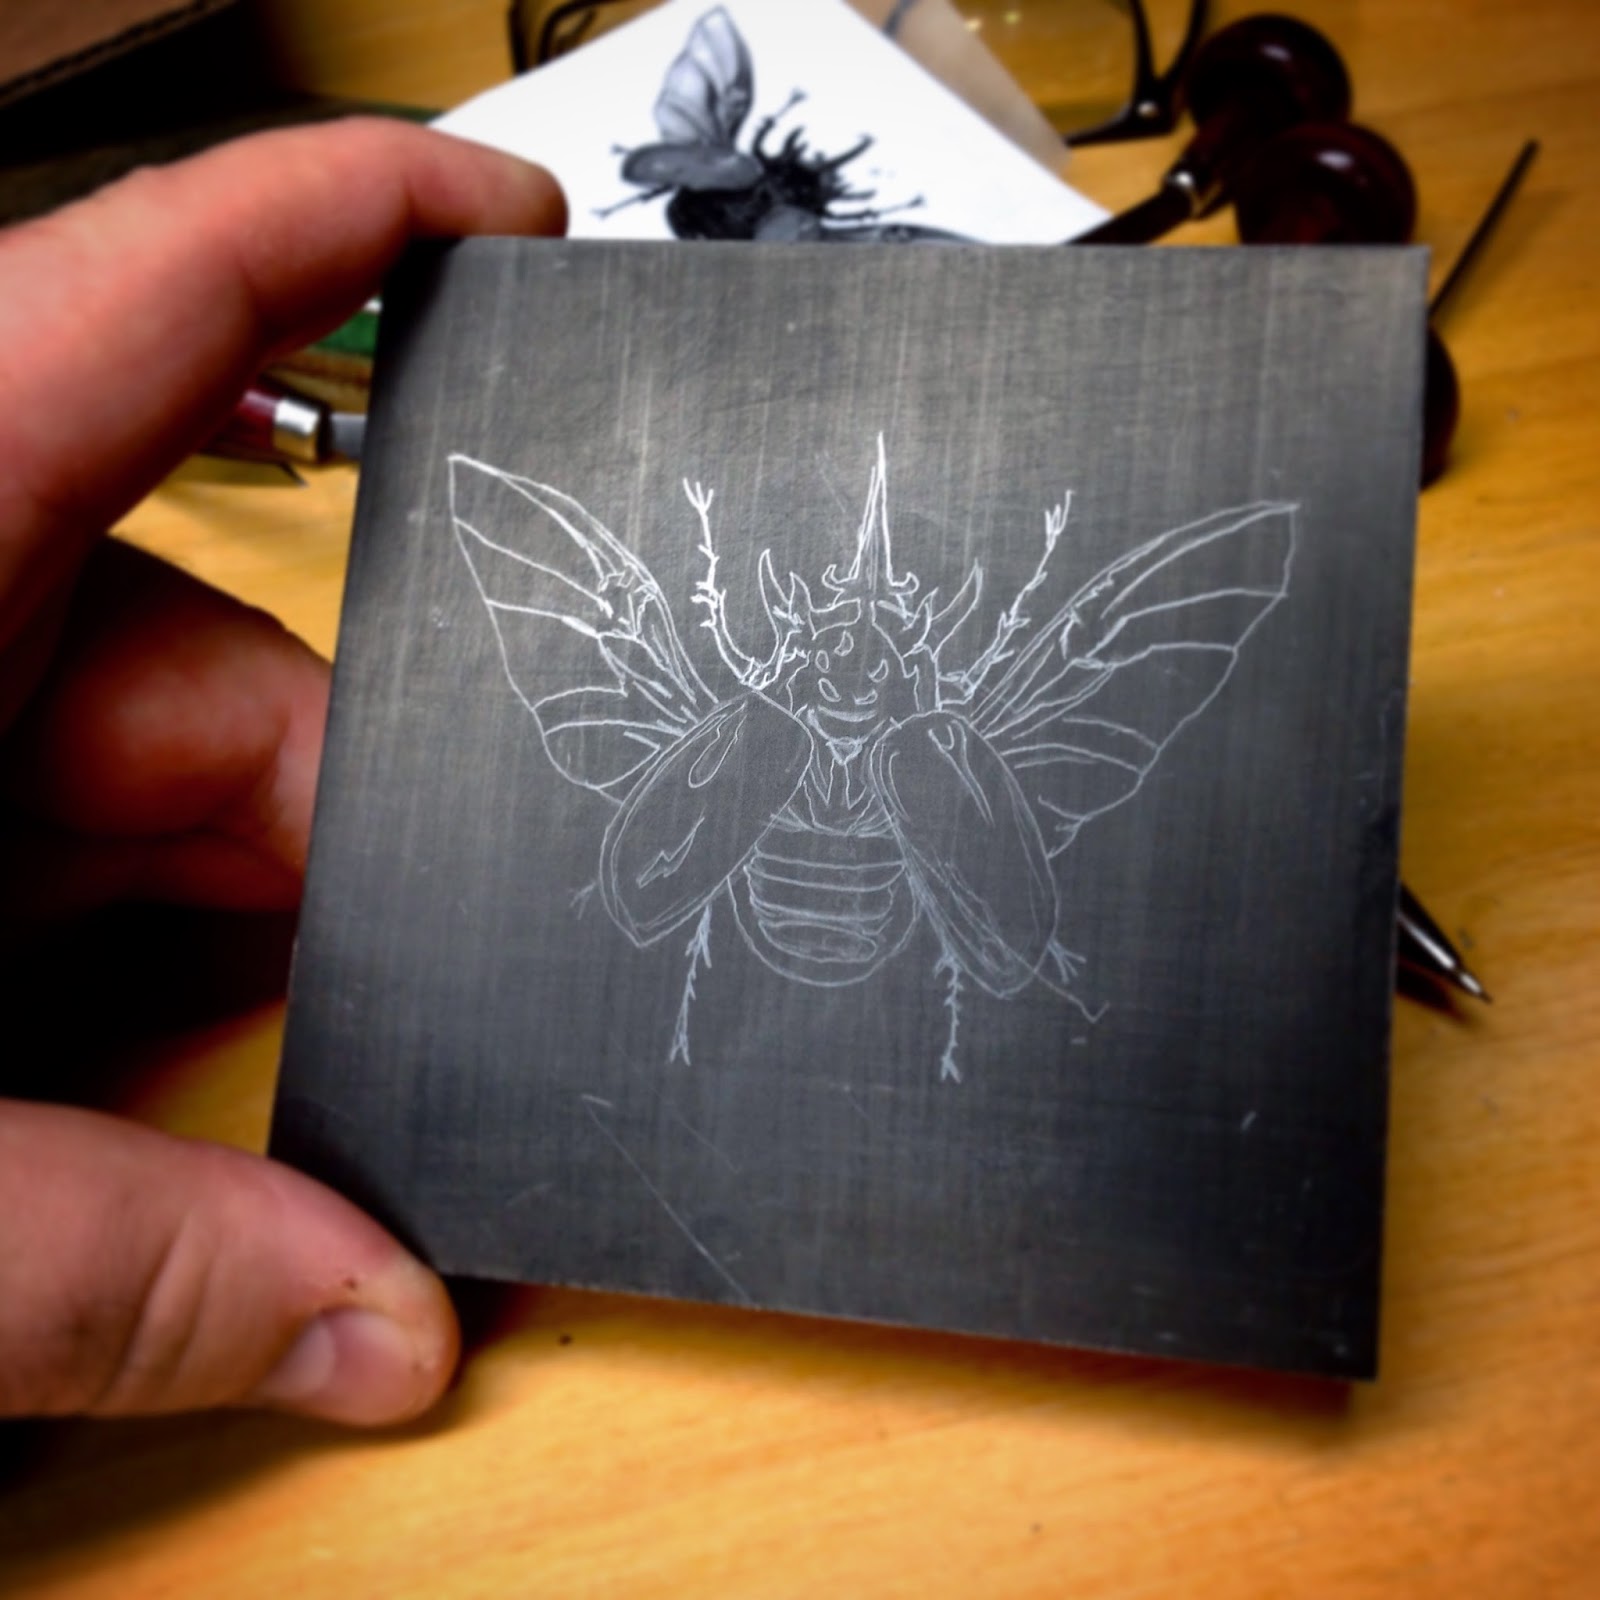
The drawing of the "Rhinoceros Beetle" on a block of Resingrave.
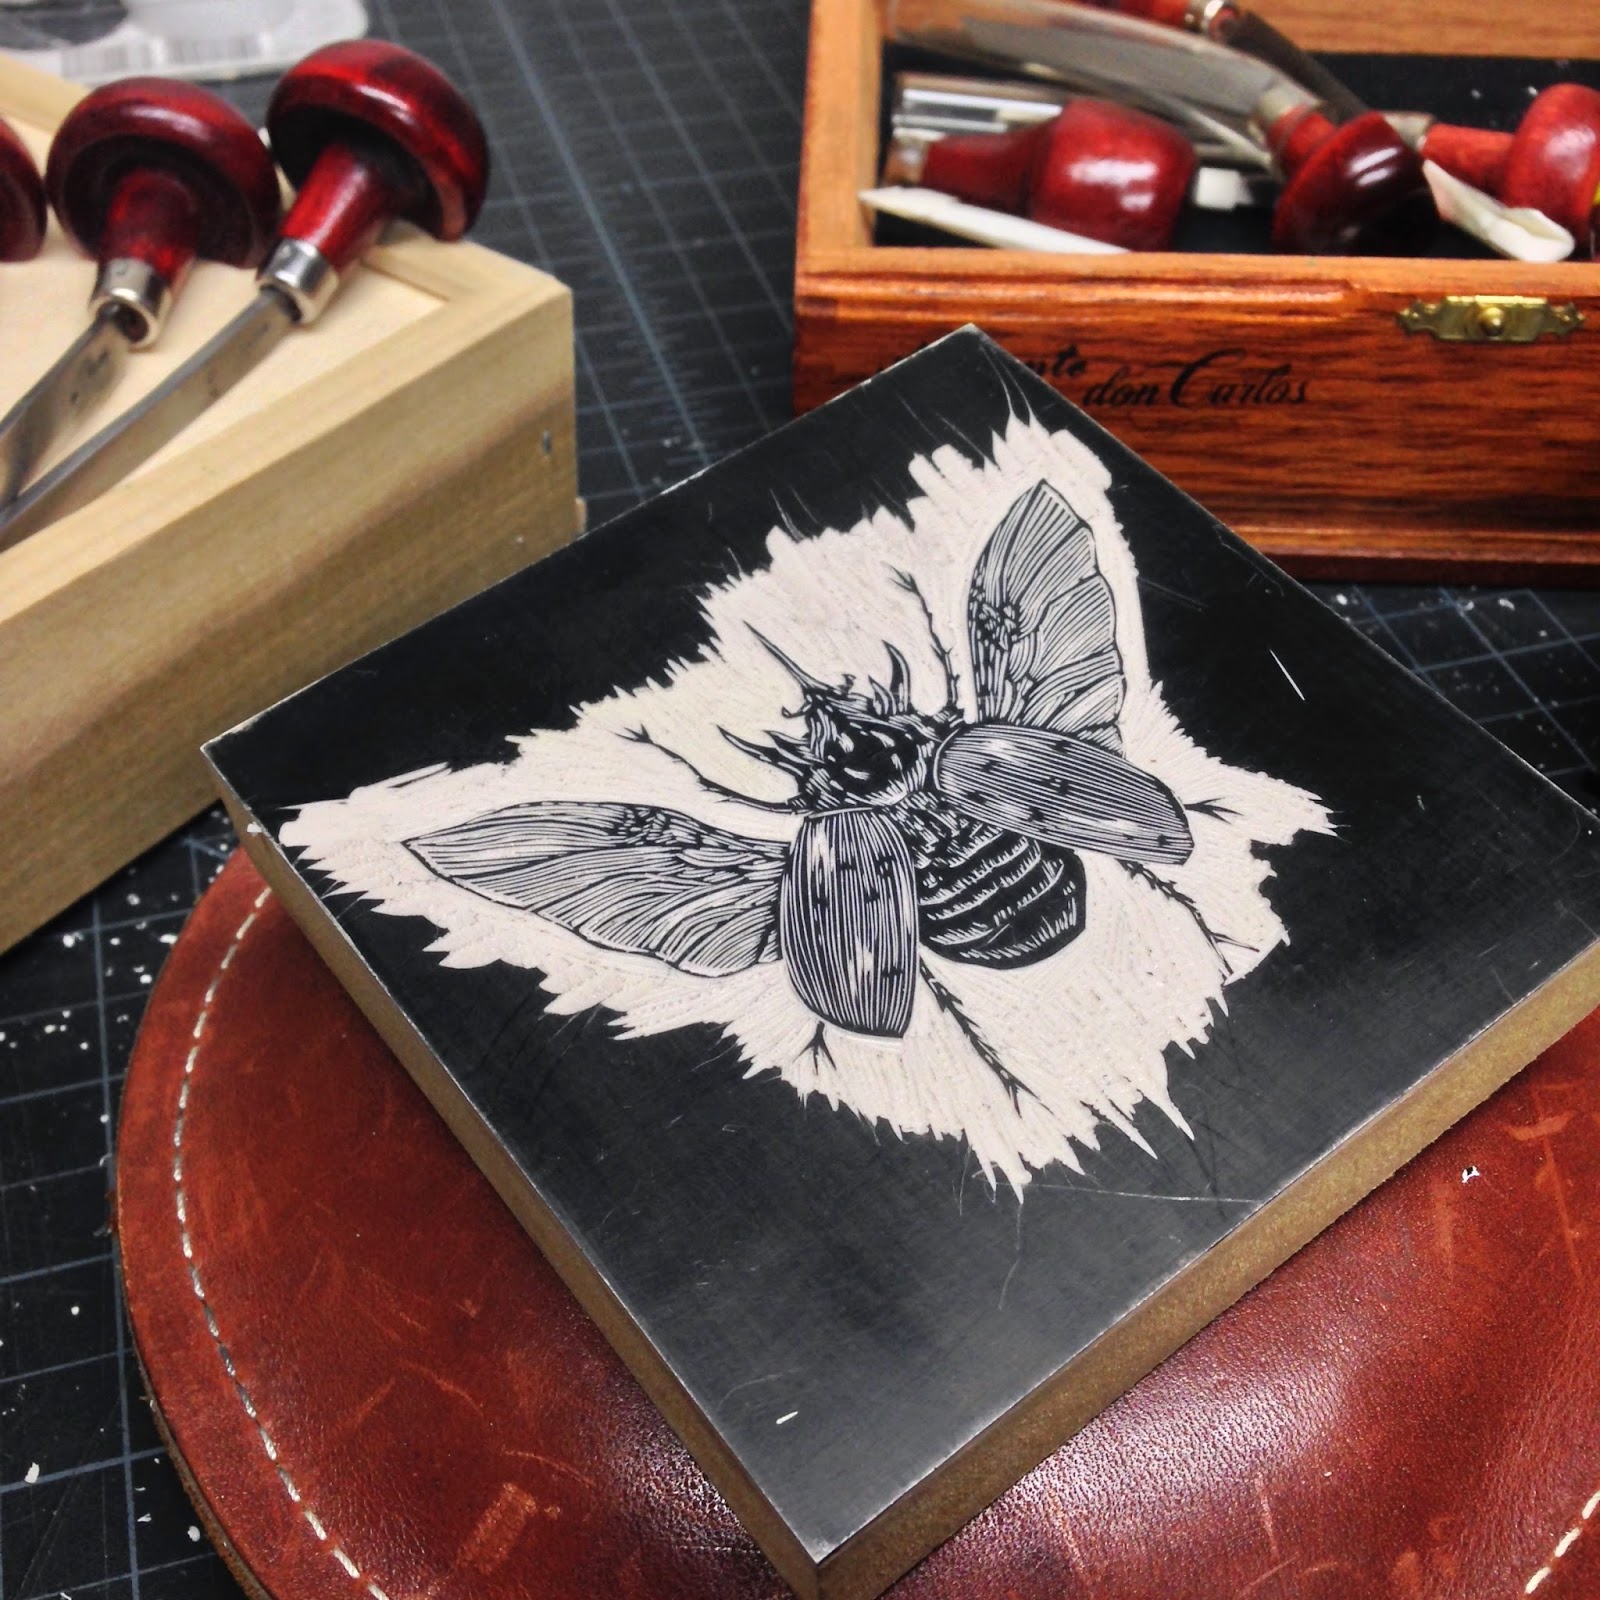
The "Rhinoceros Beetle" coming along nicely.
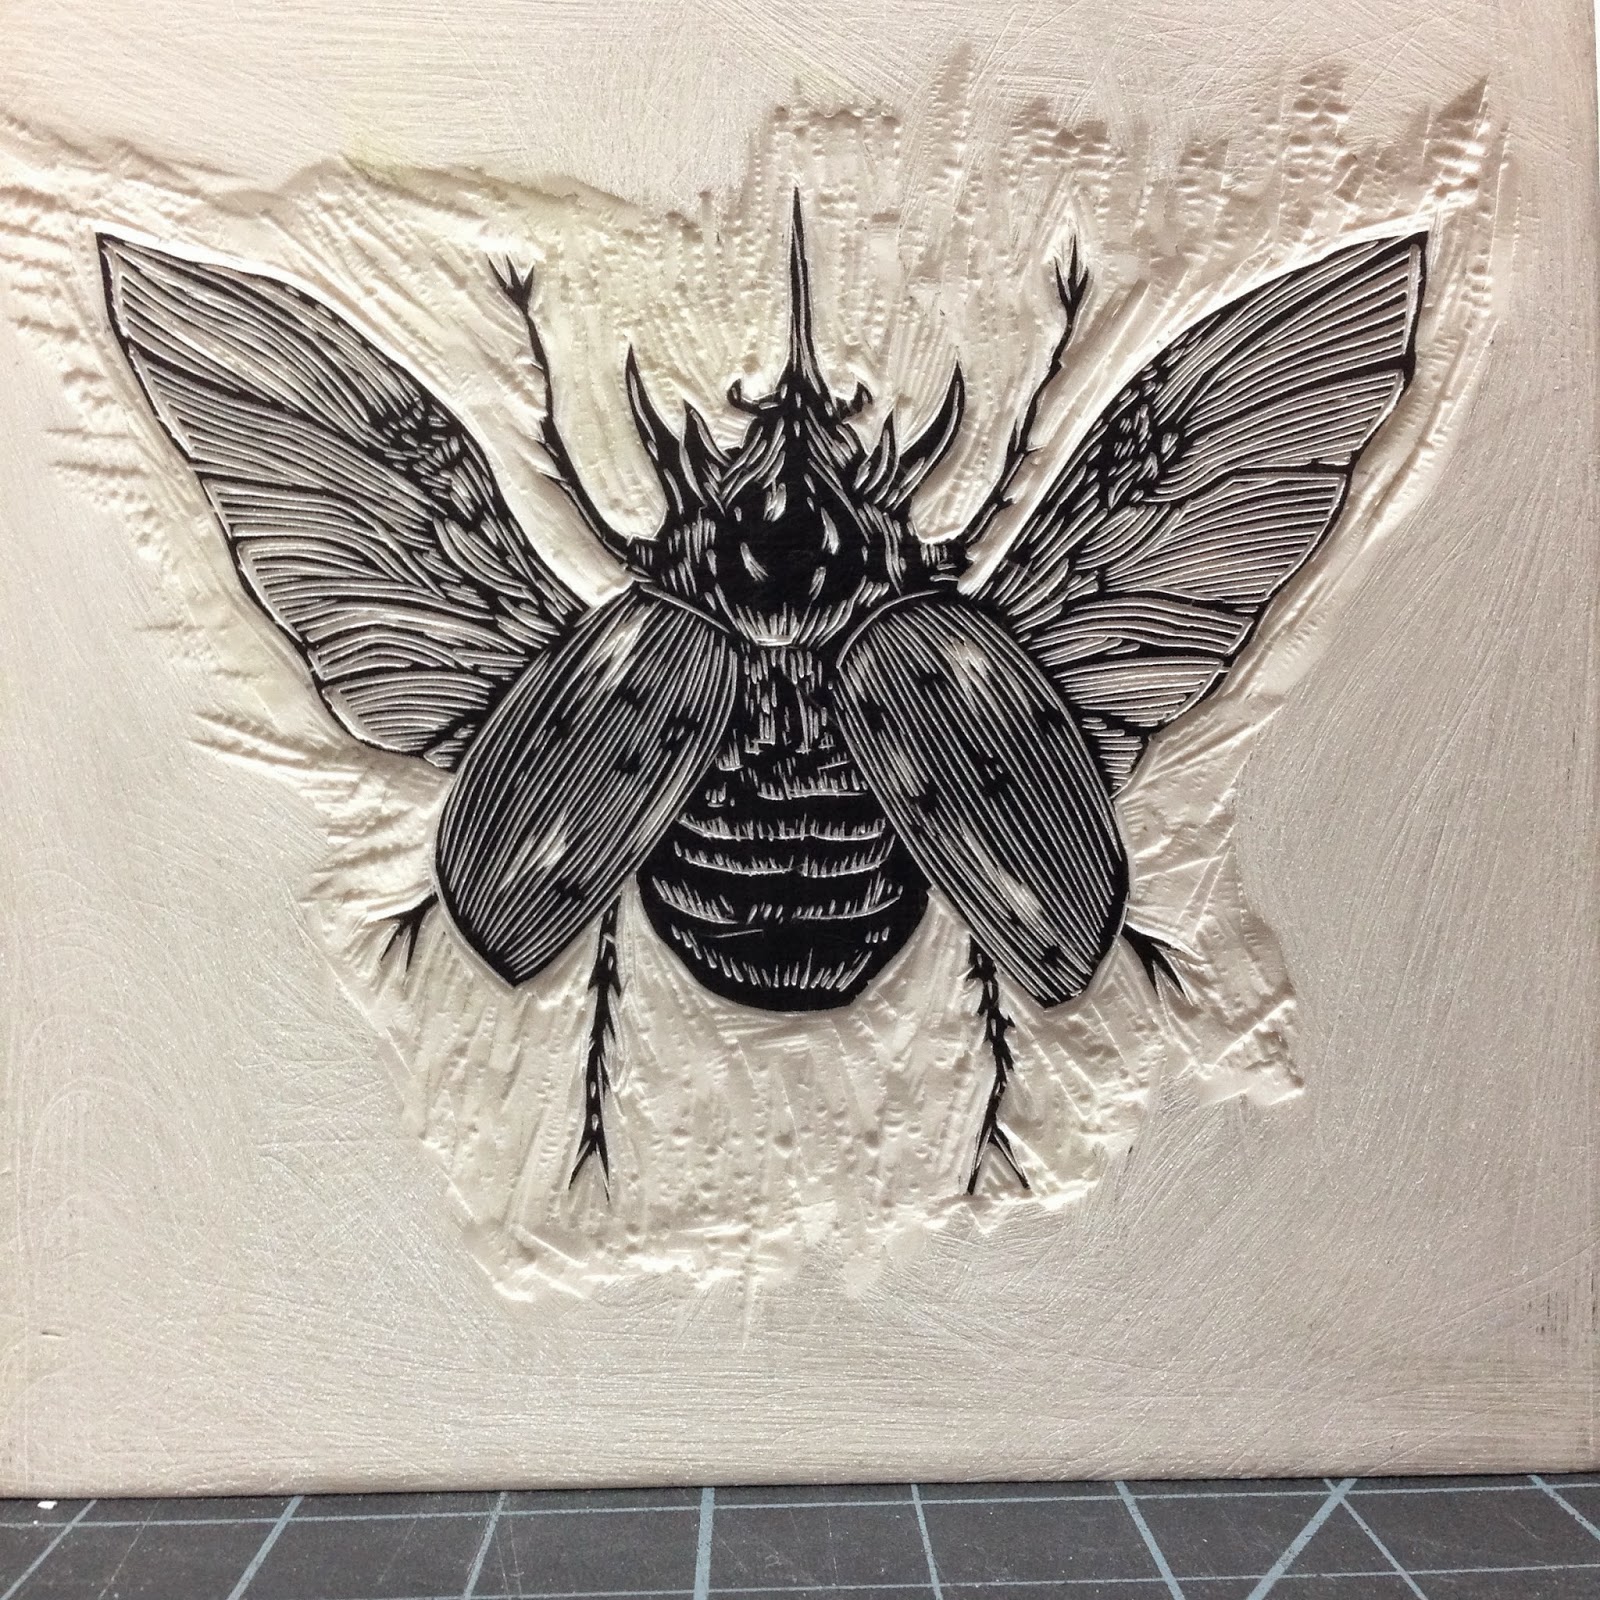
The "Rhinoceros Beetle" block before carving away all of the area around the insect.

Here is a picture of the "Stag Beetle" block on press during the printing session. The small piece of blue tape was used because the edge of this block was a little sharp and was making a crease line in the paper when printed due to the amount of pressure used. The tape was just enough to smooth out this edge and not leave a dent in the finished print.

Inking him up

Paper with the Make-Ready
This is a picture of the "make-ready" used on the "Stag Beetle". The inked block is placed into the press, the Cranes paper placed on top of it, and lastly this odd shaped additional piece of paper.
This extra sheet helps make the block print evenly. In this block, for example, the beetle's legs were printing perfectly, nice and crisp without the ink filling in the lines, but the body of the beetle needed a bit more pressure to get a deeper impression and a darker print. So the section of the block where the body of the insect is under the paper gets this extra layer of paper to add more pressure.

Inked beetle on press.

Ahh the best part... The big reveal!

All 4 insect blocks were printed in an edition of 100, so the whole shop was covered in 400 drying bug prints for a few days.
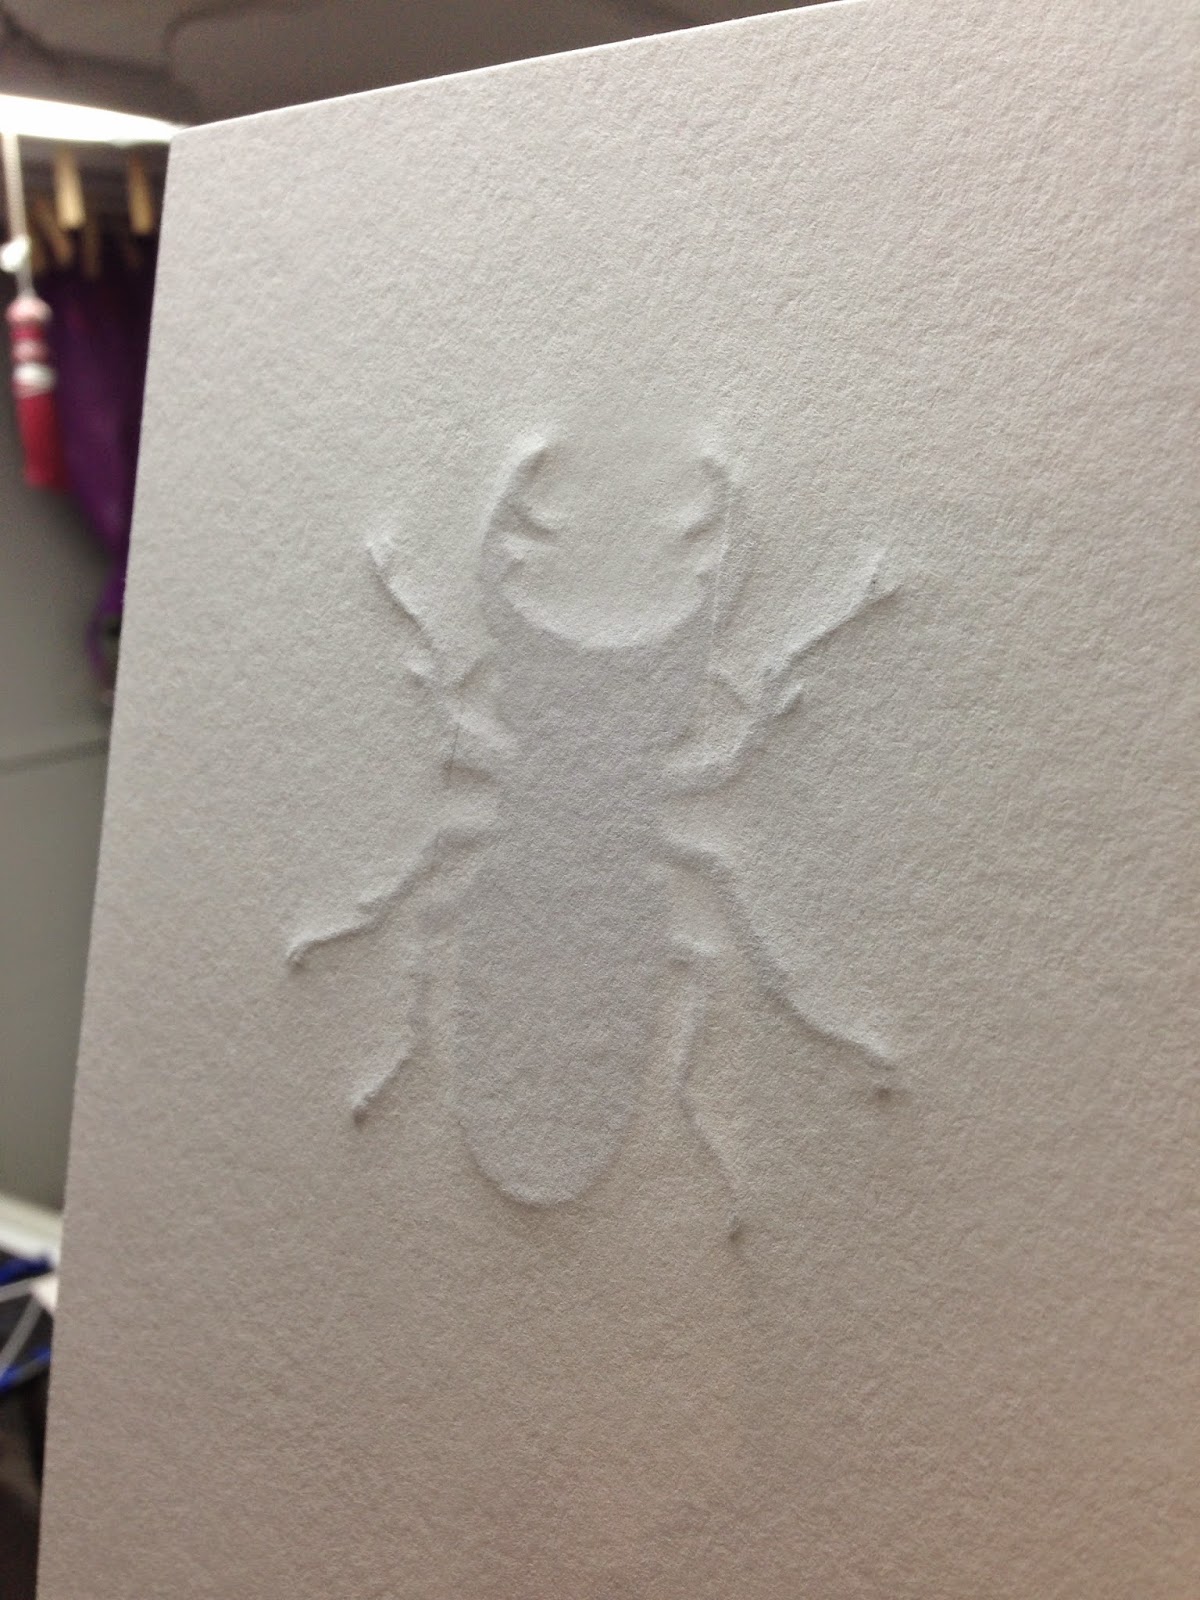
A look at the back of the print. DEEP impression.
The "Rhinoceros Beetle" block cleaned off after its print run. Because these blocks were printed with such a tremendous amount of pressure, the entire area around the beetle had to be carved and sanded down to almost the bare wood of the block. Leaving any little bumps in that large section would make a bump or a dent in the paper while printing.

Invasion

Taking advantage of out Slinky drying rack, which is the greatest thing ever.
Need a drying rack that holds 70 cards or prints? For about $5? Take a Slinky, stretch it out over a piece of 2x4 and staple it down. TADA!!!!

Final print of the Cicada.
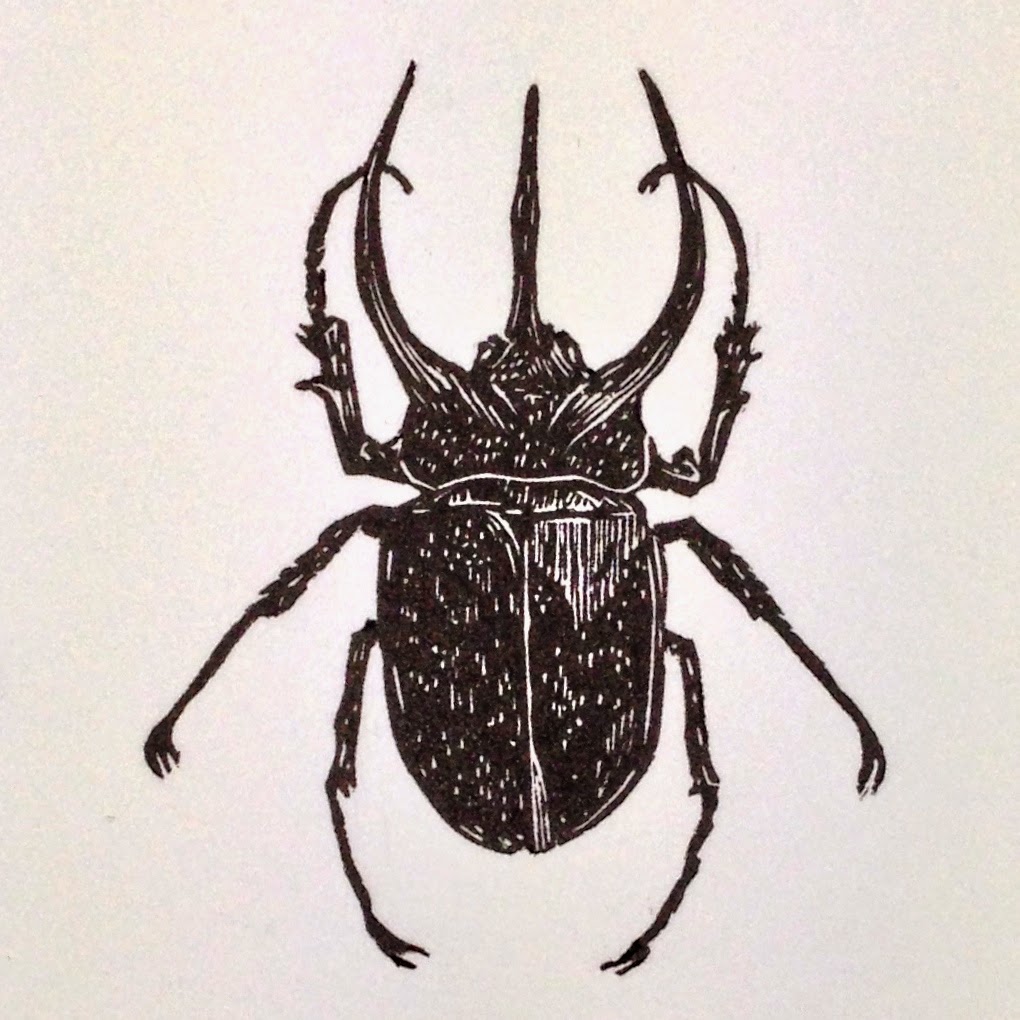
Final print of the Rhinoceros Beetle.
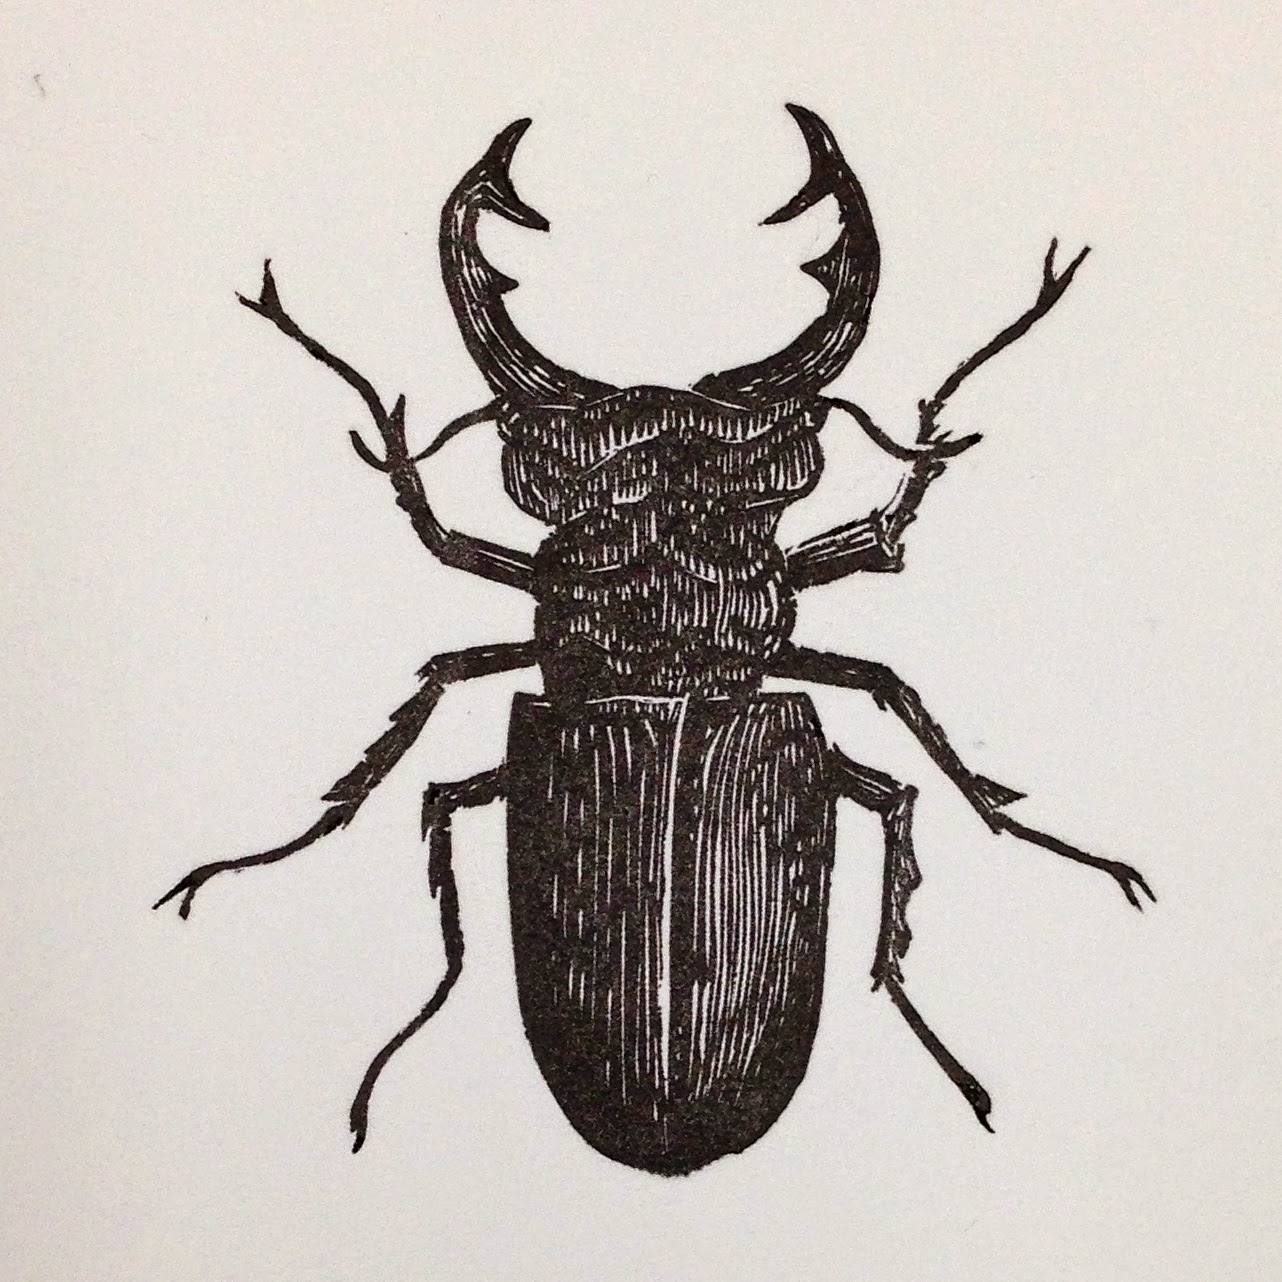
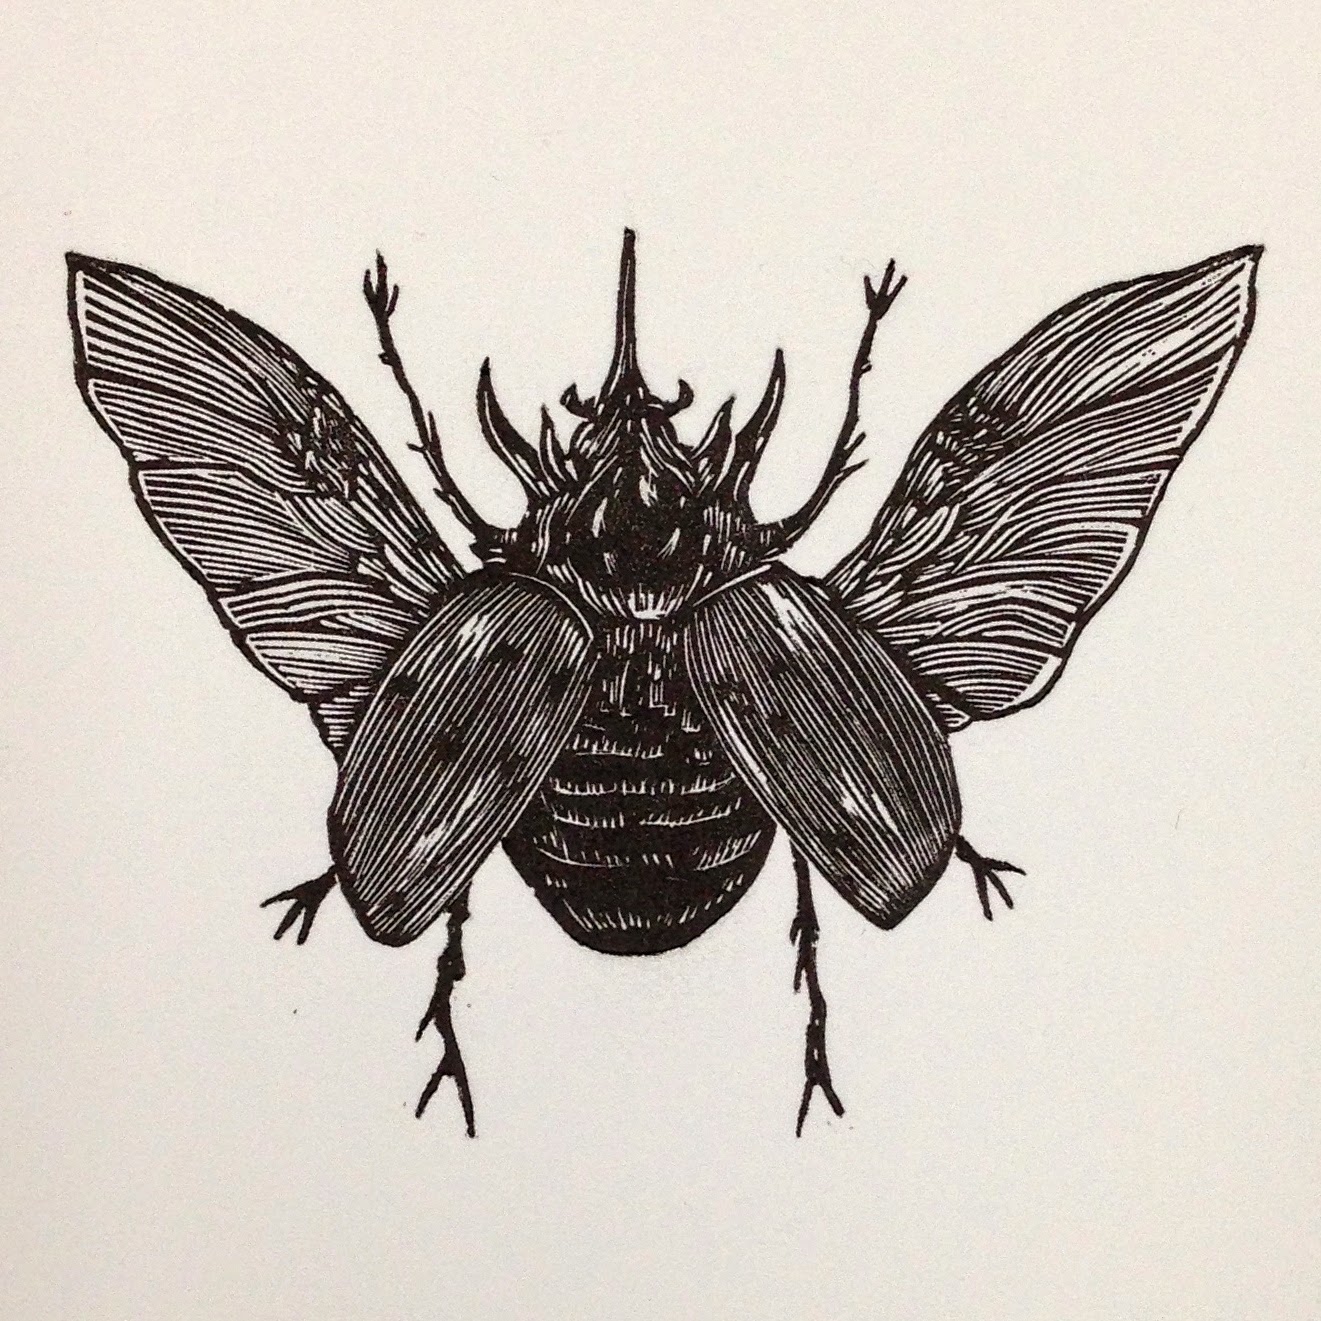
Final print of the Stag Beetle.
Final print of the Atlas Beetle.

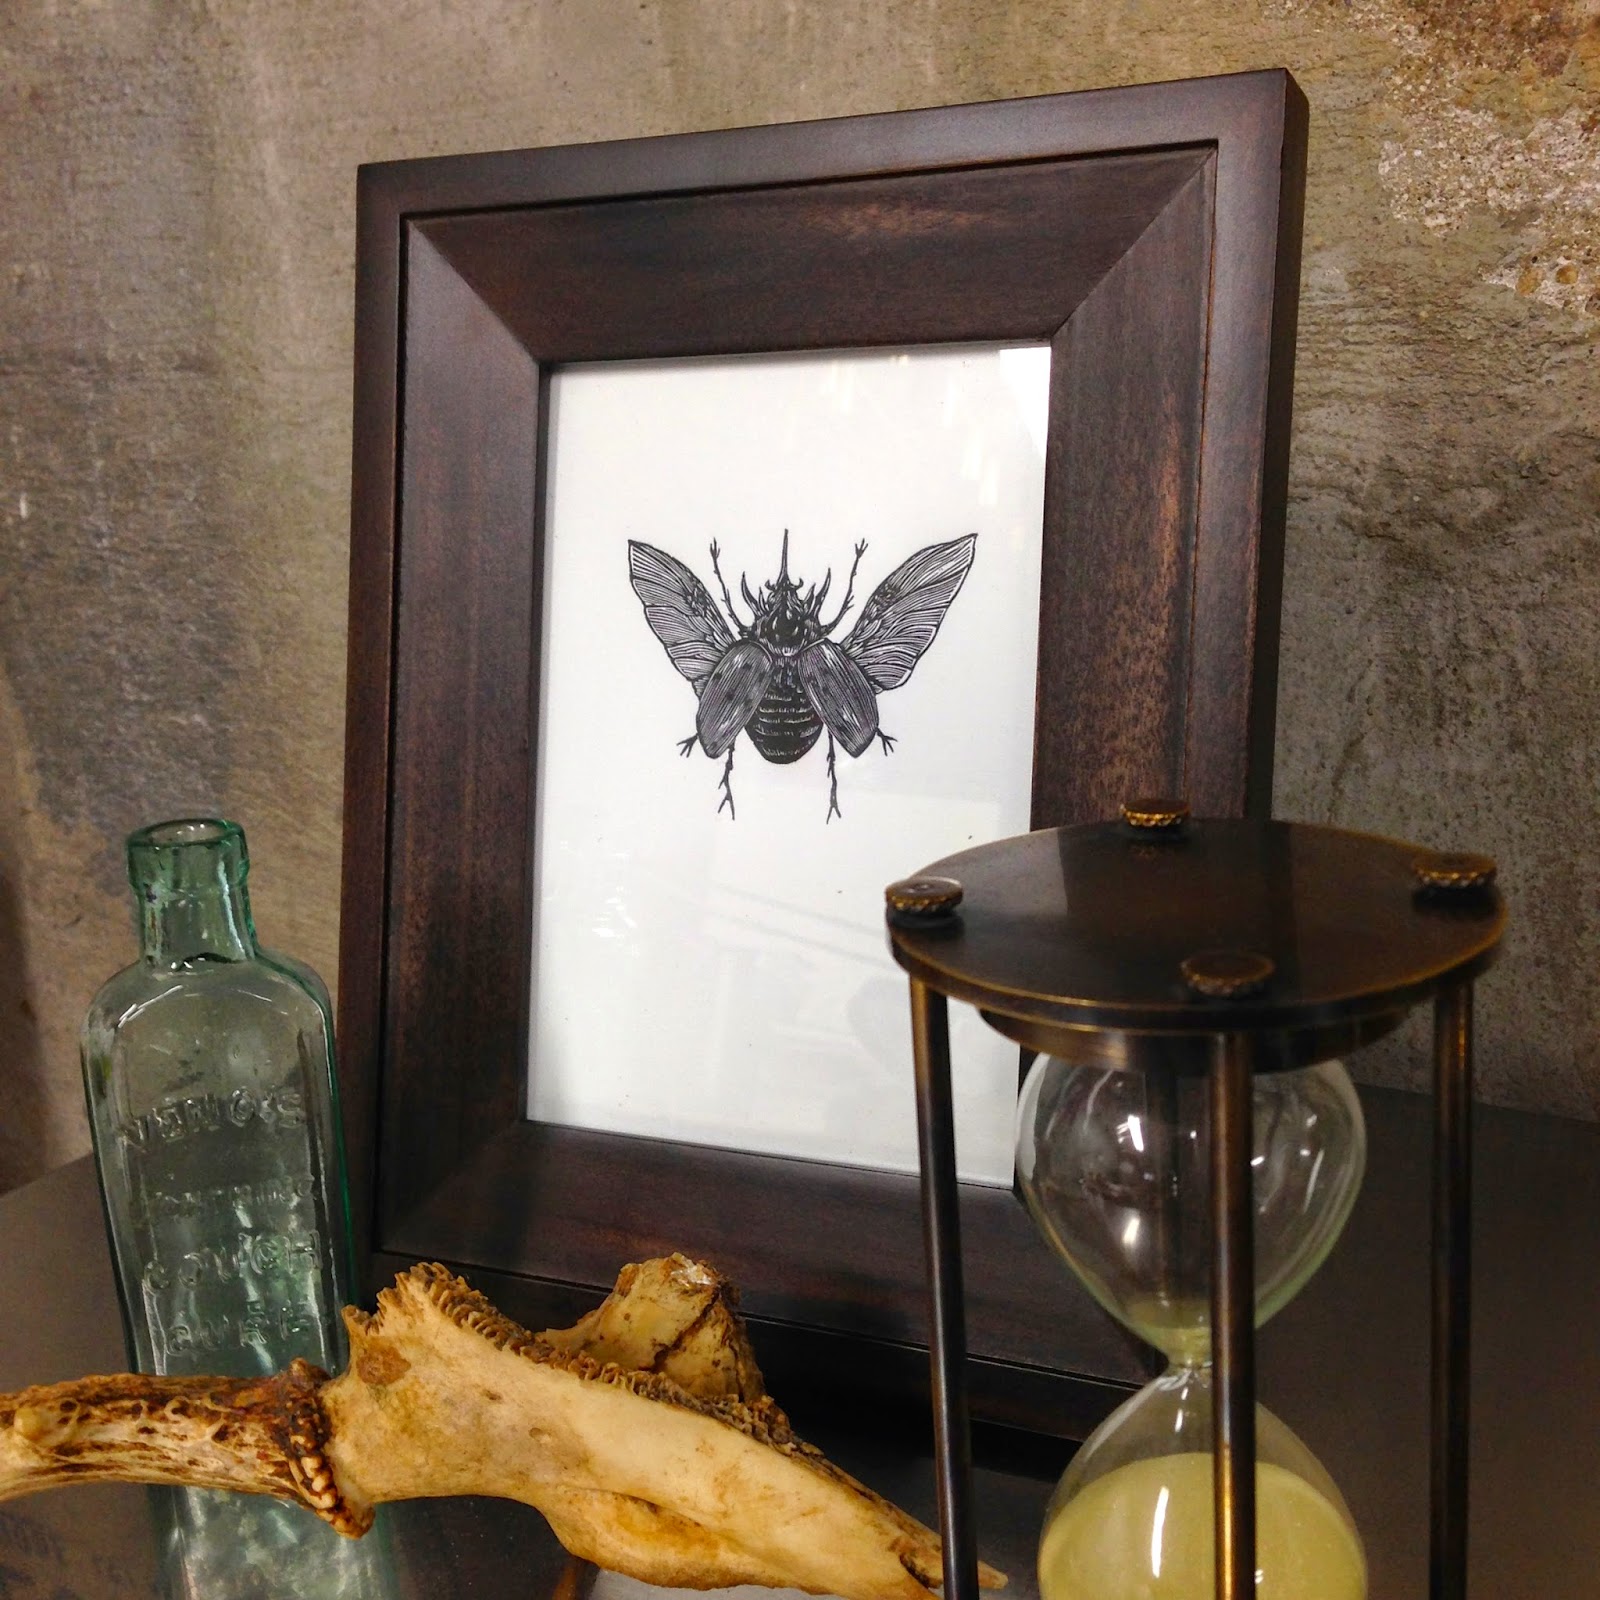
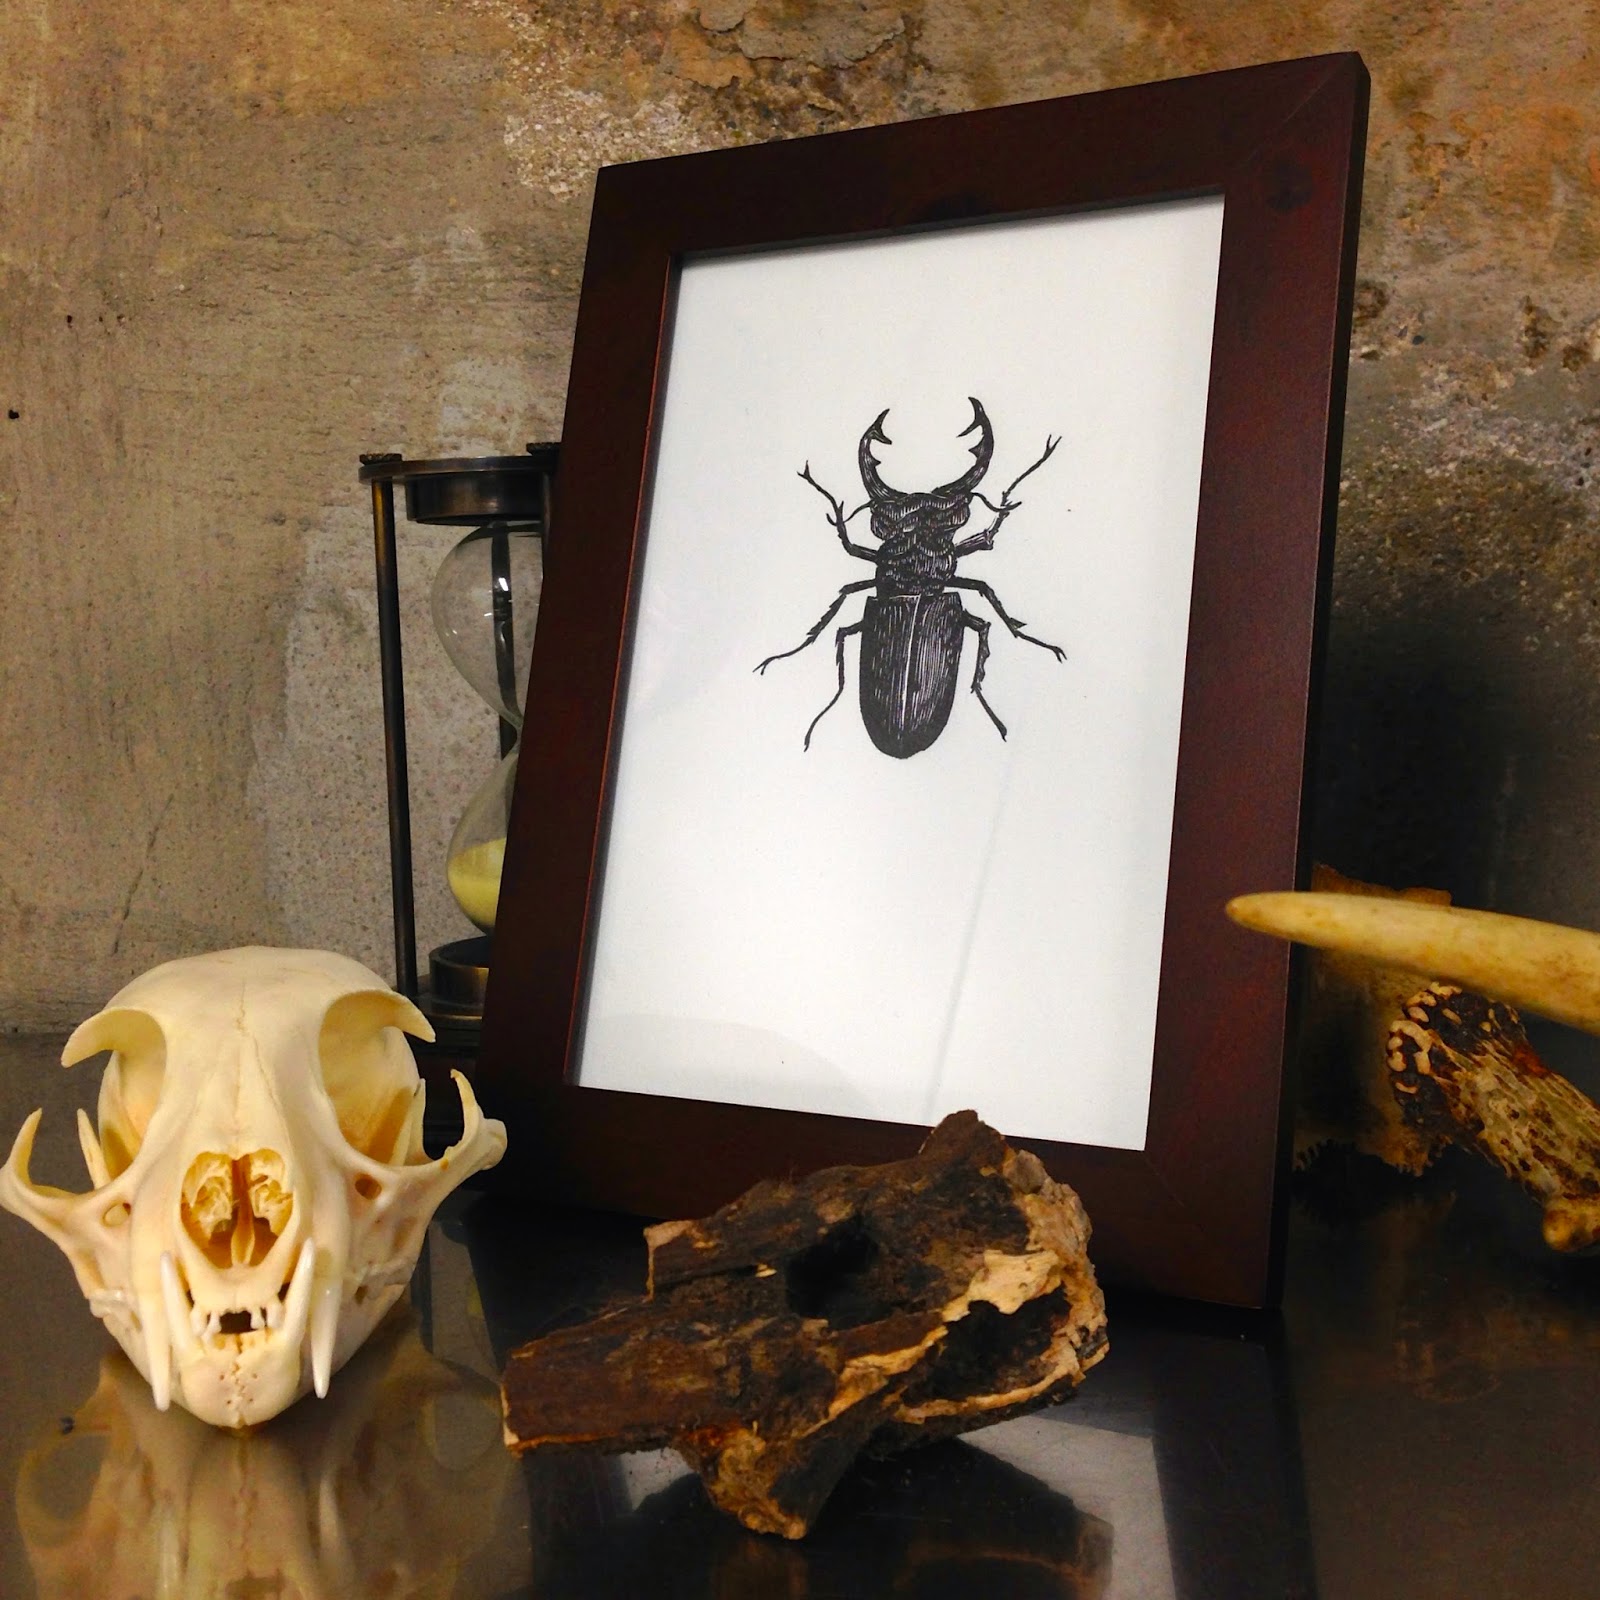
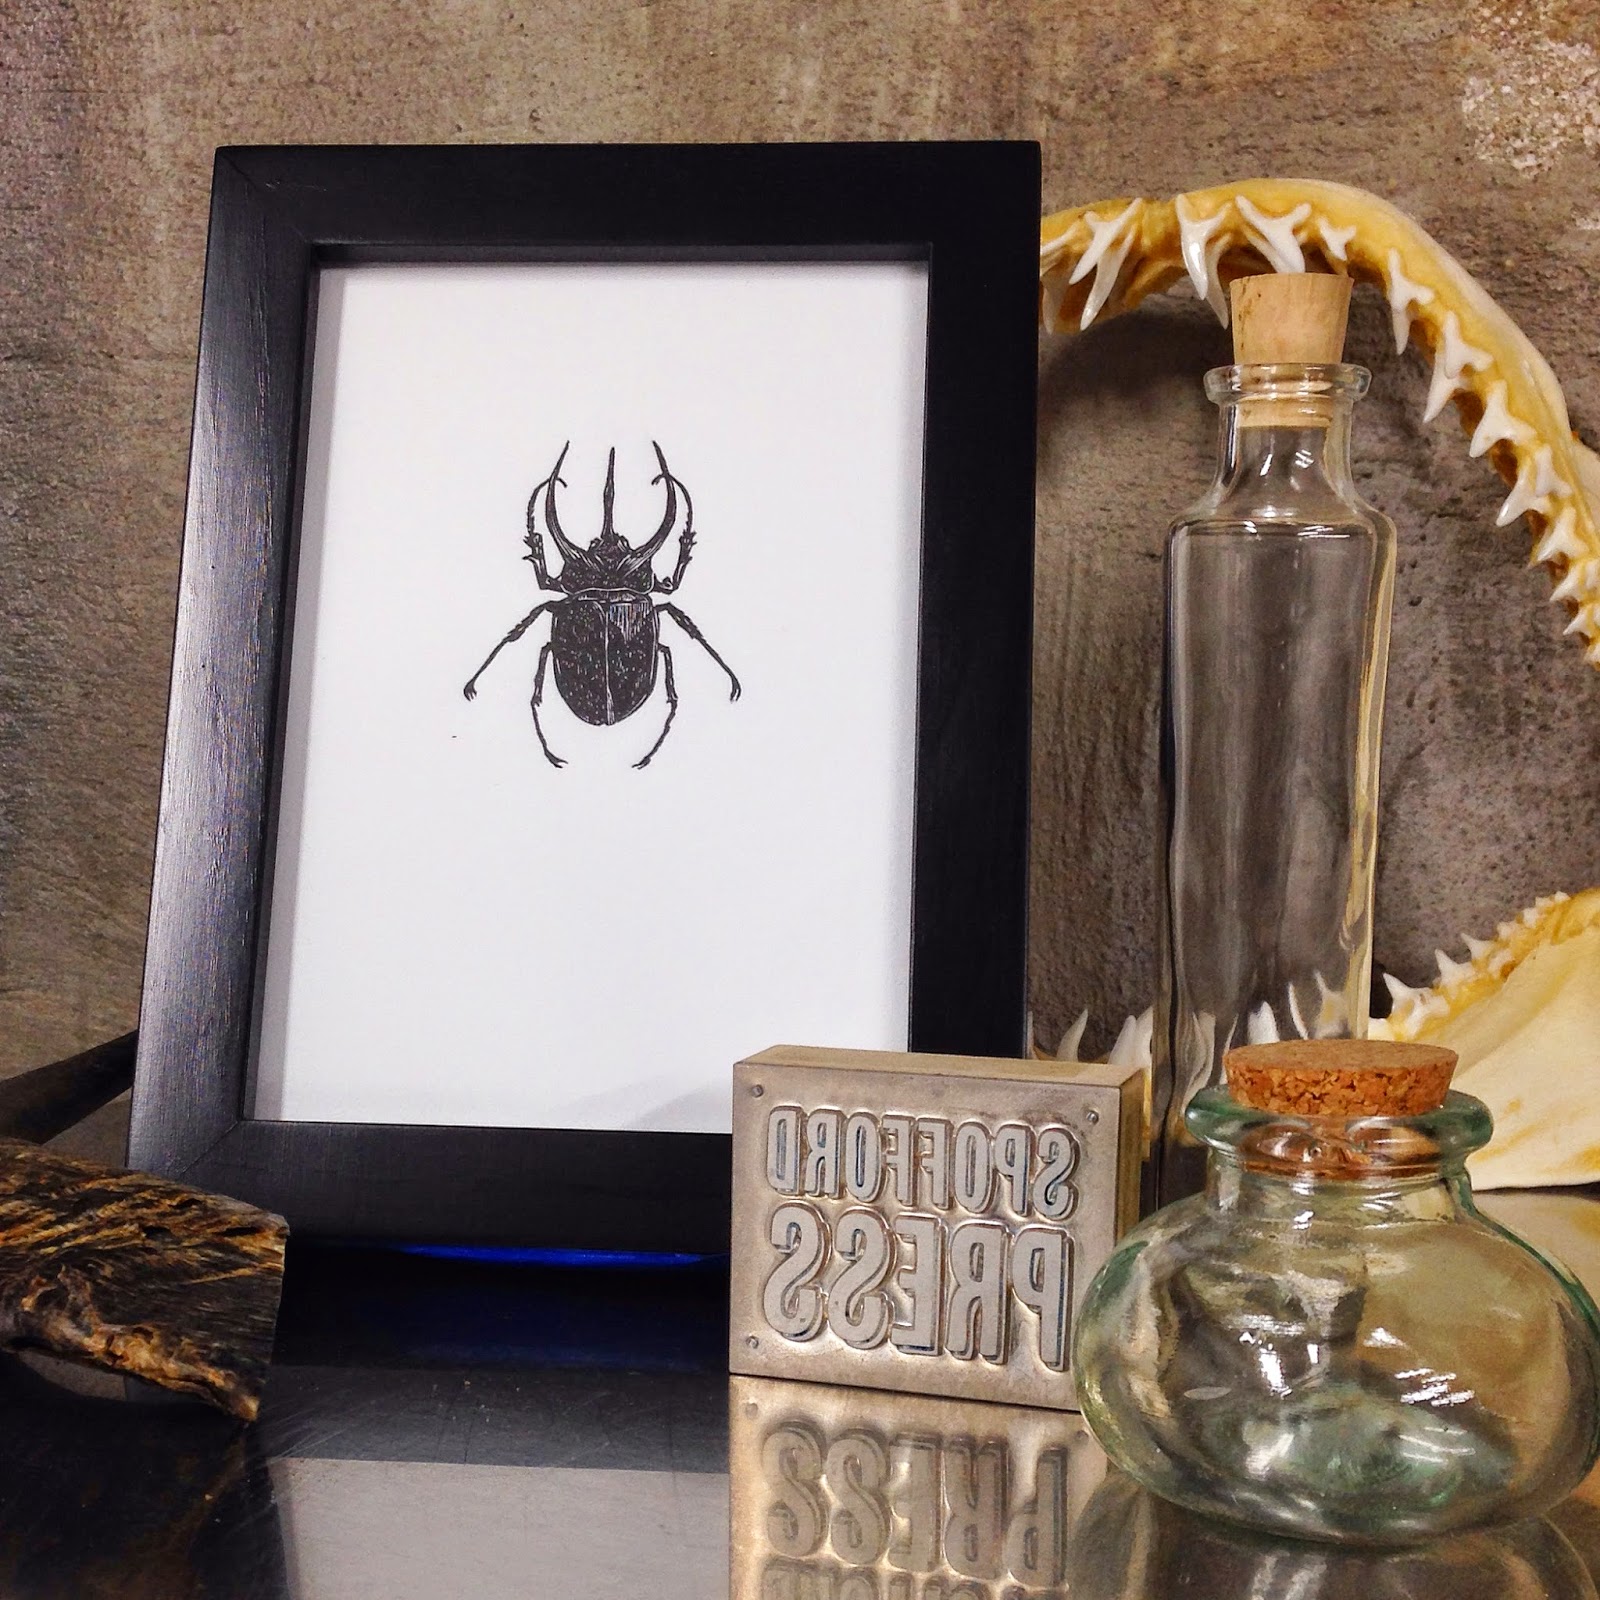
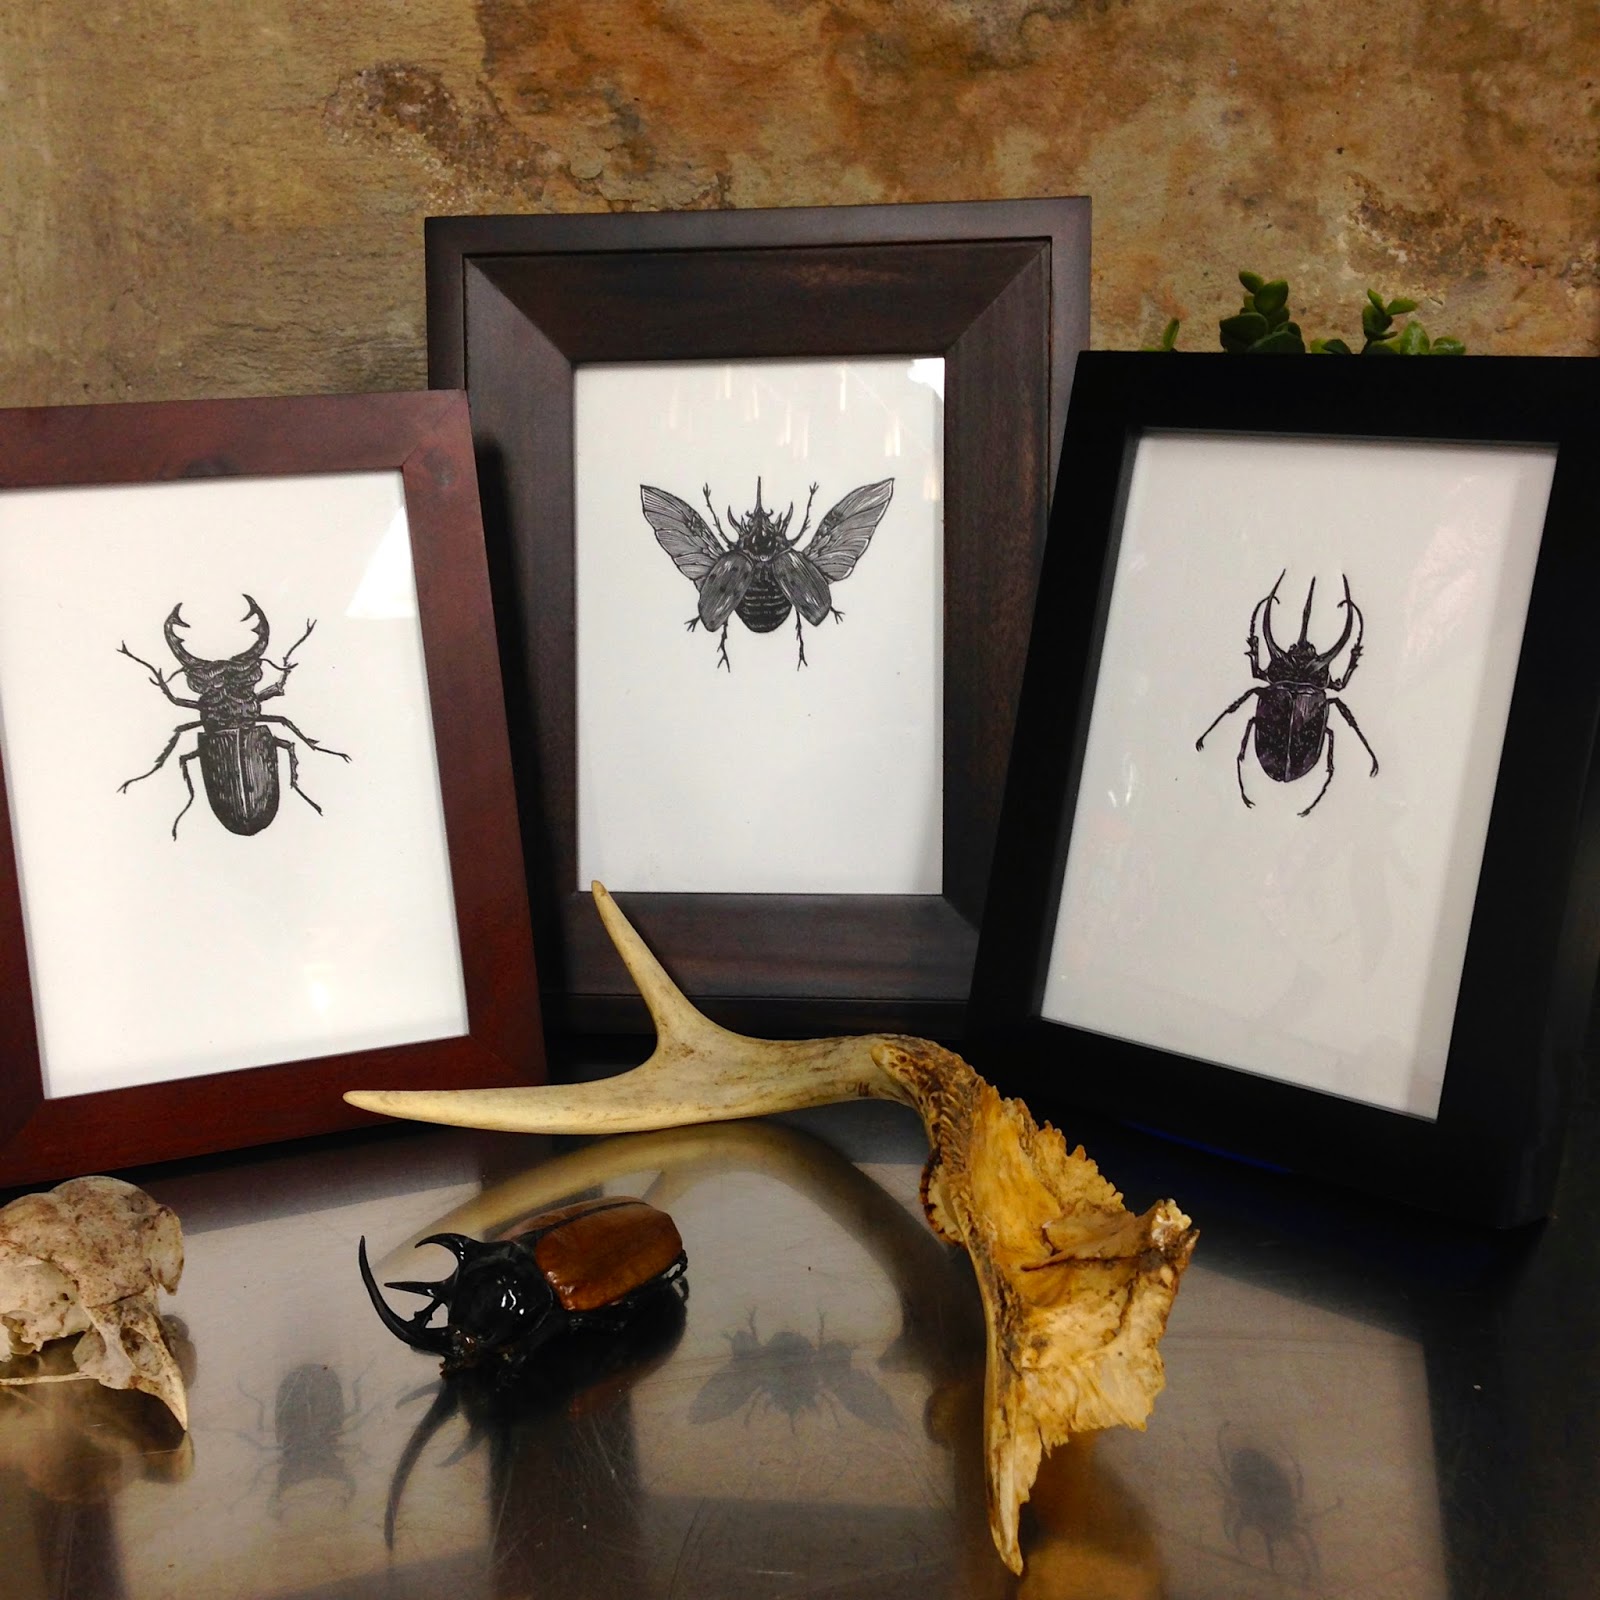
All framed up! The paper is exactly 5x7 inches which makes for very easy framing!
I started this project in August and worked on engraving the blocks between other projects. We just printed and finished the editioning this past week, and they are available in our shop separately as well as in sets!


