Two New Prints!
I have been pretty productive this past month! We have 2 new prints editioned and ready to go!
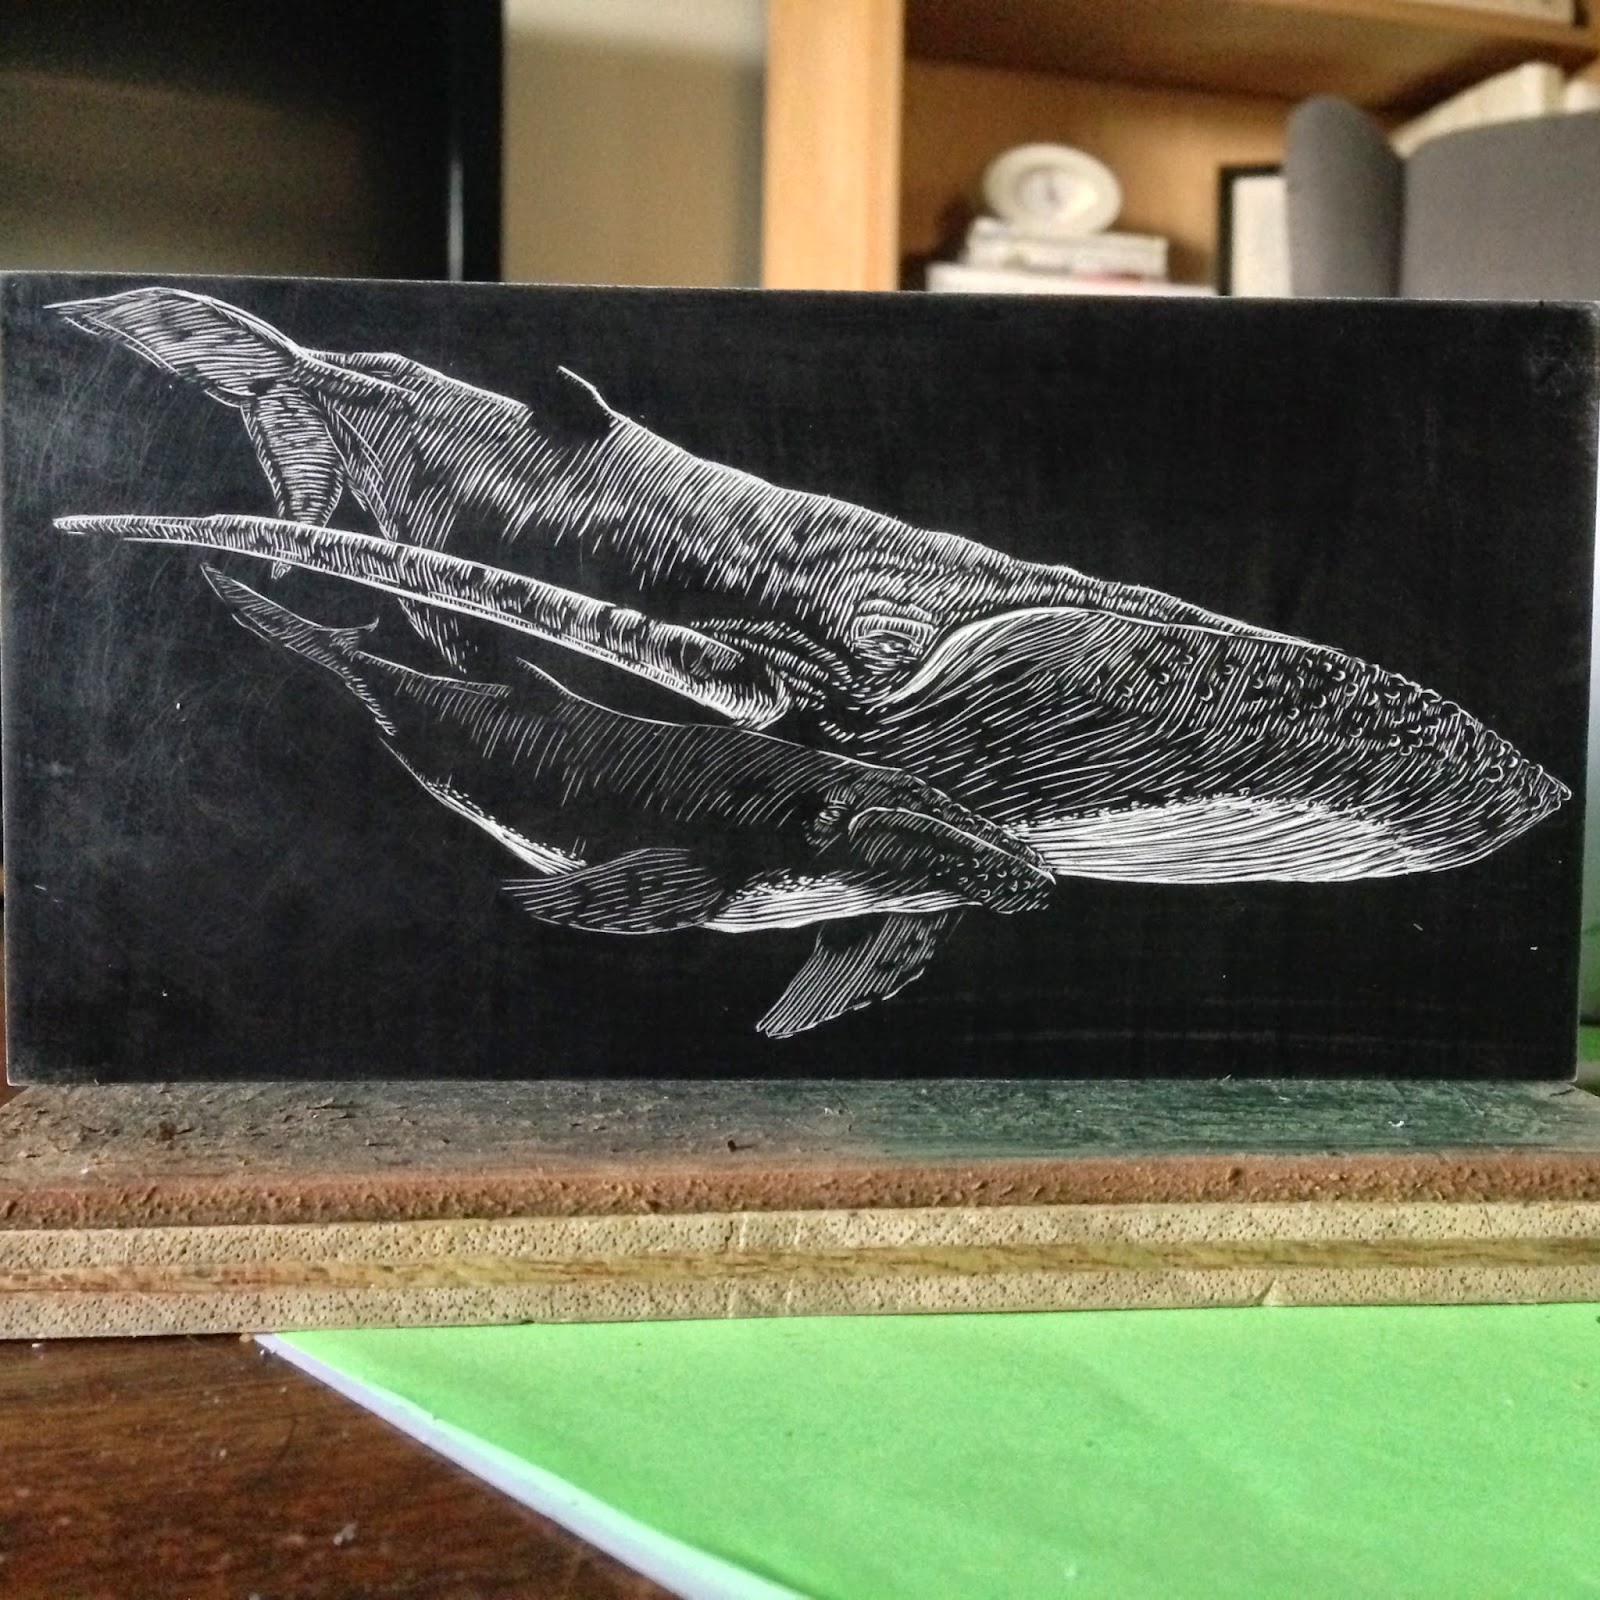
The 1st is a new Resingrave engraving of 2 whales titled "Mother and Calf". The block size is only 3x6 inches. Here are the process steps of engraving the block along with printing the final image!

Drawing of the whales on the block.
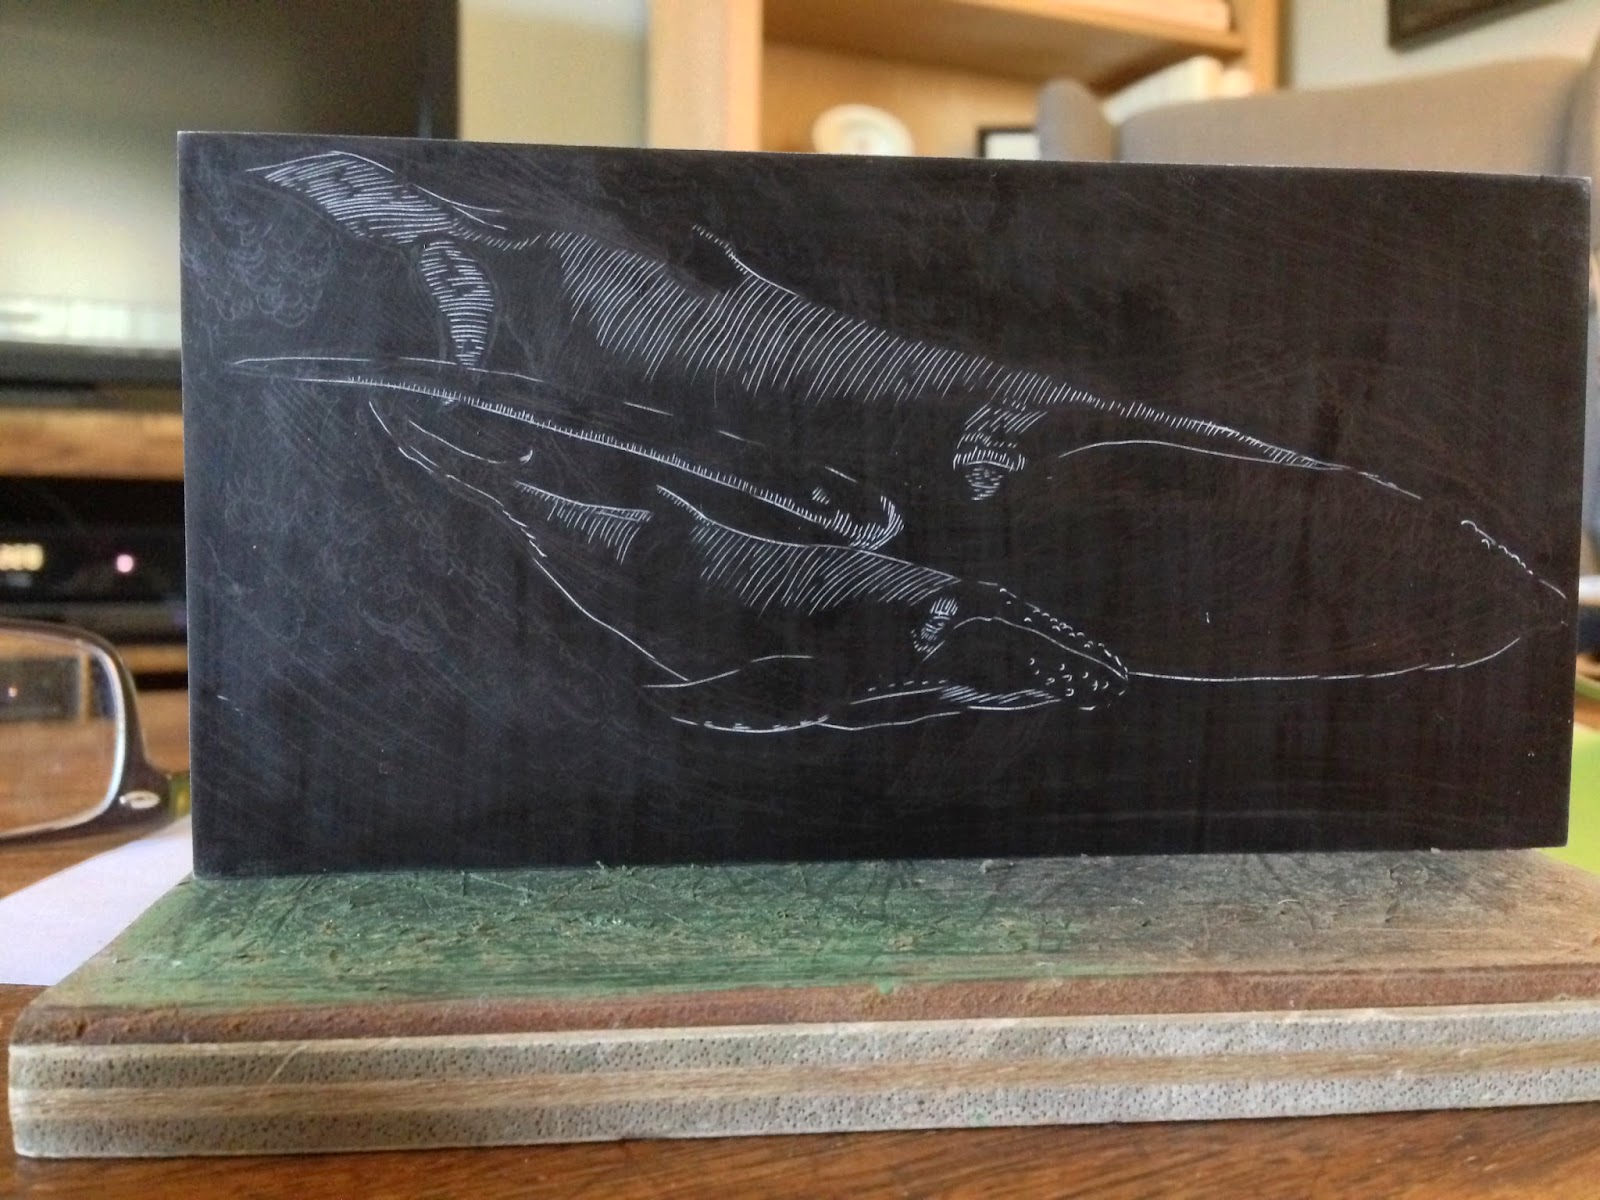
The 1st engraved lines. They are very faint and help layout where all of the shadows and details will be.

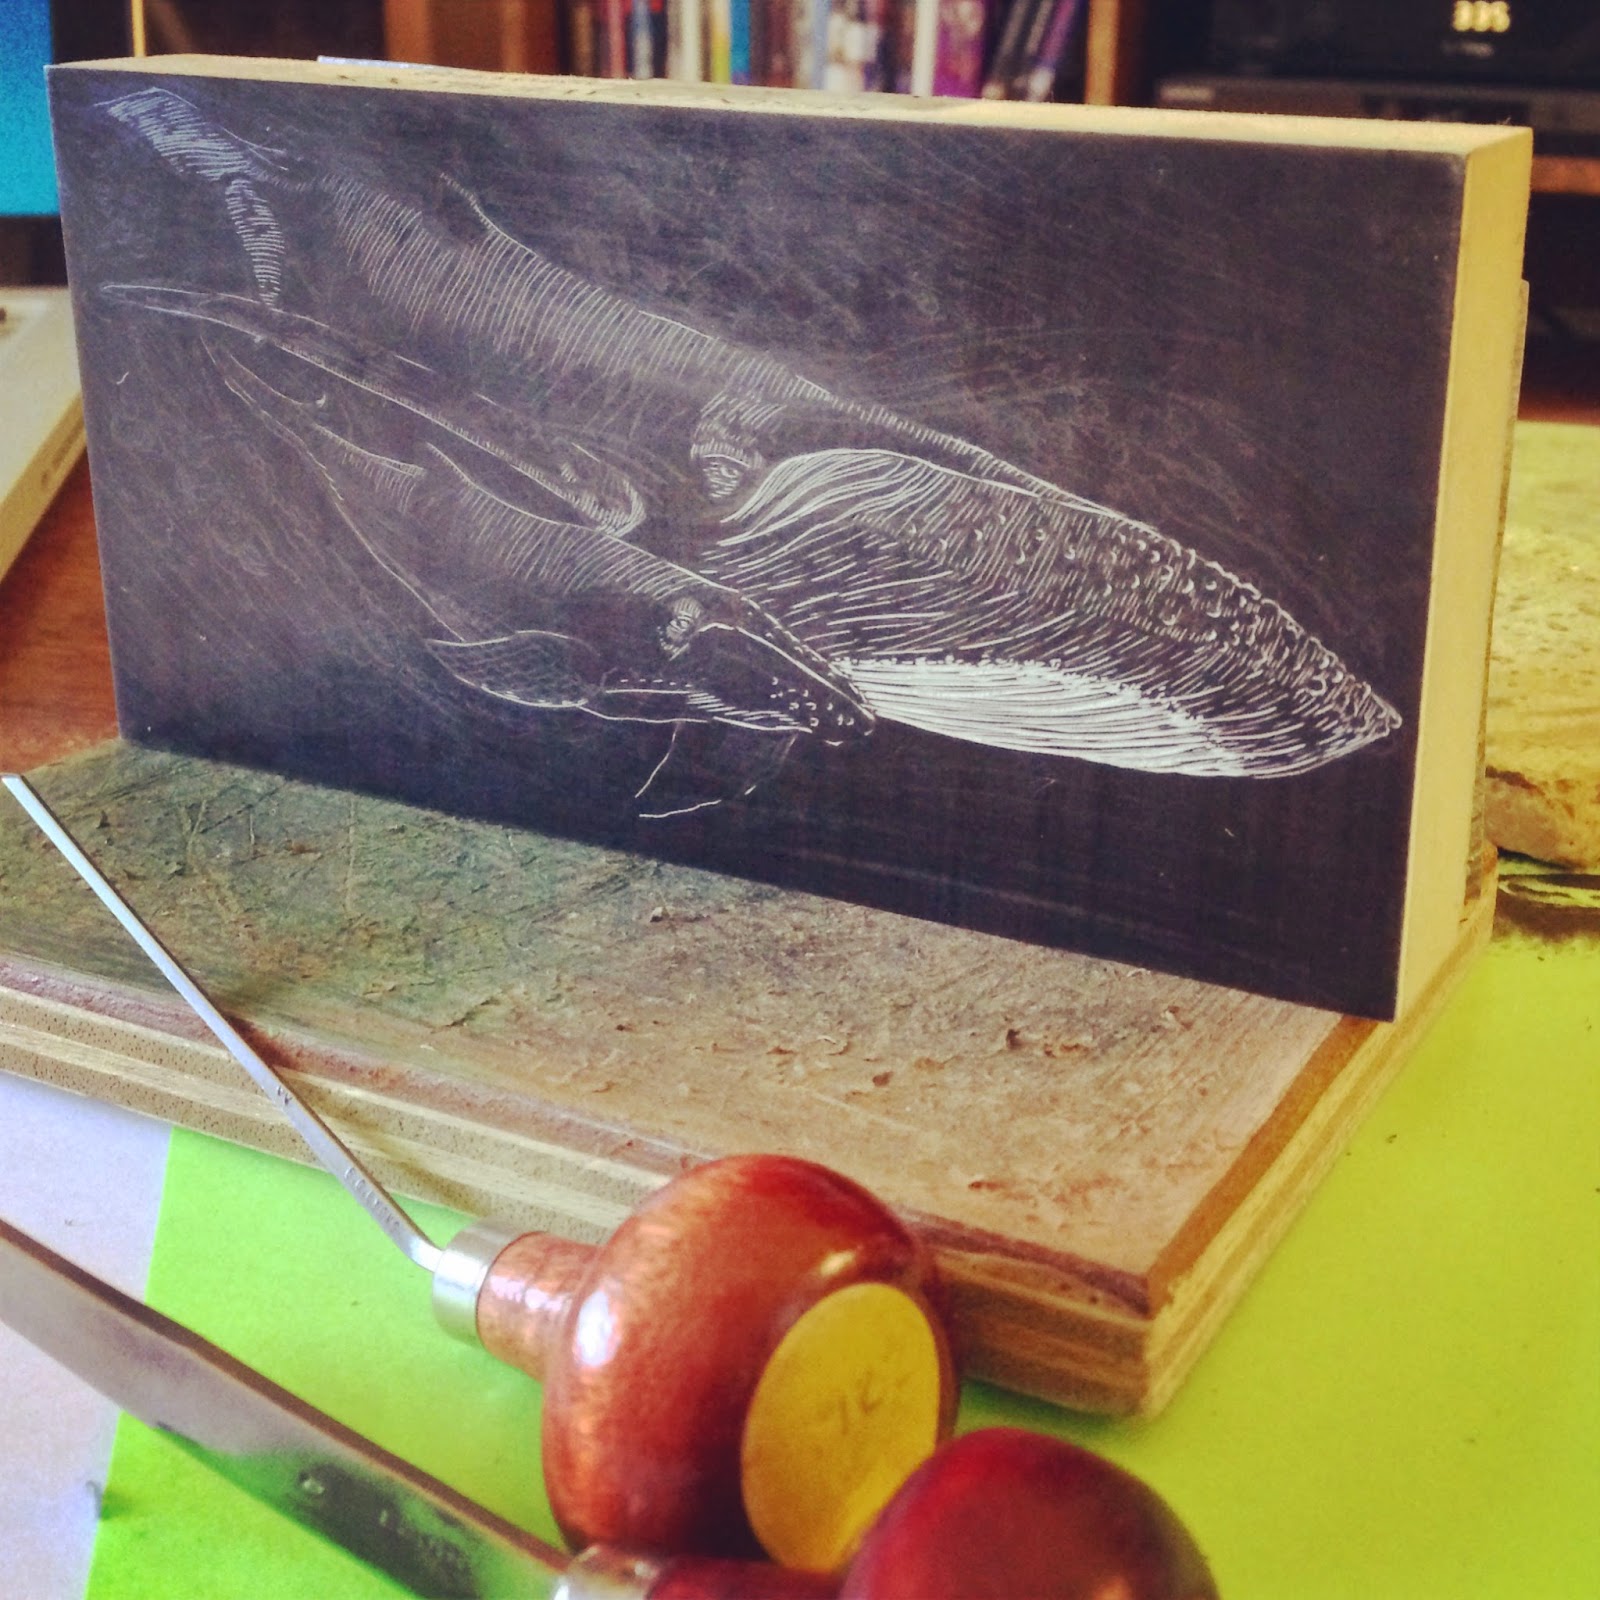
Here I'm using a diamond shaped engraving burin. Lines don't get much finer then these.
Coming Along...
Here is the block right before adding highlights to the small calf.

Here is the calf with the highlights engraved.
The block sans background.
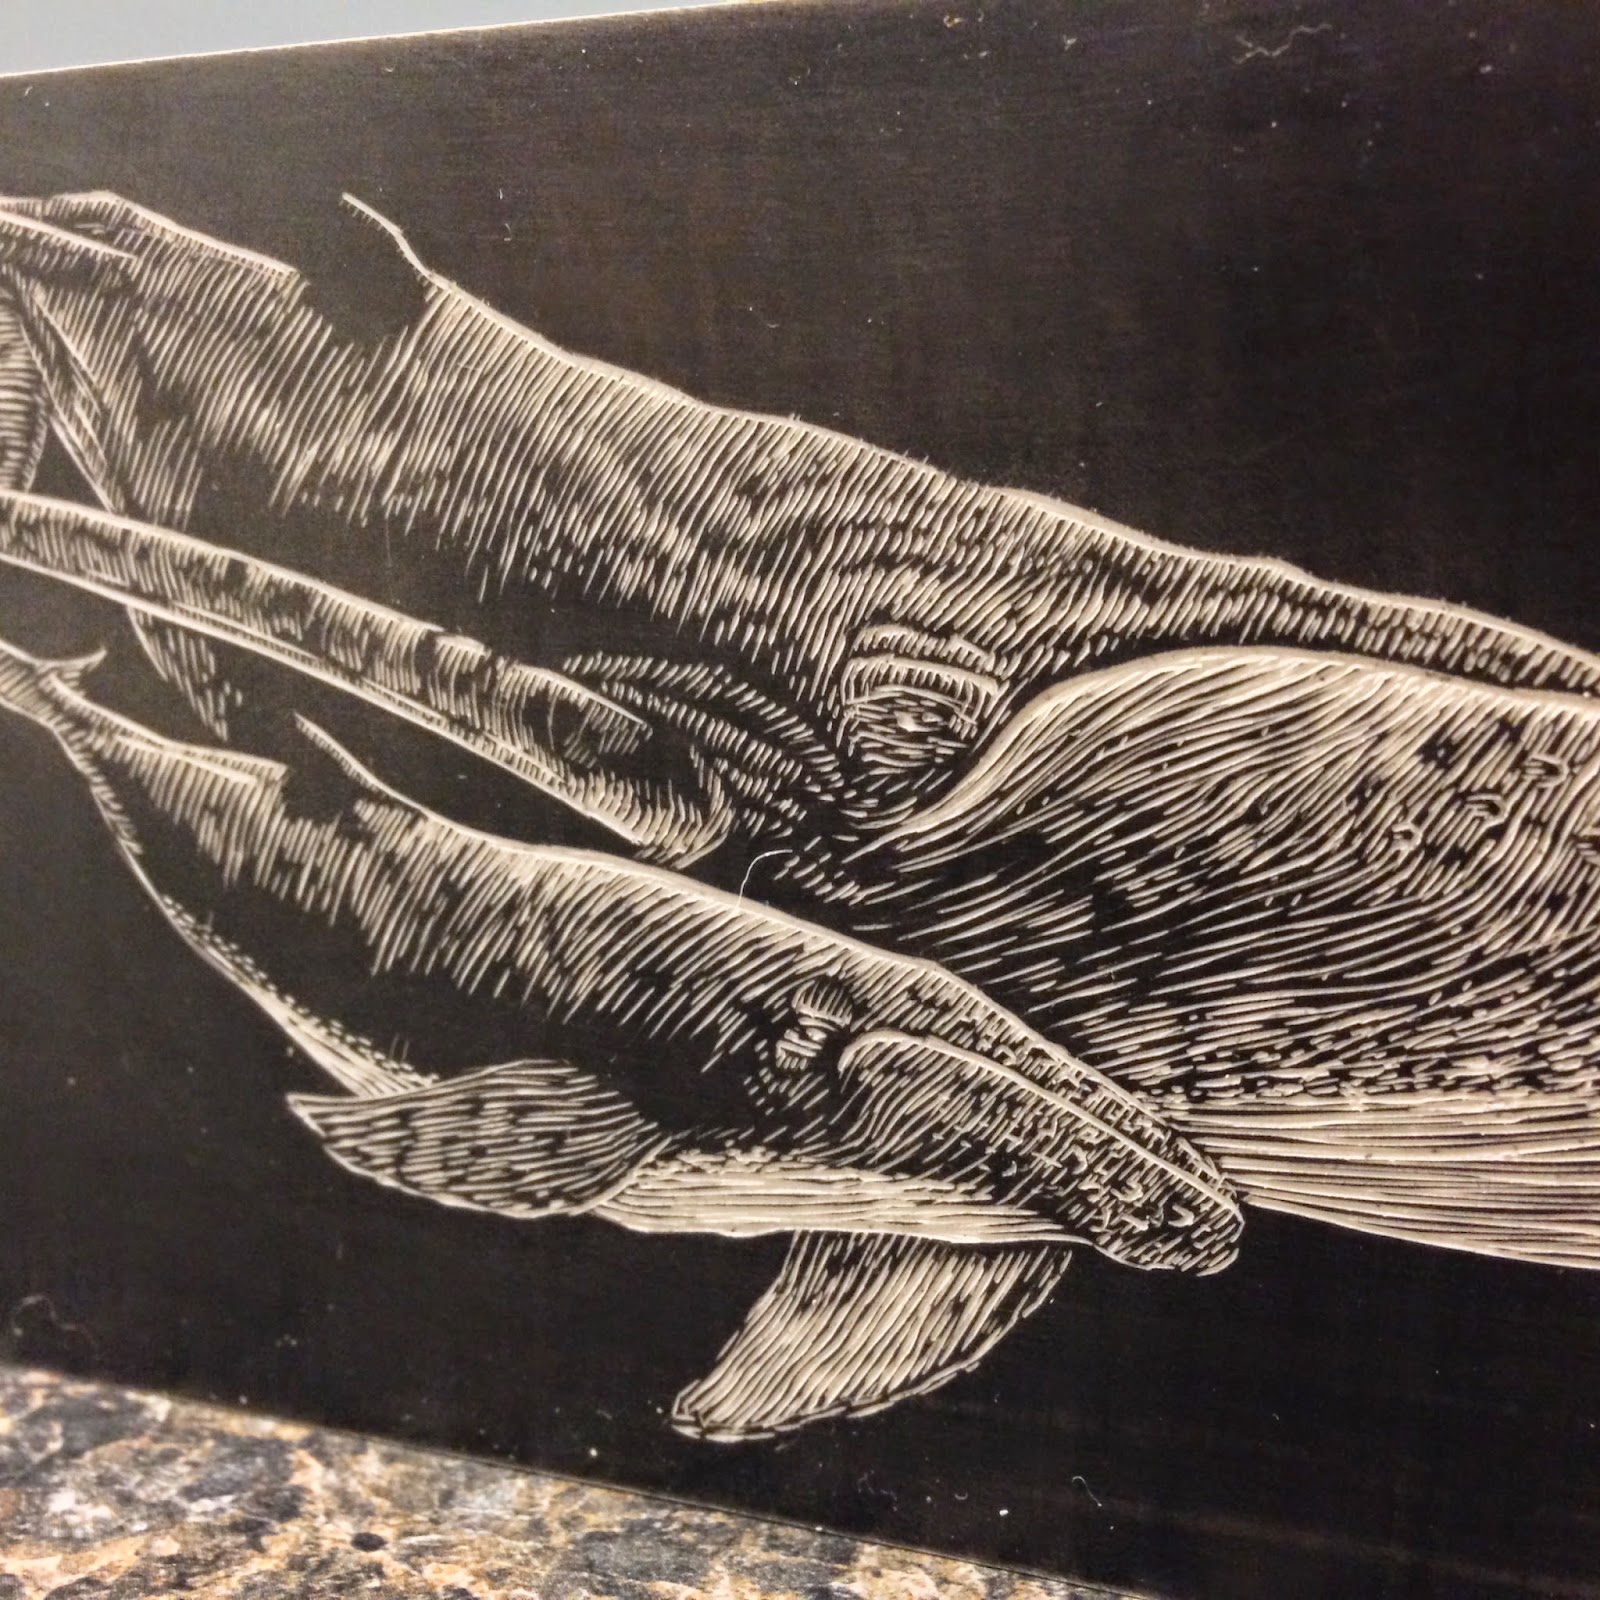
Close Up!

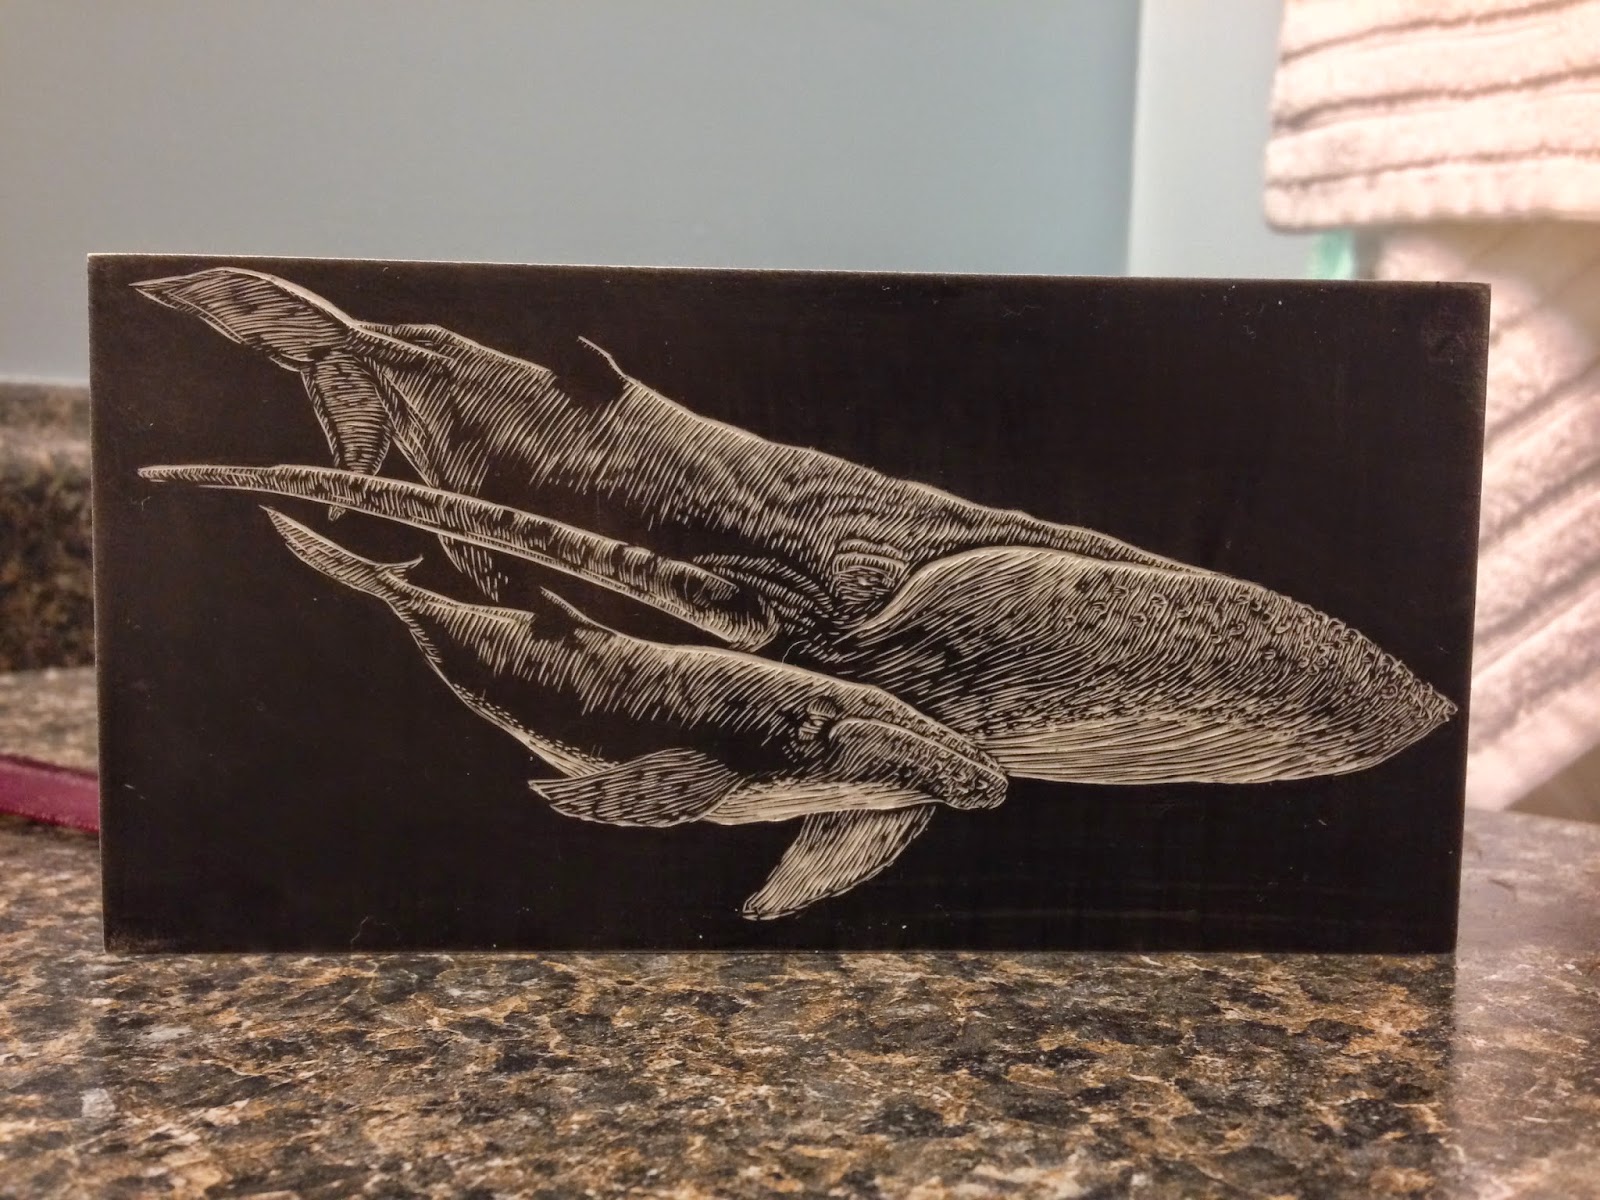
The final block ready to print!

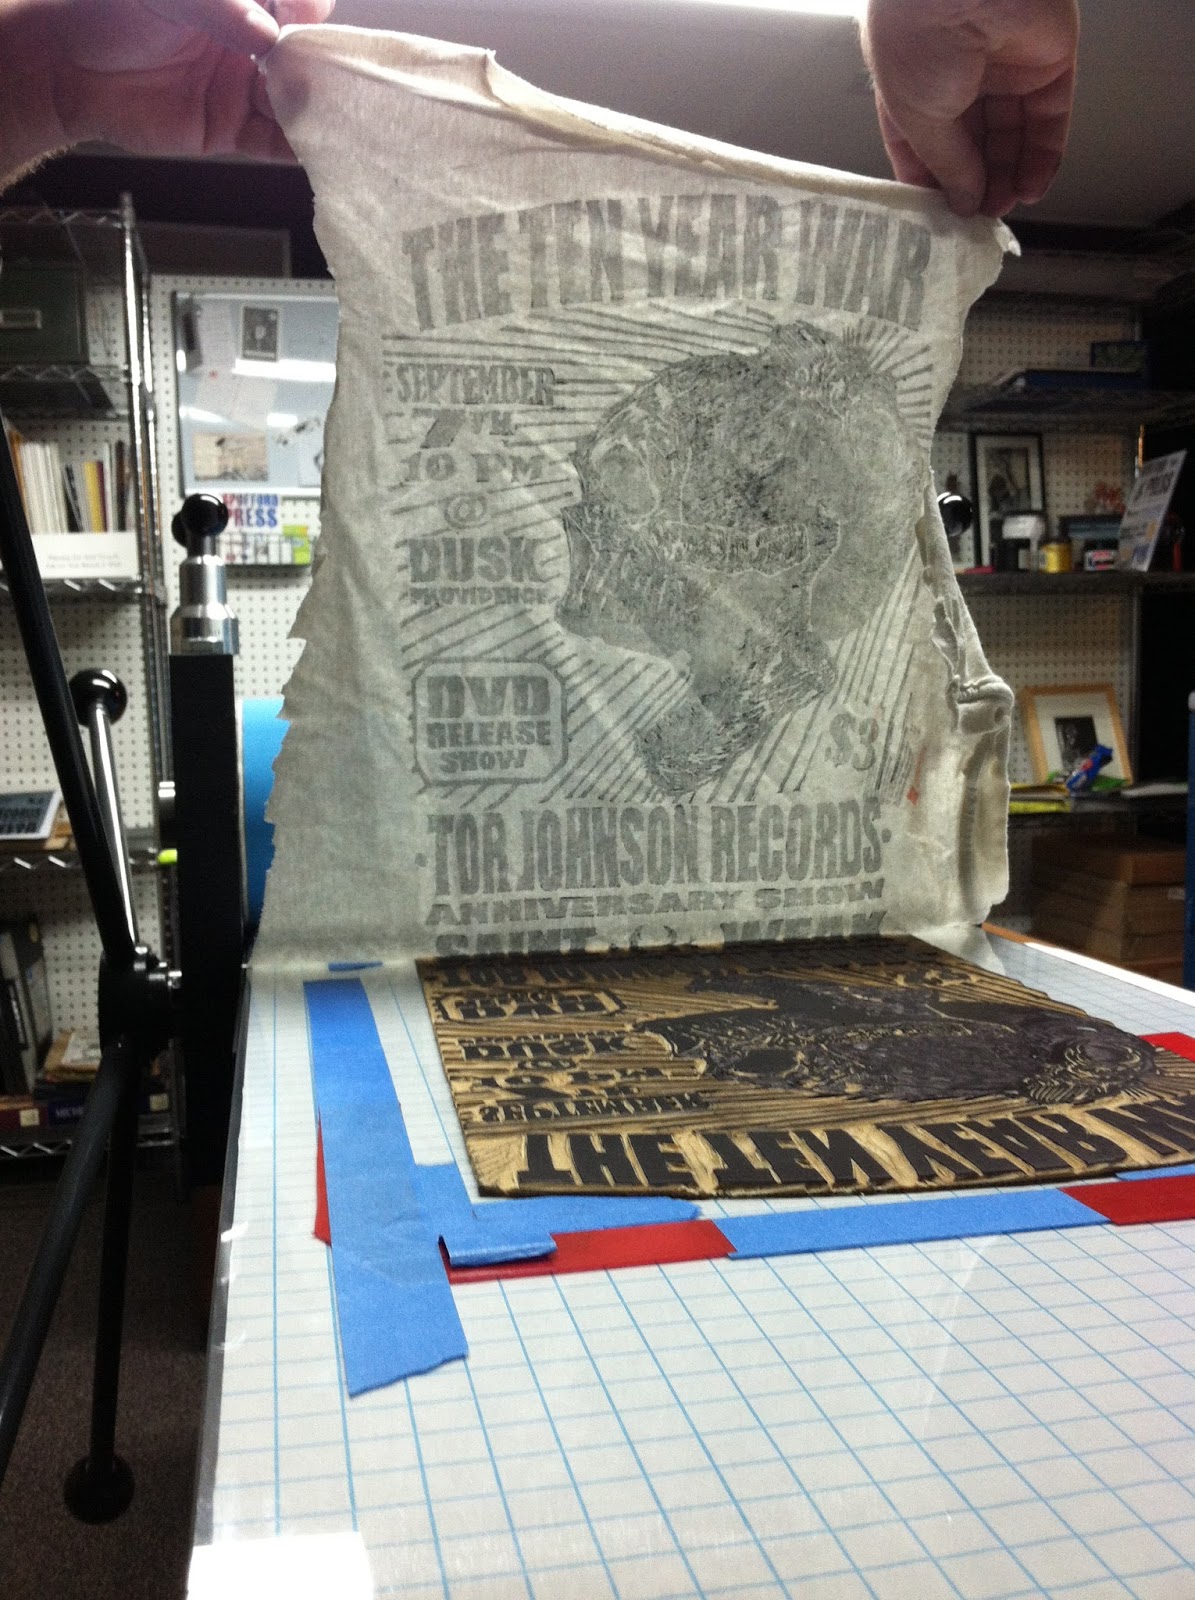
Oh there's nothing more satisfying then pulling that 1st beautiful print!

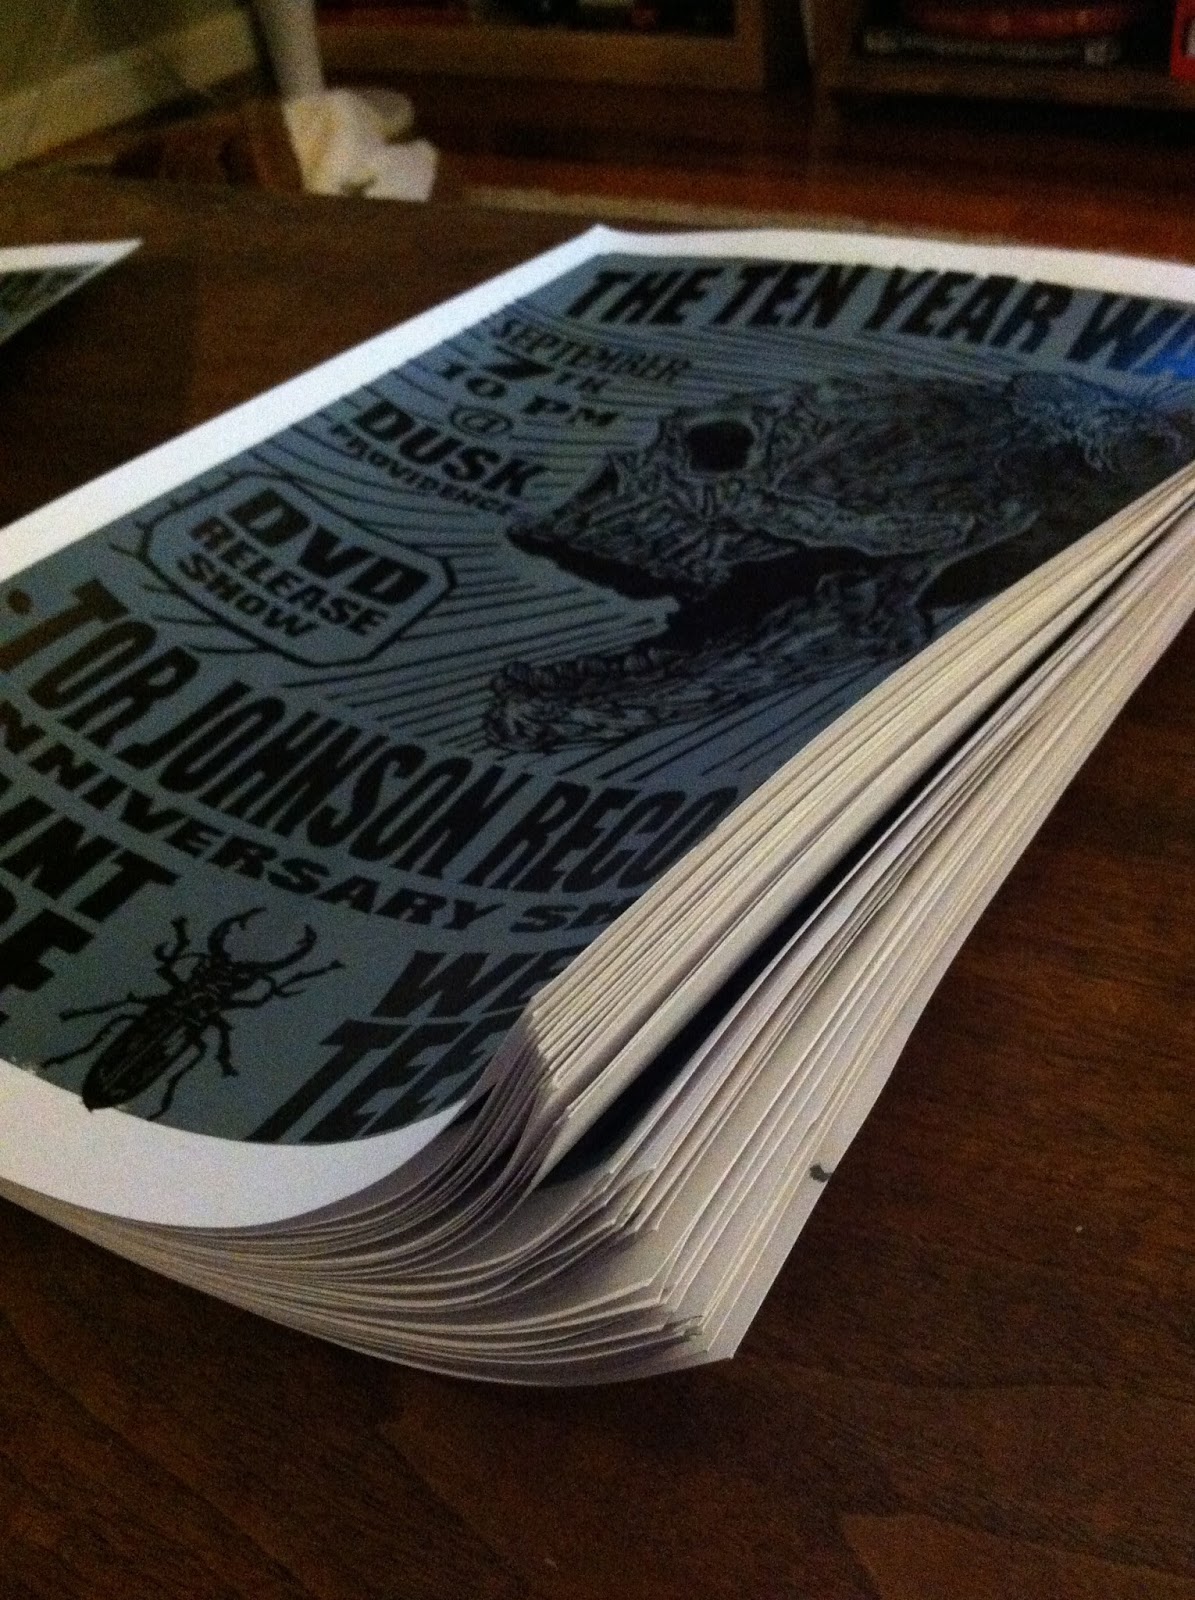
Mother and Calf - printed in an edition of 50 on Zerkall paper.
. . .
Once "Mother and Calf" was editioned, I purchased a set of linocut tools from Flexcut called the Micro Palm Tool Set. I had to try them out, so I prepped a 12x12 inch linoleum block with an older design I had and started carving. The tools are amazing when it comes to fine line detail work! Here are some process pictures. The print is titled "Pretending To". It was printed on Domestic Etching Paper in a very small edition of 20.

The Tool Set.

Transferring the image onto the linoleum.


Carving Begins.
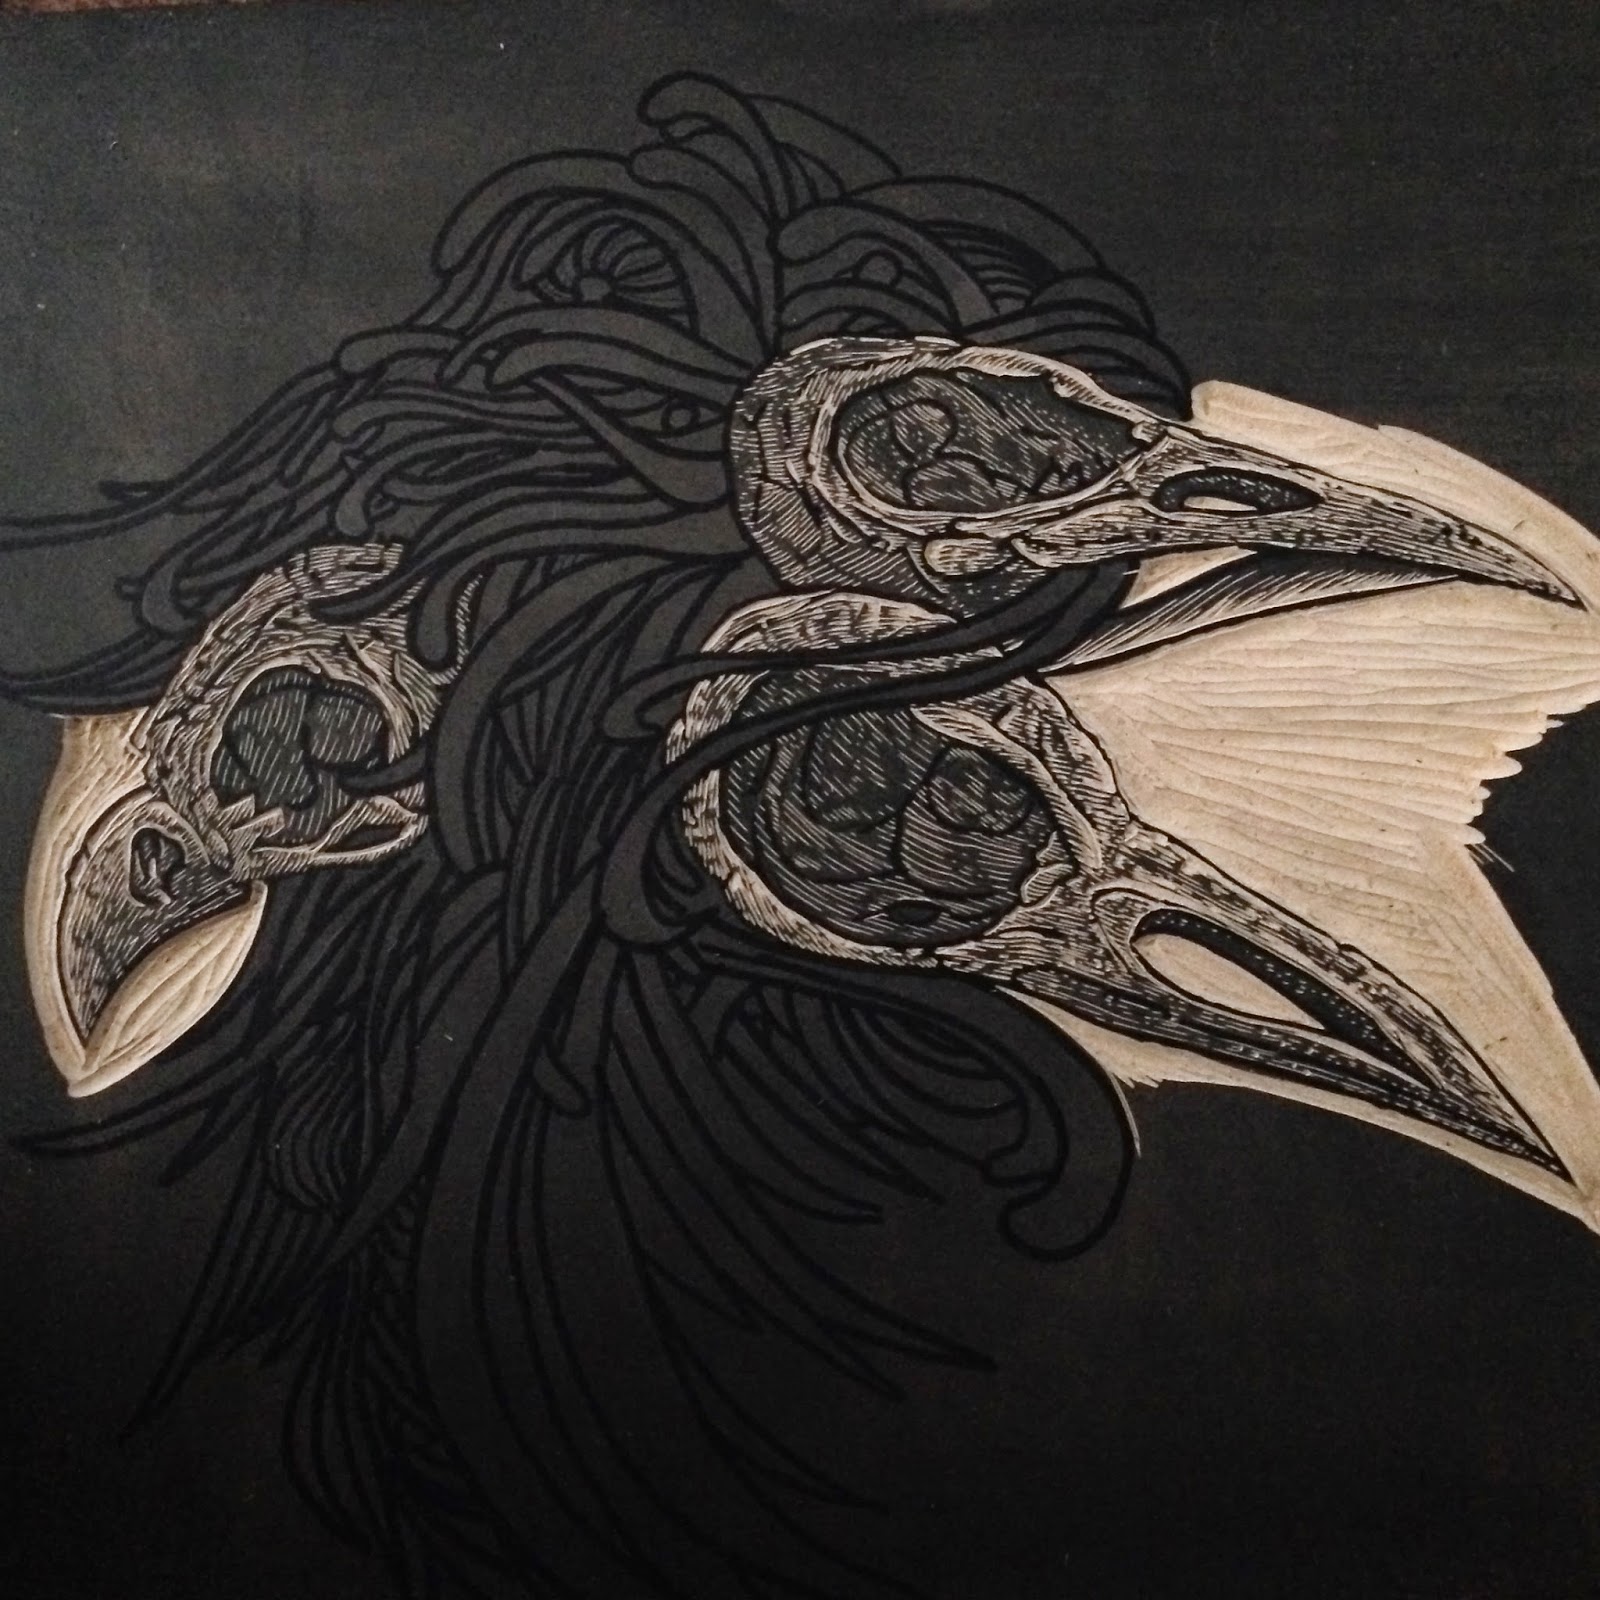

Coming Along

The final block ready for the press.
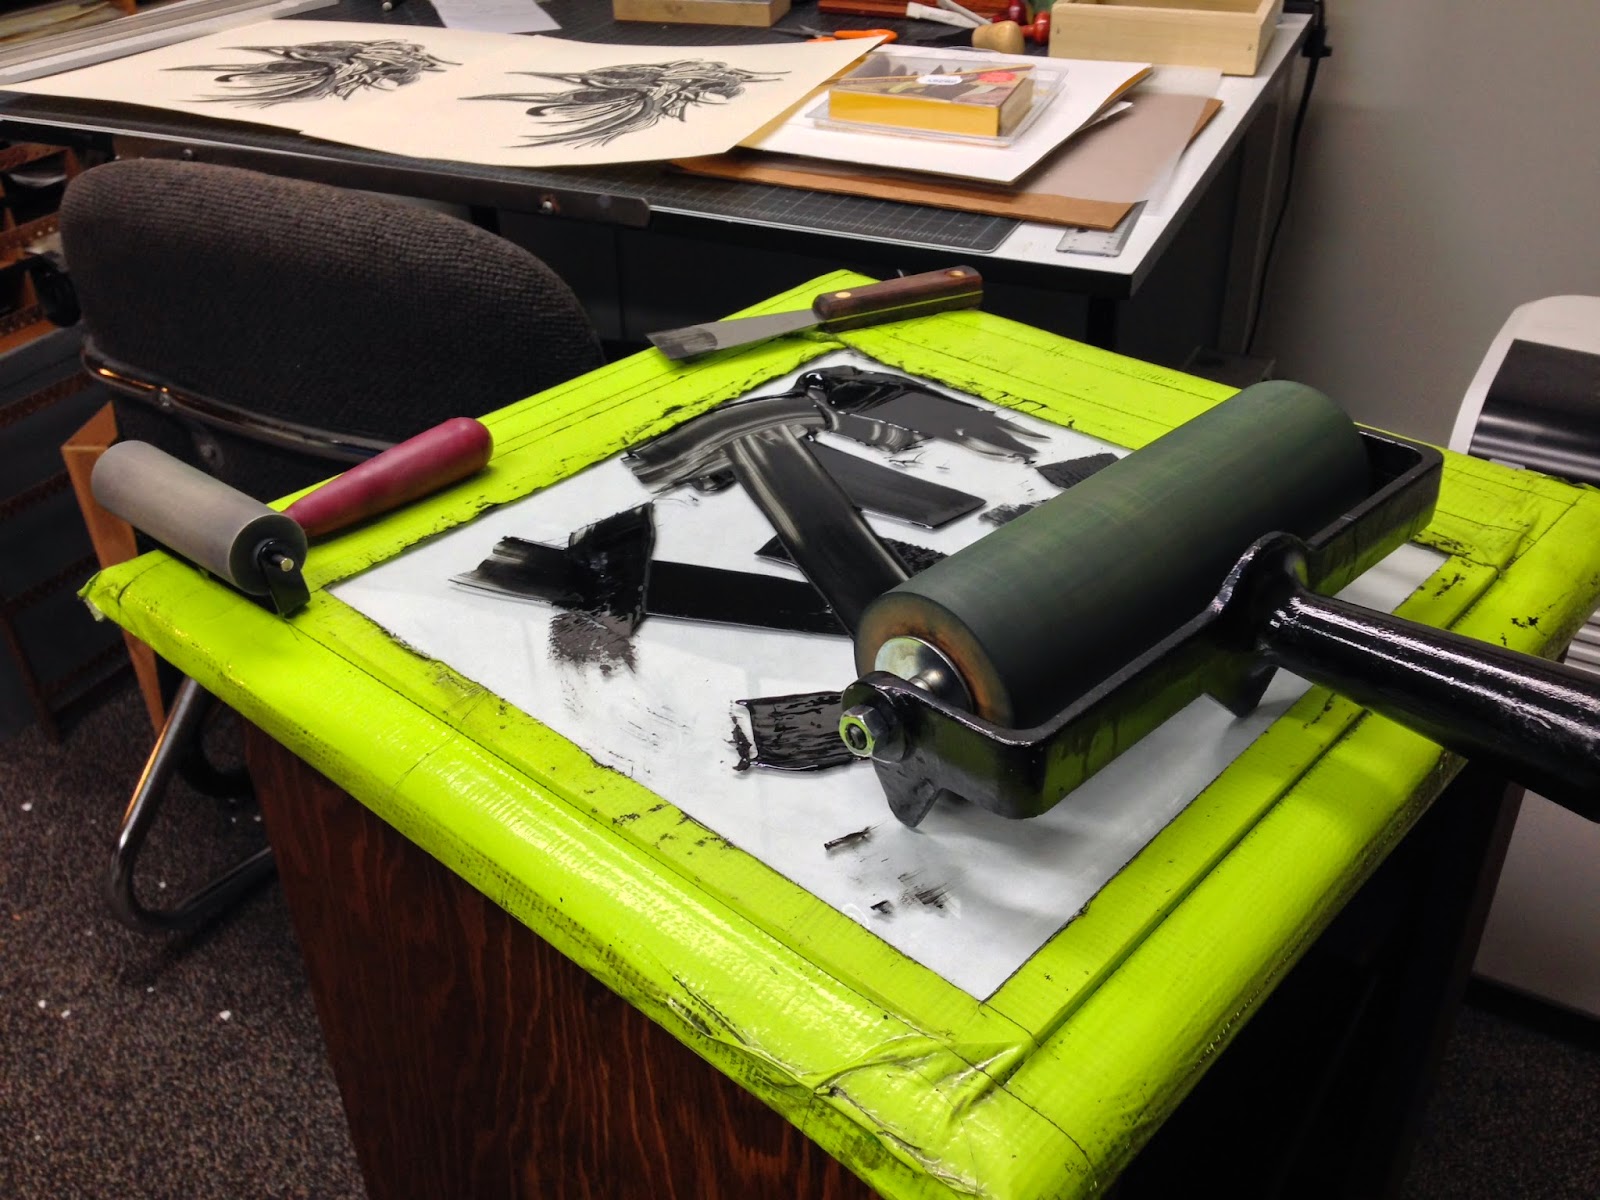
Inking station getting set up.

The Block On Press.

Inking up the block. I had to come up with a rail system to ink this guy evenly. I used longer pieces of mat board covered in blue tape, which raised them to the exact height of the printing surface of the linoleum. The brayer rolls over the block and over these rails instead of getting ink all over the press bed. The rails are then removed and the block is printed. Nice little trick.
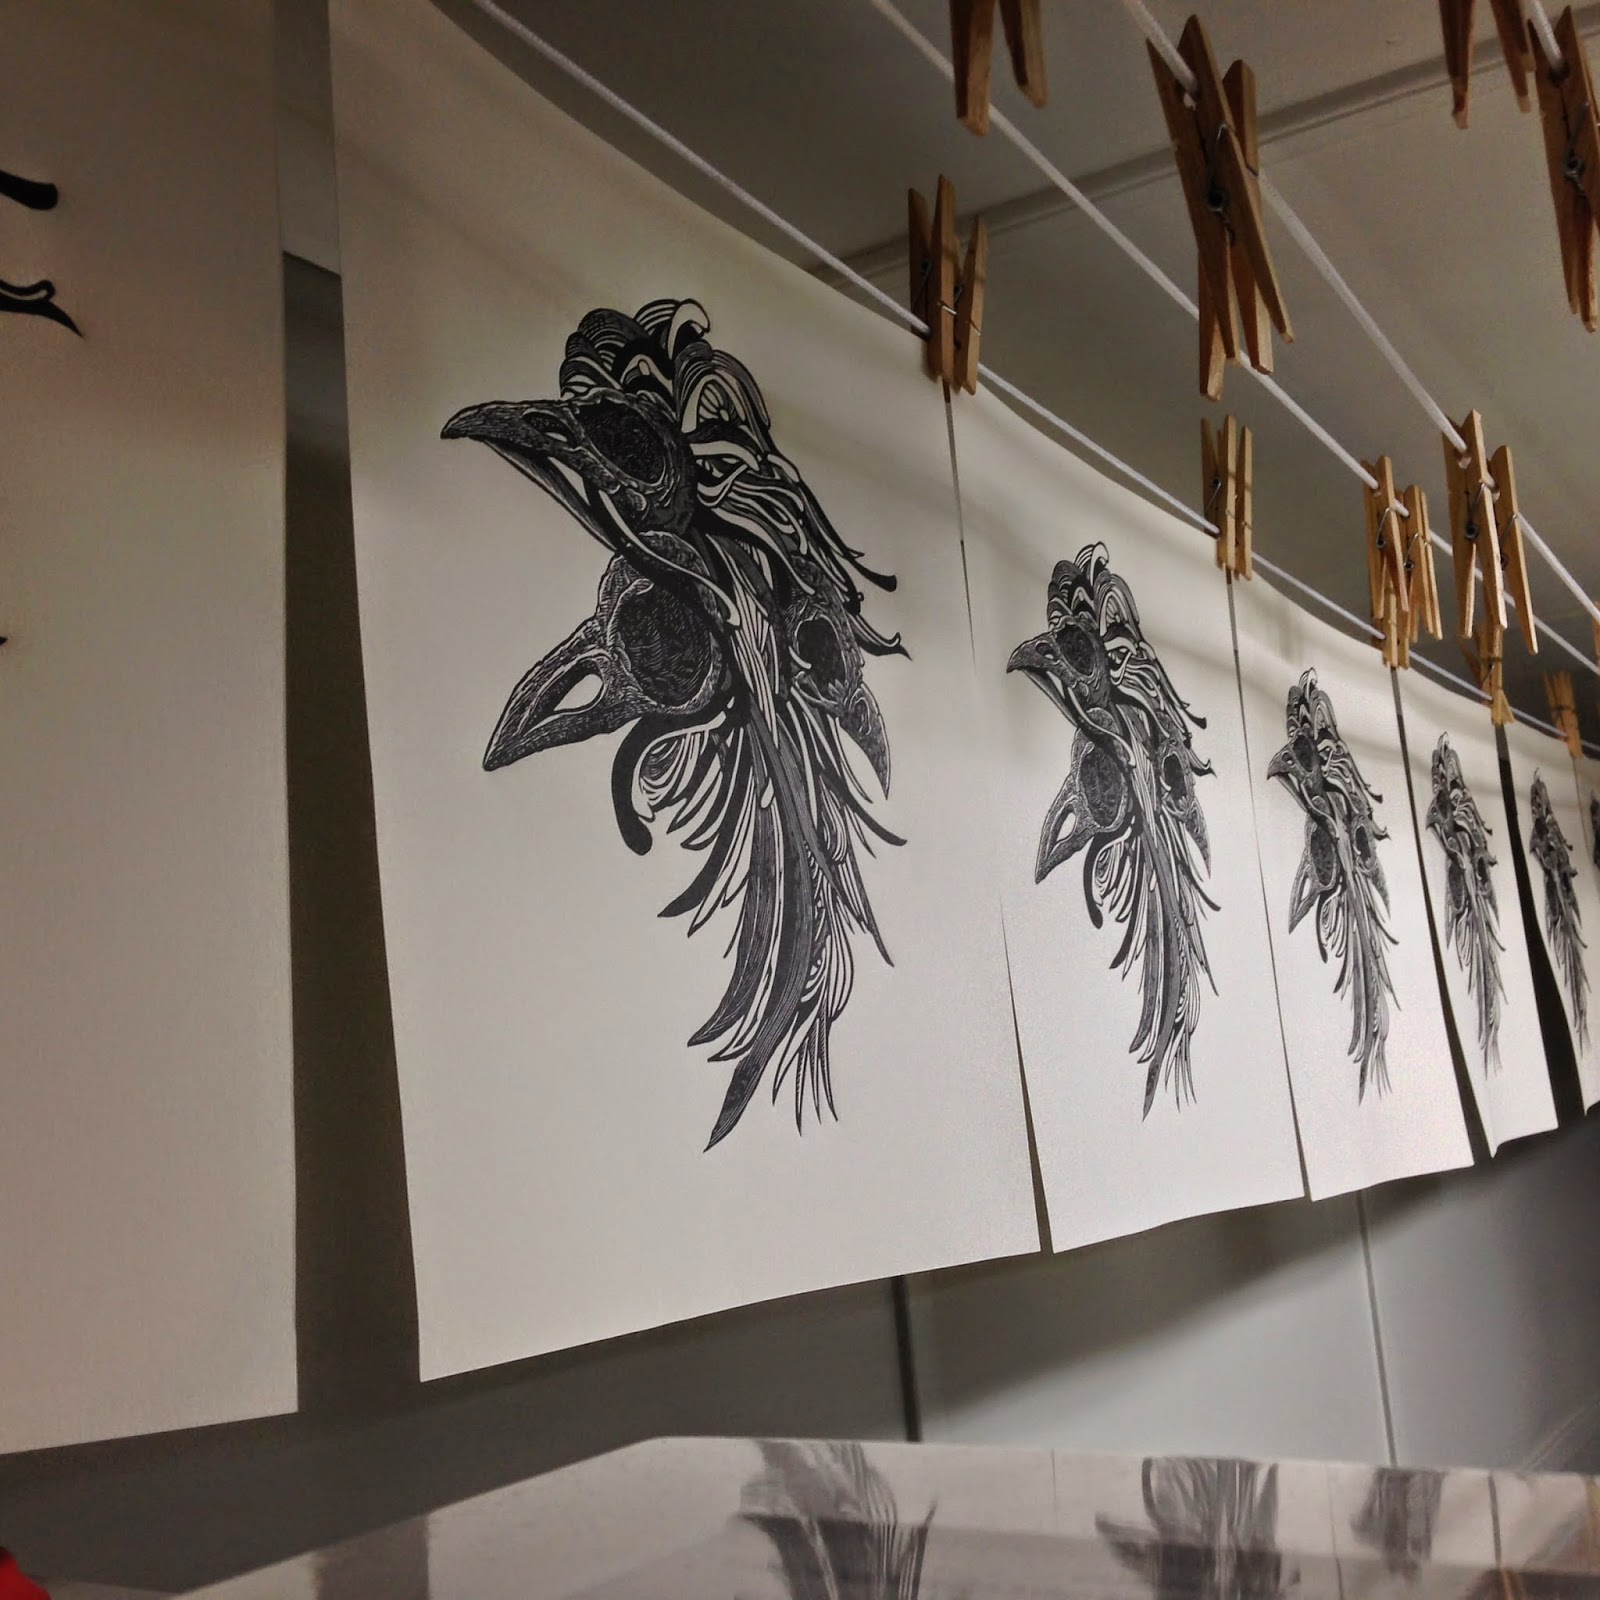
Hanging Up Drying

Pretending To - linocut printed on an 11x12 inch sheet of Domestic Etching paper in an edition of 20 prints.
Both of these editioned prints are available in our shop!!