CHRISTMAS IN OCTOBER!
This year being our 1st Christmas at Spofford Press we made Holiday Cards. We went with 3 different designs that all started as drawings. Once the drawings and the lettering were complete we had plates made to print the cards off of. We used Boxcar Press, a company that takes your drawings and designs and processes then into polymer plates. These plates are inked and printed in relief, the same as our engraving blocks and linocuts. Using plates instead of hand-carving blocks also allows for a deep impression in the paper: that heavy letterpress look we all love!
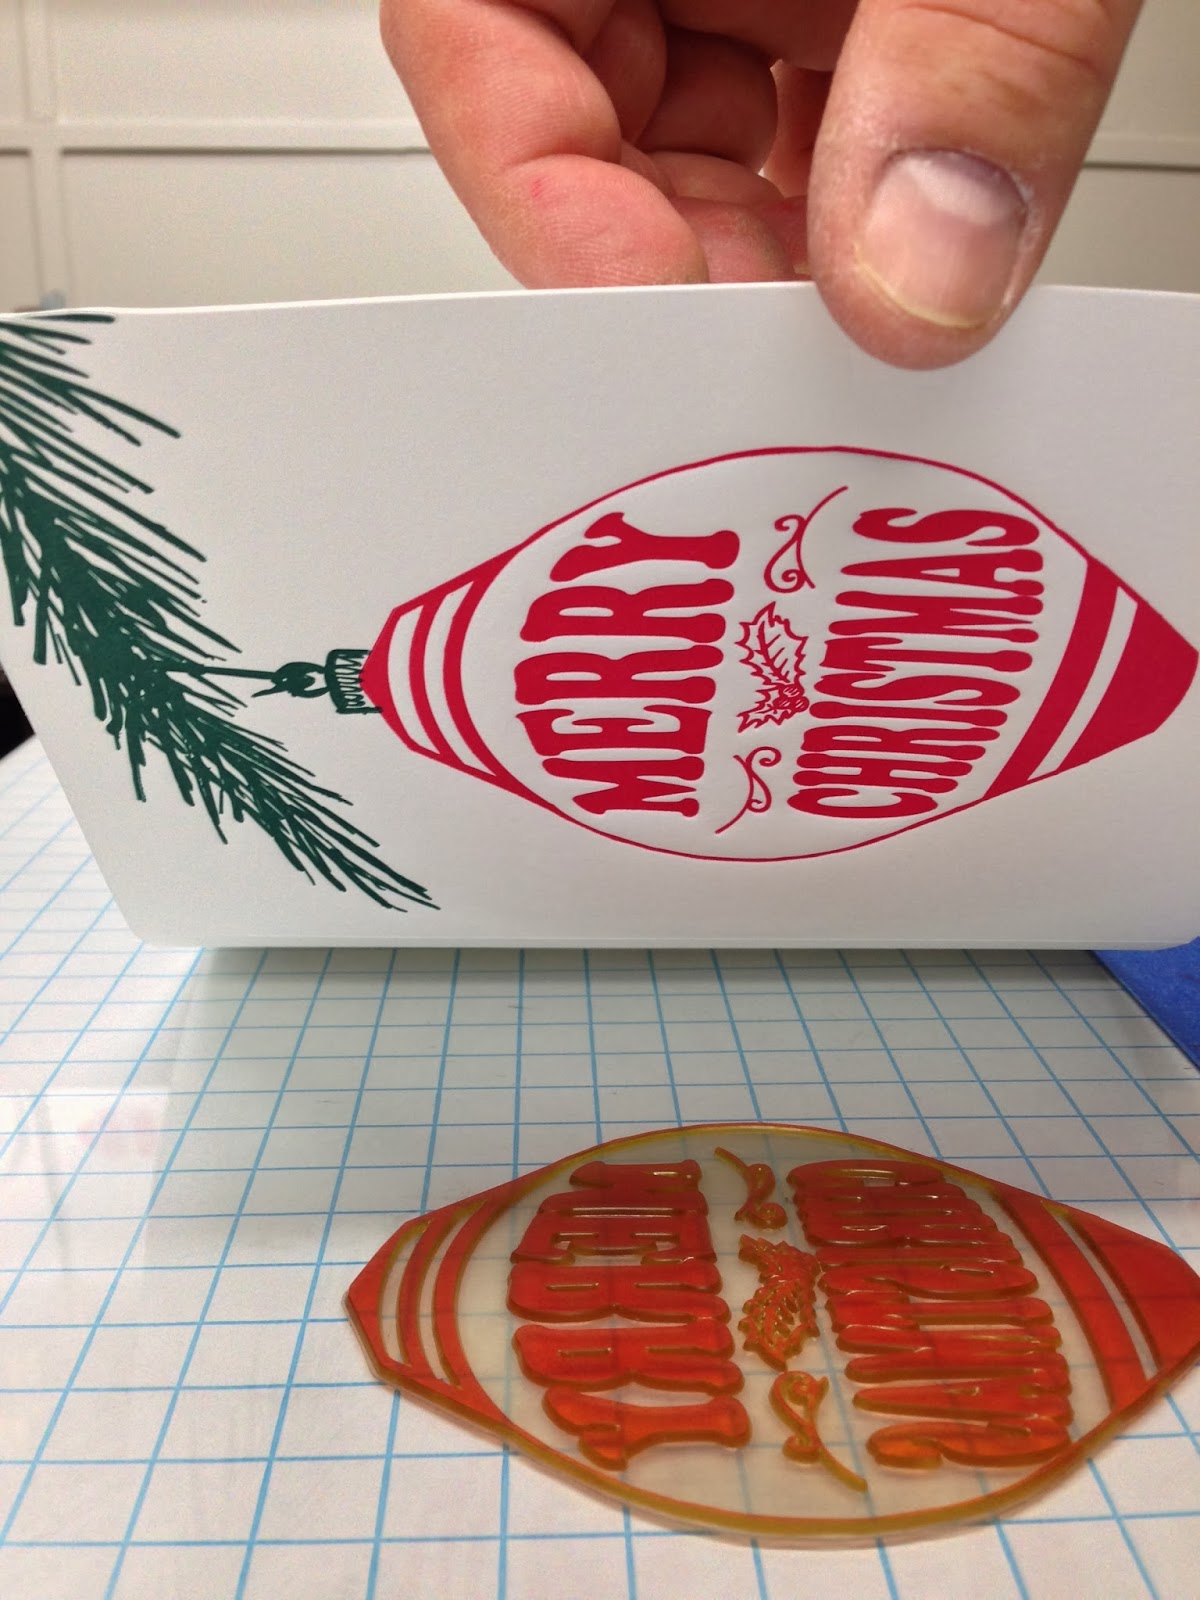
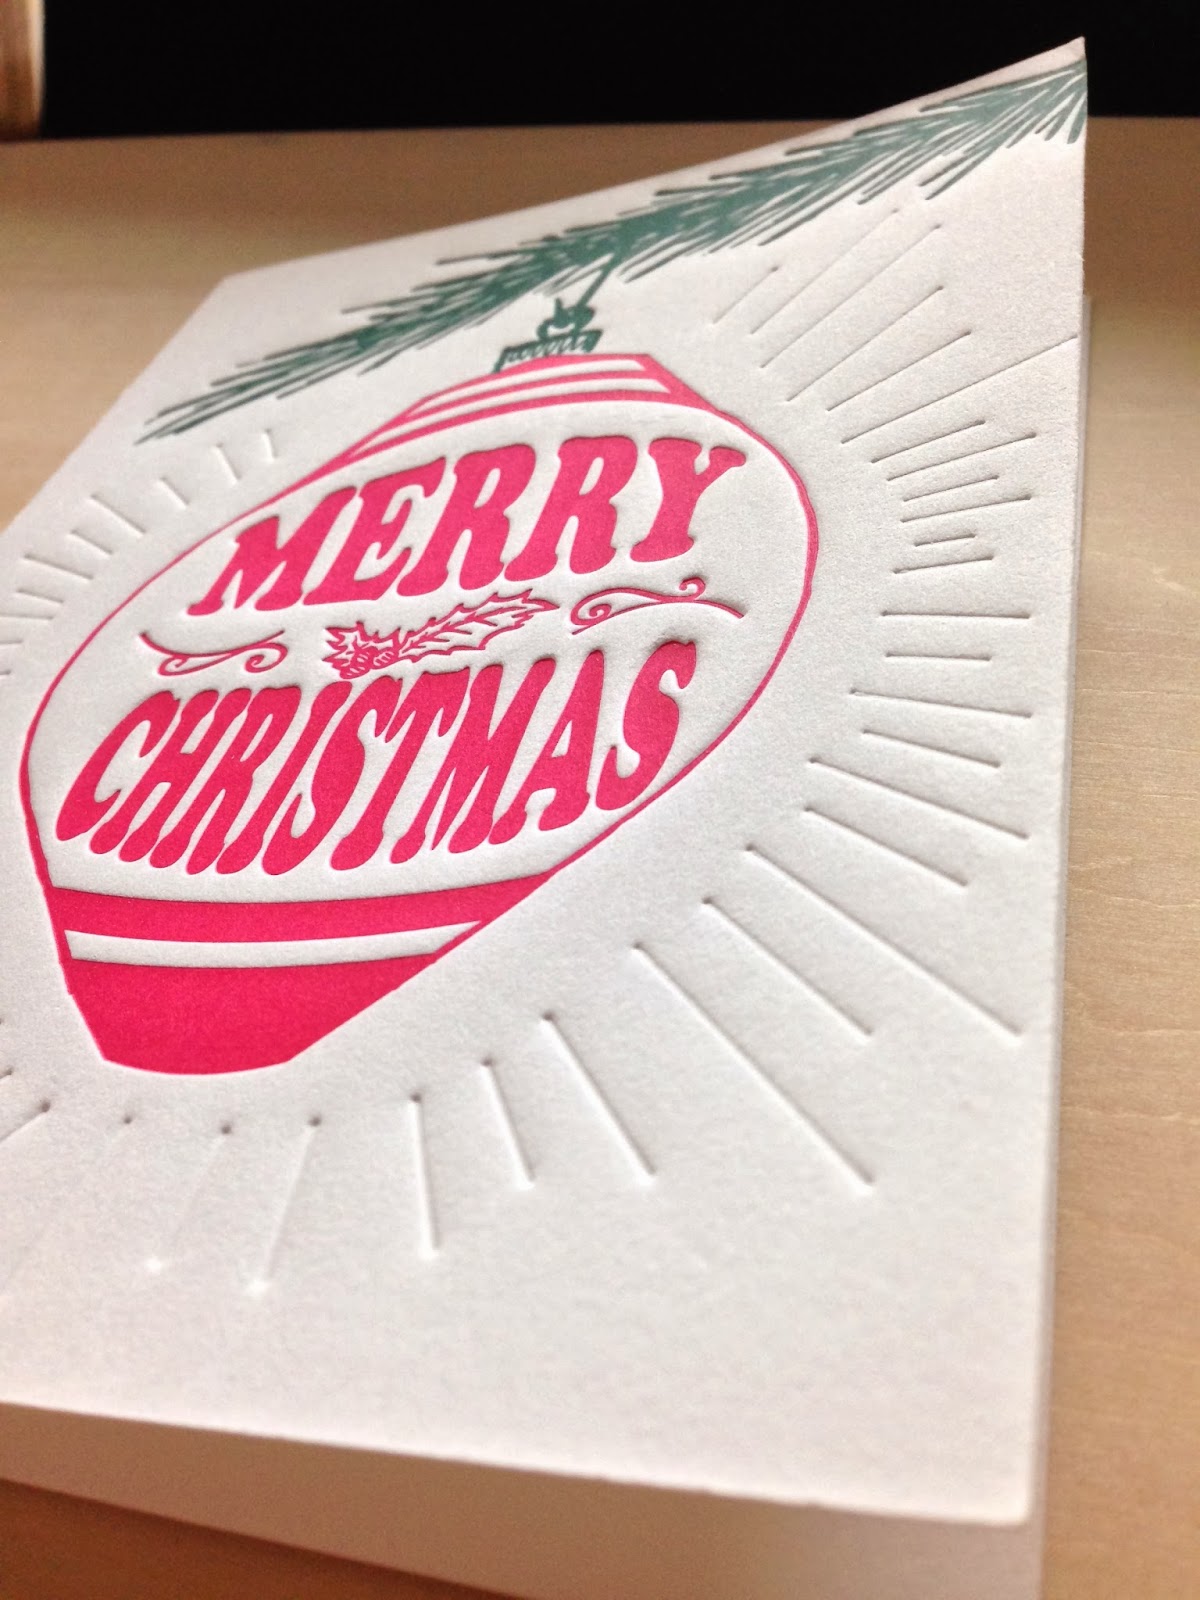
For the first card, we mixed a custom red ink. The traditional MERRY CHRISTMAS ornament design was printed using our etching press. The dark green branch was printed second, and then the radiating lines were blind debossed last. Each card went through the press 3 times, using 3 plates, one for each color.
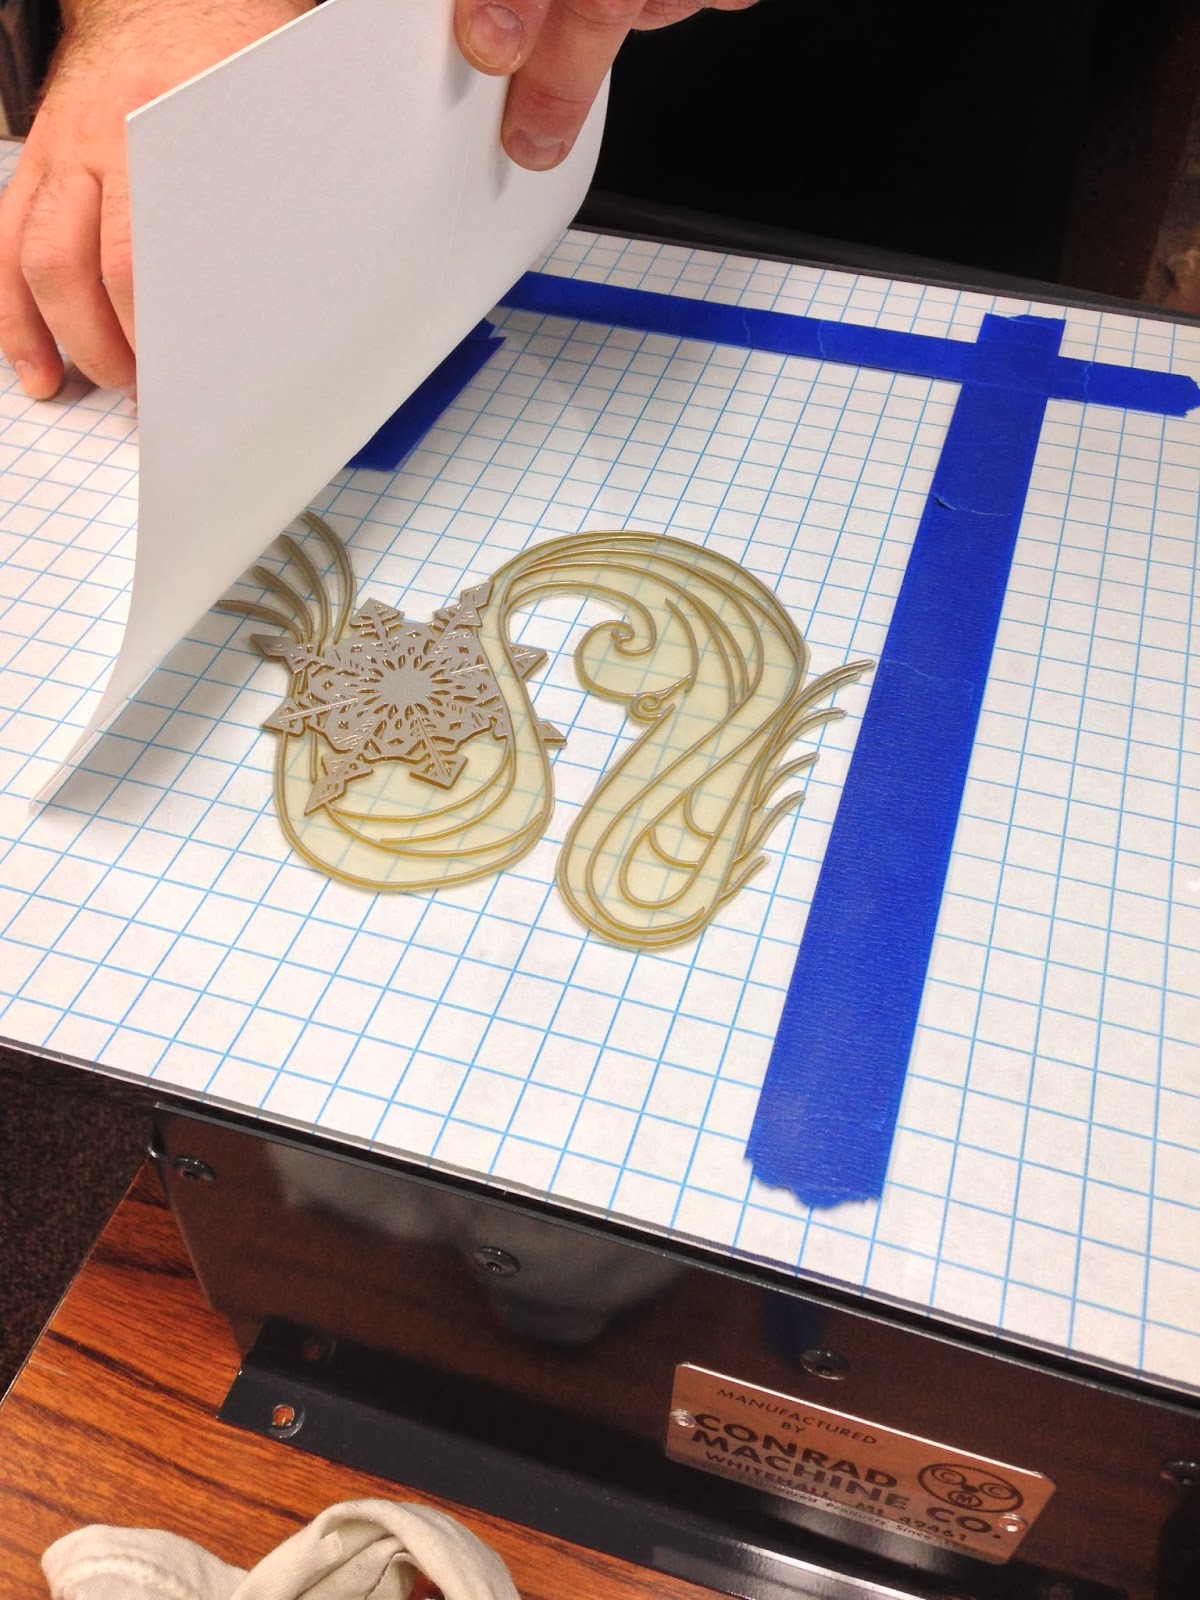
Our second design was the snowflake card. We mixed a custom Silver oil-based ink with some fine mica, giving it a glittery shine! The silver design was printed 1st. We then printed all of the small snowflakes as a blind debossing. It added a fun element to the cards!
Our third design was the most fun! The Christmas lights cord was printed in the same custom dark green as the branch from the ornament card. This design trails onto the back of the card, where the strand of lights is plugged into a wall socket! The next color printed was the yellow for the light bulbs. We then printed a message inside of the card, which reads "It's the Most Wonderful Time of the Year" in bright red.
Once all of the cards were dry and happy, the paper was scored and folded, corners were rounded out on the Snowflake card, and they were all packaged up with beautiful envelopes from French Paper Mill.

Mixing some Silver Ink.
The Snowflake design being printed.

Deep Impression!
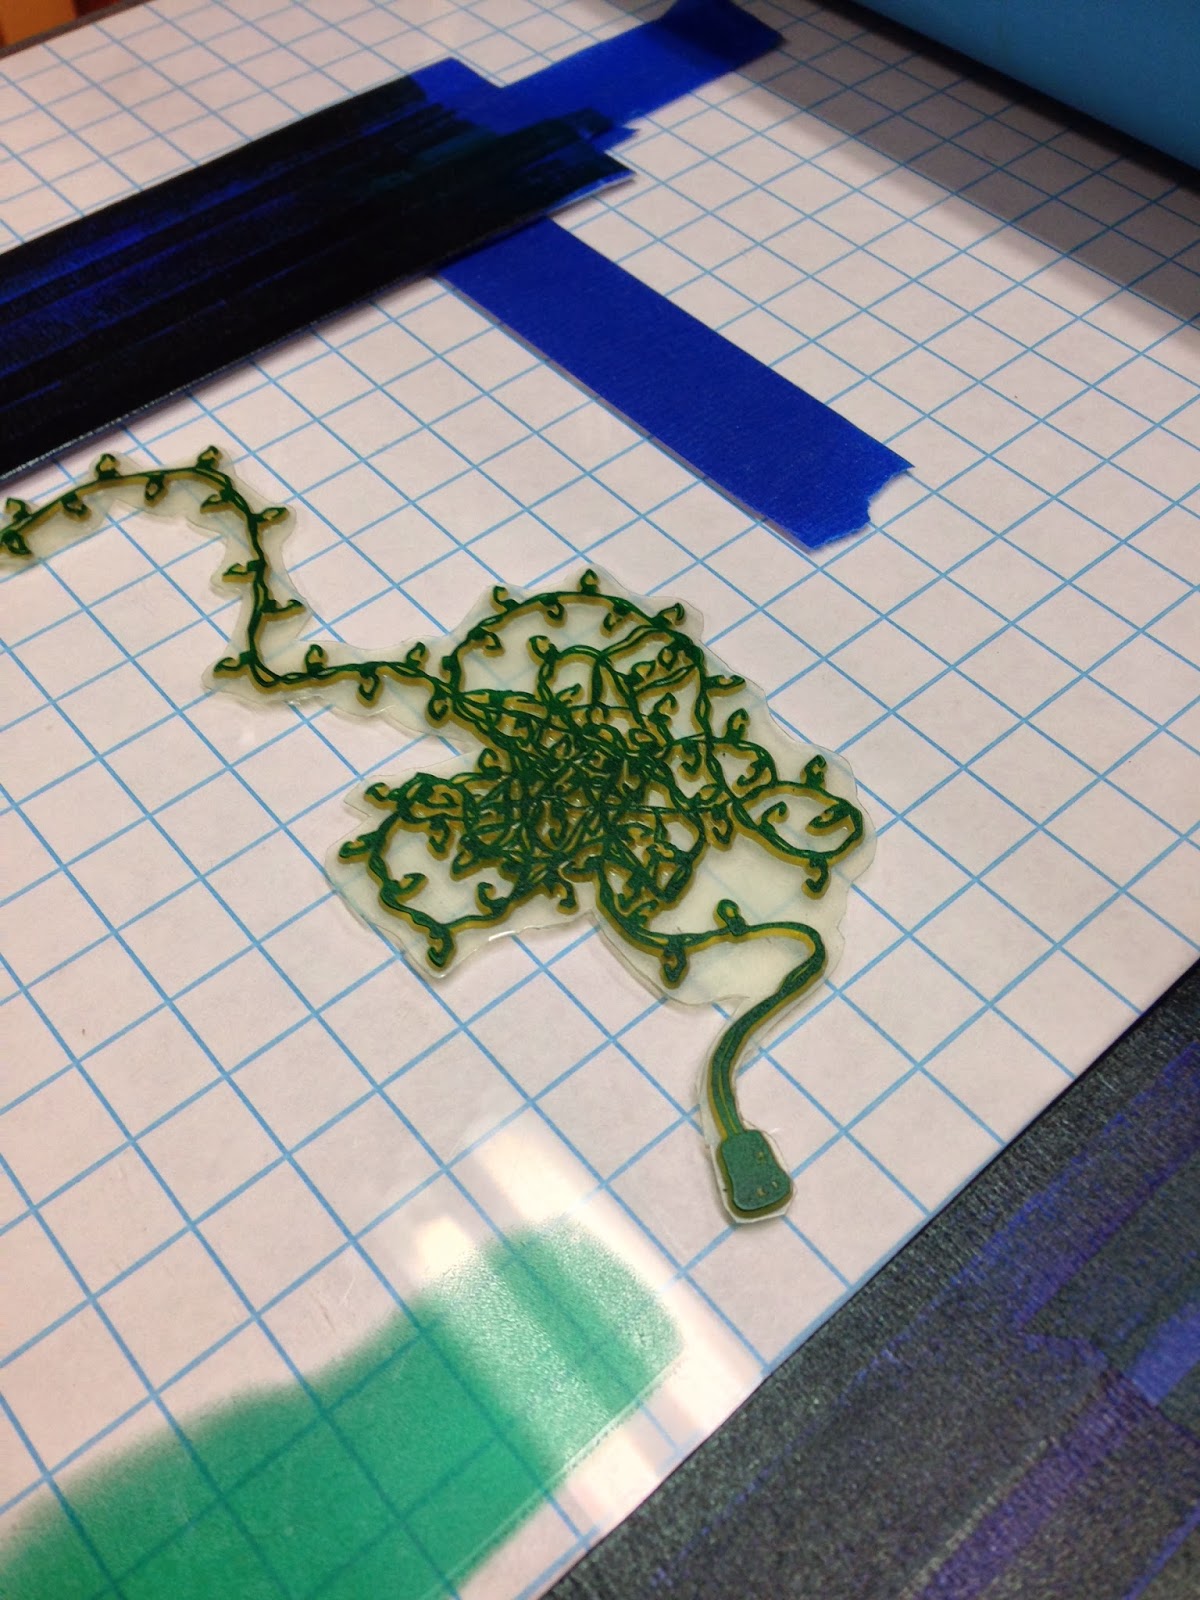
The tangled Christmas lights being printed in Dark Green.
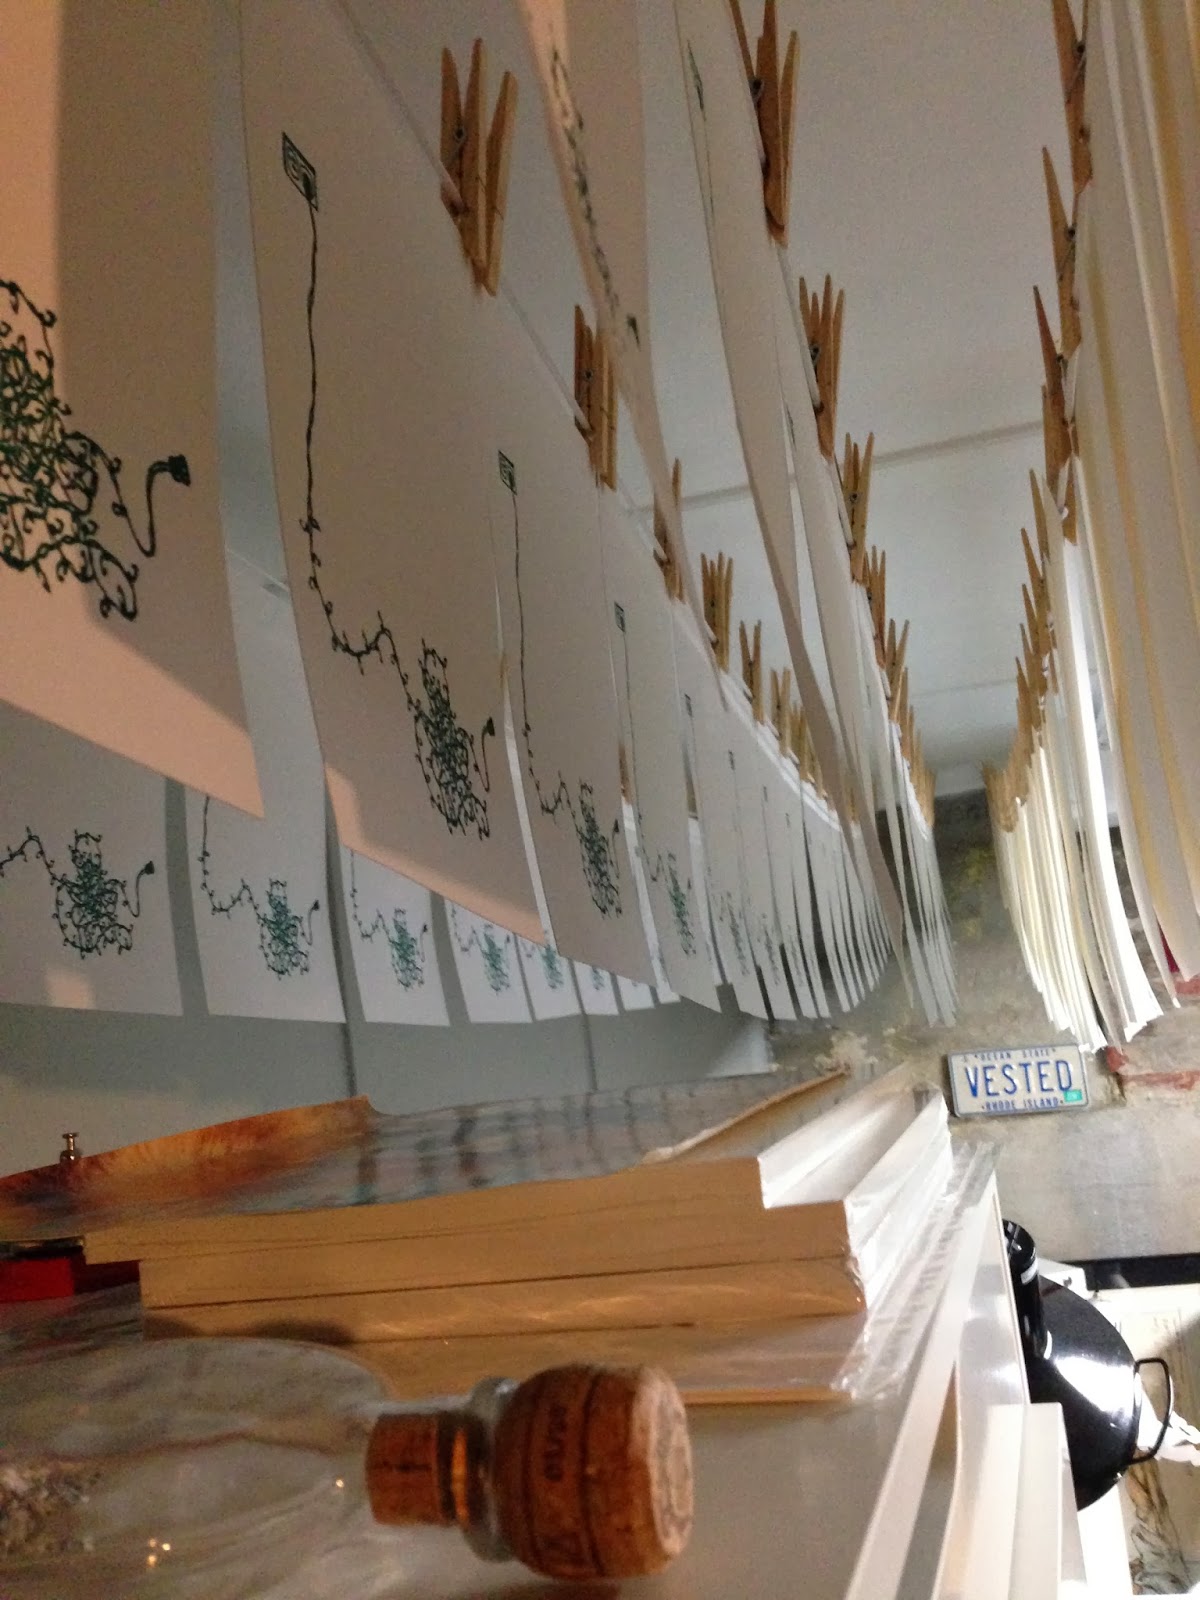
Hanging Out
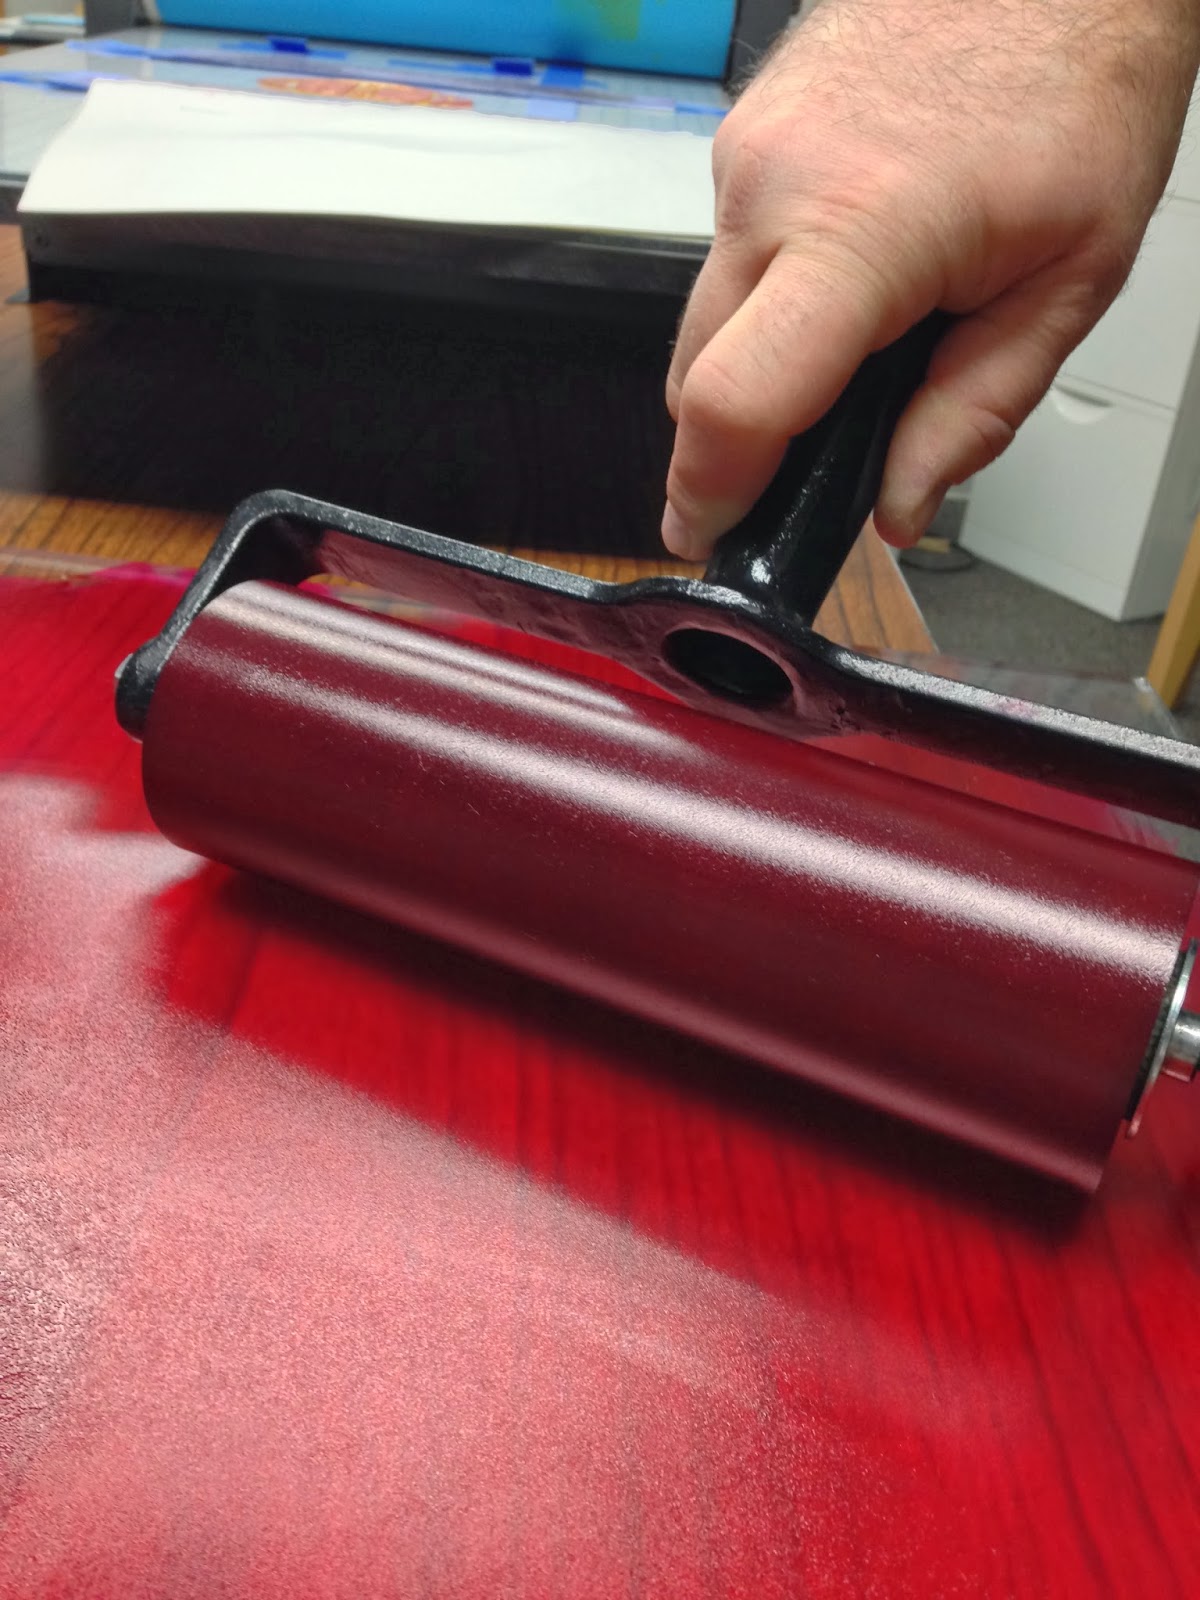
Rolling On The Red

Inking up the ornament plate using some rails so ink doesn't get all over the press bed.
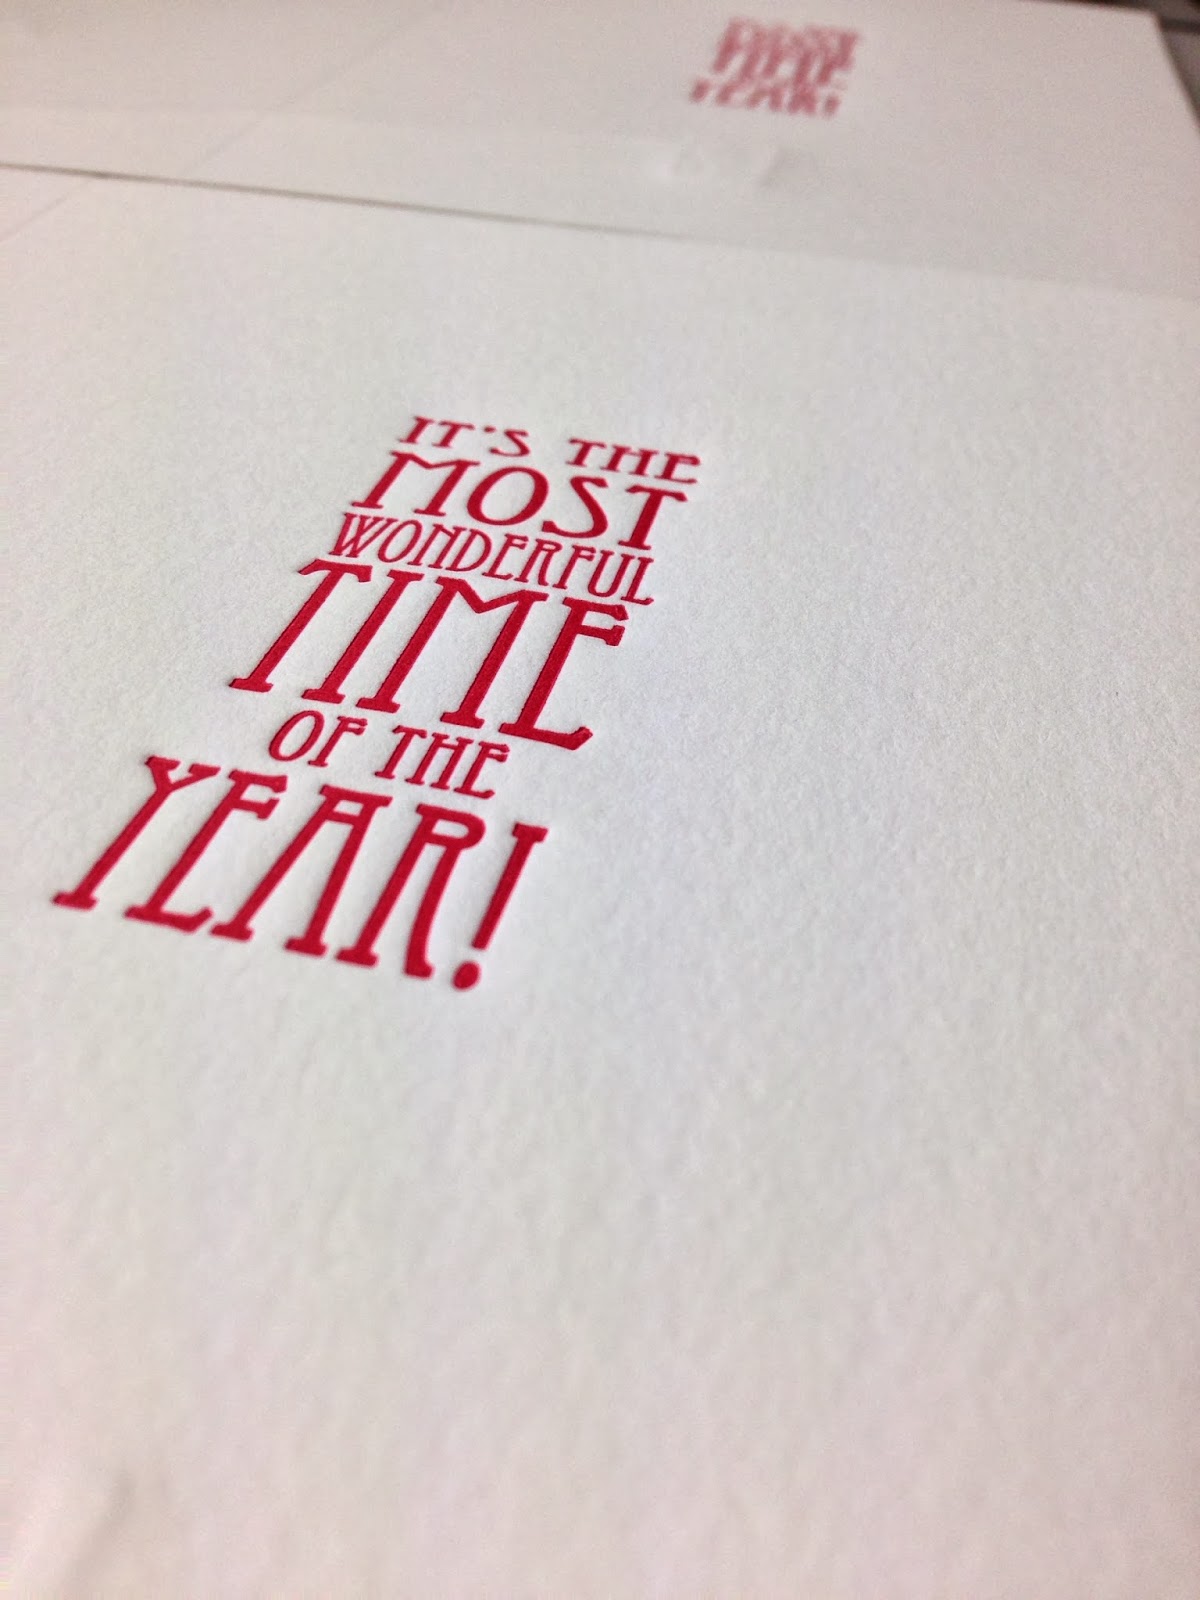
The inside of the Christmas Lights card.

Snowflake plates ready to be pressed into the Silver card design.

Adding the blind debossed snowflakes.

Blind debossing some radiating lines!

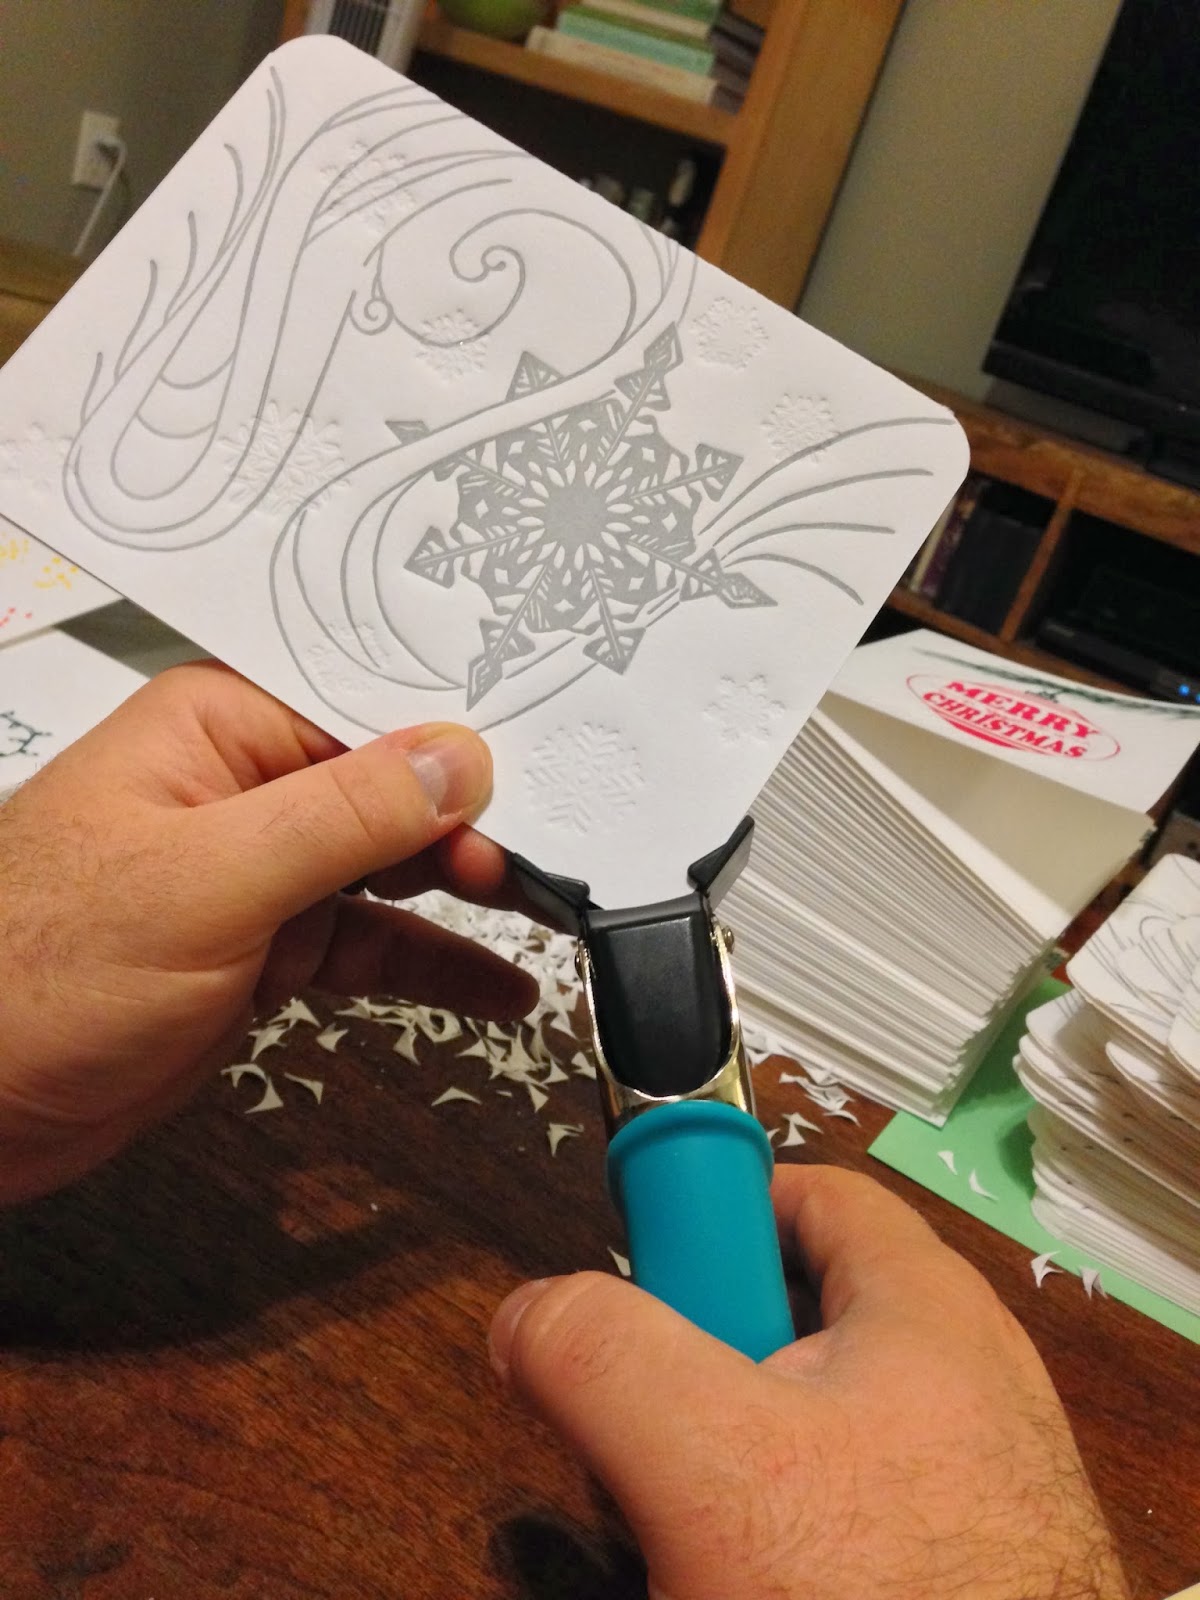
Trimming corners.

The Final Snowflake card with its Blue Raspberry envelope.

The final Christmas Ornament card with its Cherry Red envelope.

The final Tangled Lights card with its Cherry Red envelope.
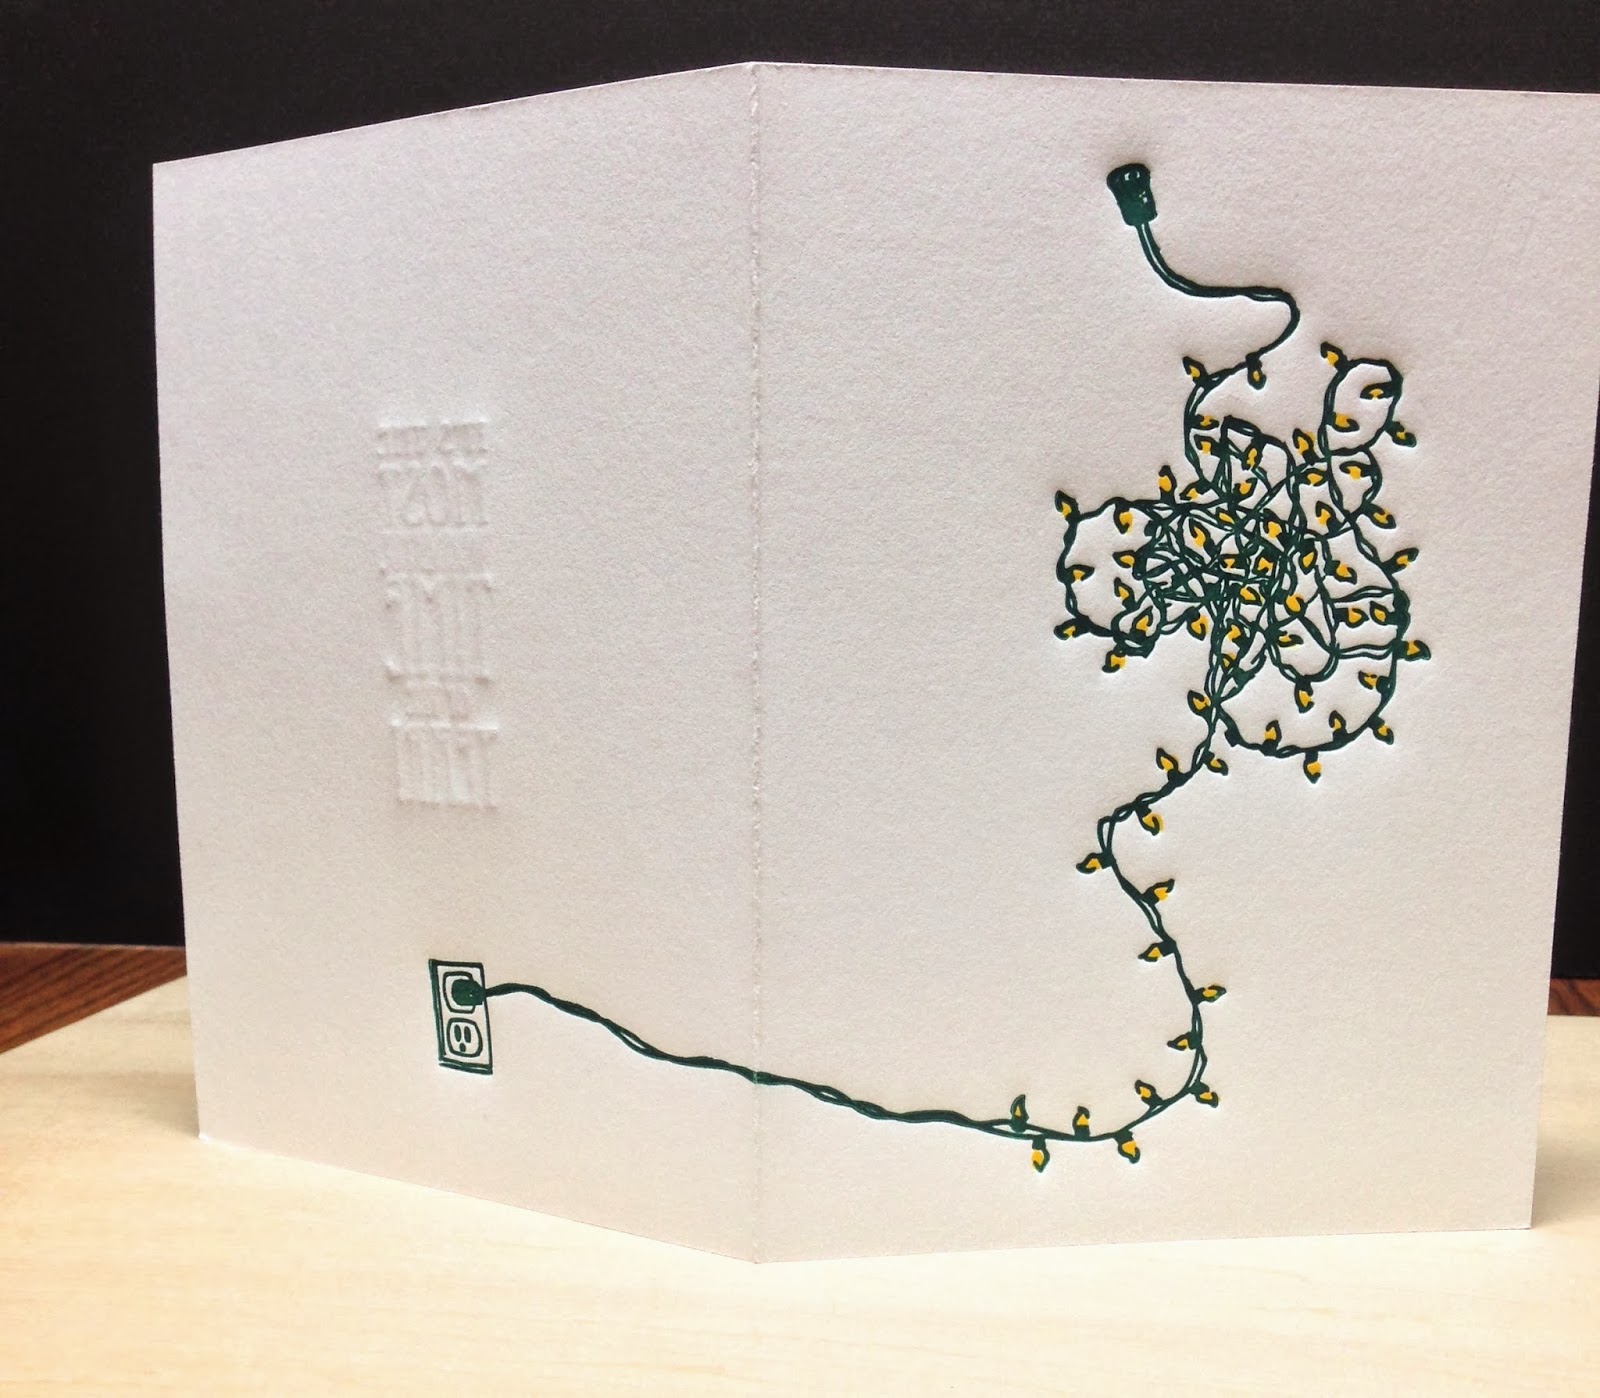
The back of the card!
You can find these online at our Etsy shop! It is officially open for business!!!
Happy holidays to you all! 2014 is going to be a HUGE year! We can't wait to share some of our new ideas with you!!