Screech Owl Engraving

Snowed IN

The 1st engraving I have made this year is of this little guy, the screech owl. This blog post is going to show the entire process from initial pencil sketch to finished print! 

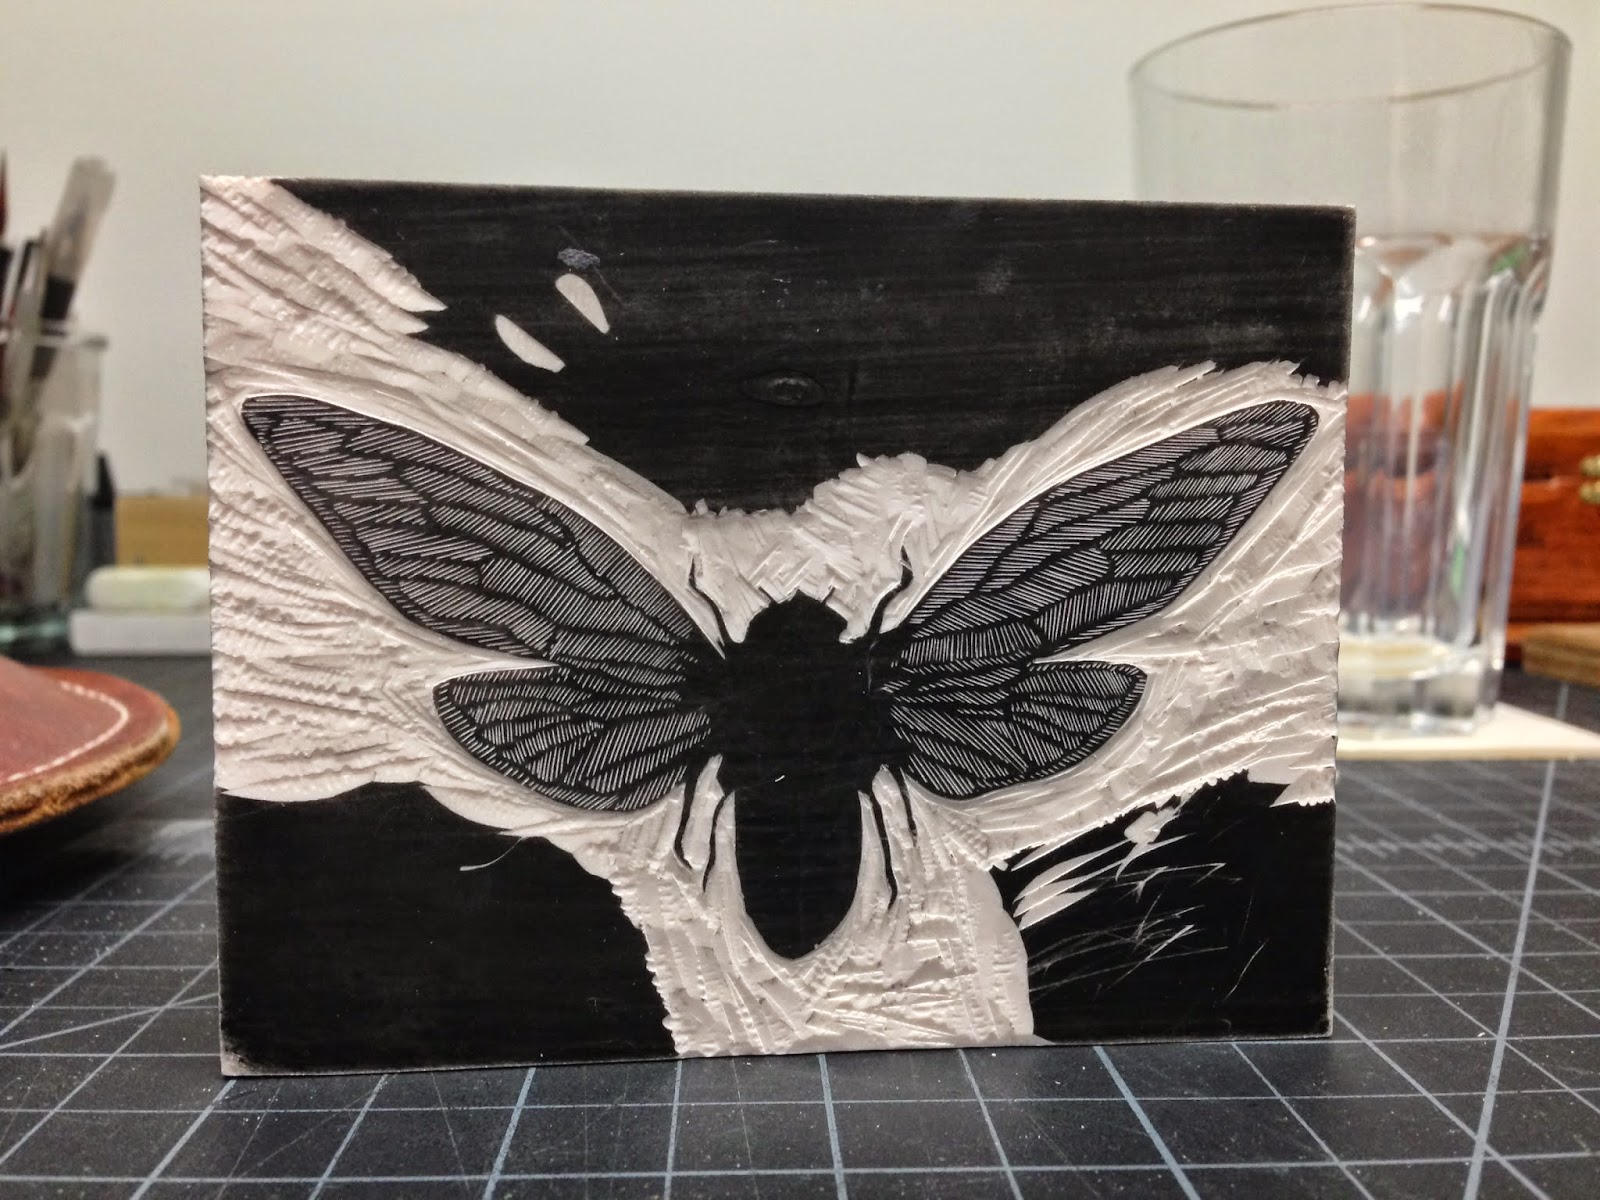
I have a lot of people ask about the process of engraving Resingrave blocks and then printing them. Resingrave is a tricky medium. It's a small block of wood with a layer of resin on the top of it. This resin layer can be engraved into using tools called burins. The burin tool is great at removing very fine lines, which help in making very detailed images. 

Each line I engrave out of the block will not print. The areas I do not engrave will print black. It is a lot like working backwards, or drawing with a white pencil on black paper. The block is inked and printed "relief style" on a press. Basically it is printed like a stamp, so the ink rolls over the areas that were left alone and not in the lines engraved into it. It's a lot of fun and takes a lot of patience!! 

screechowldrawing.jpg

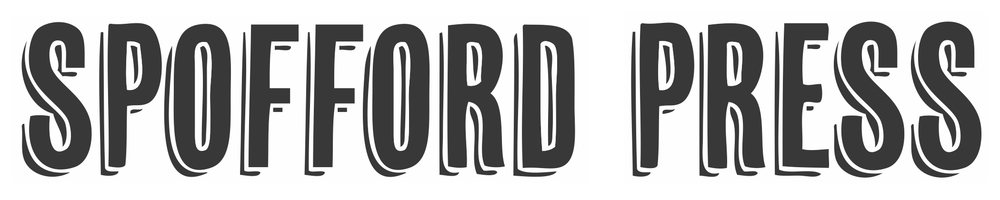
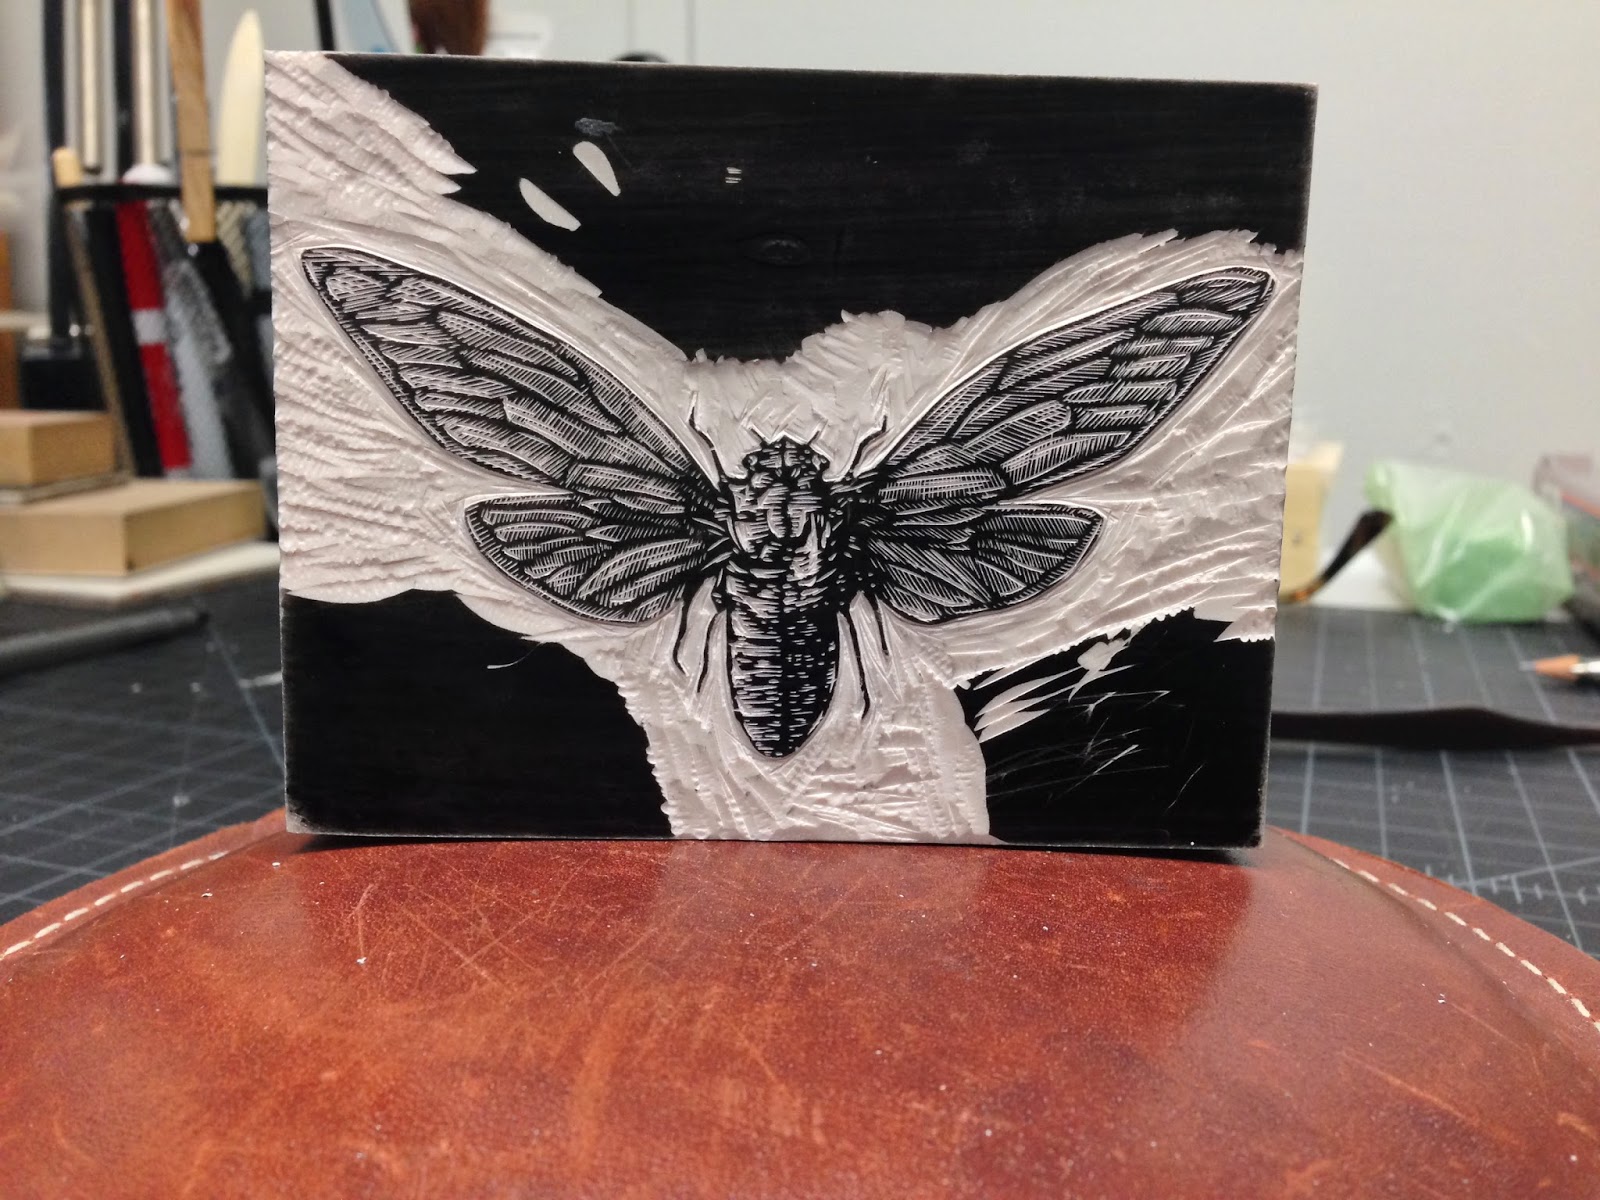
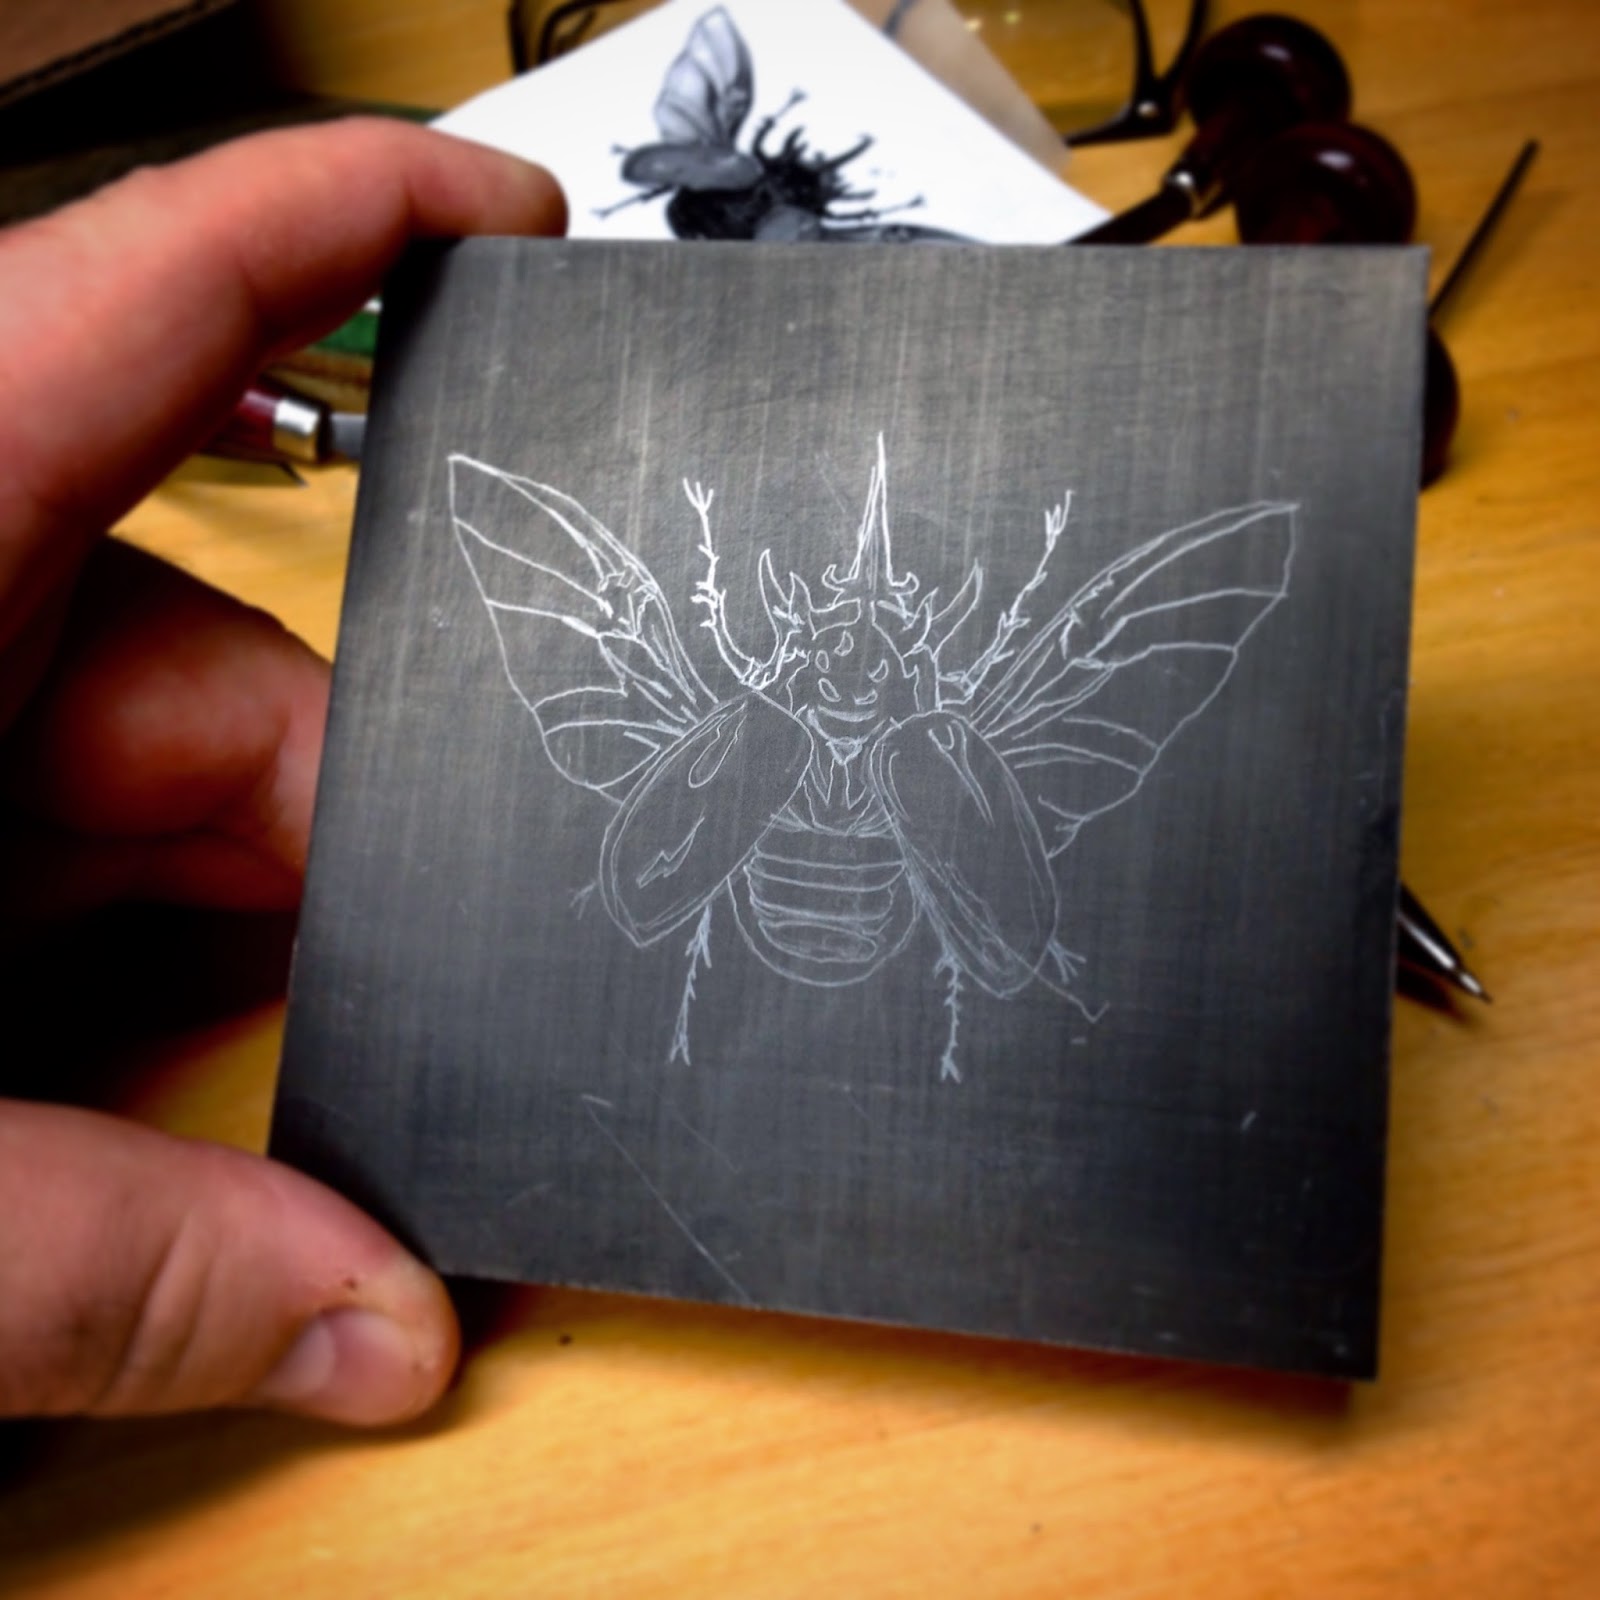
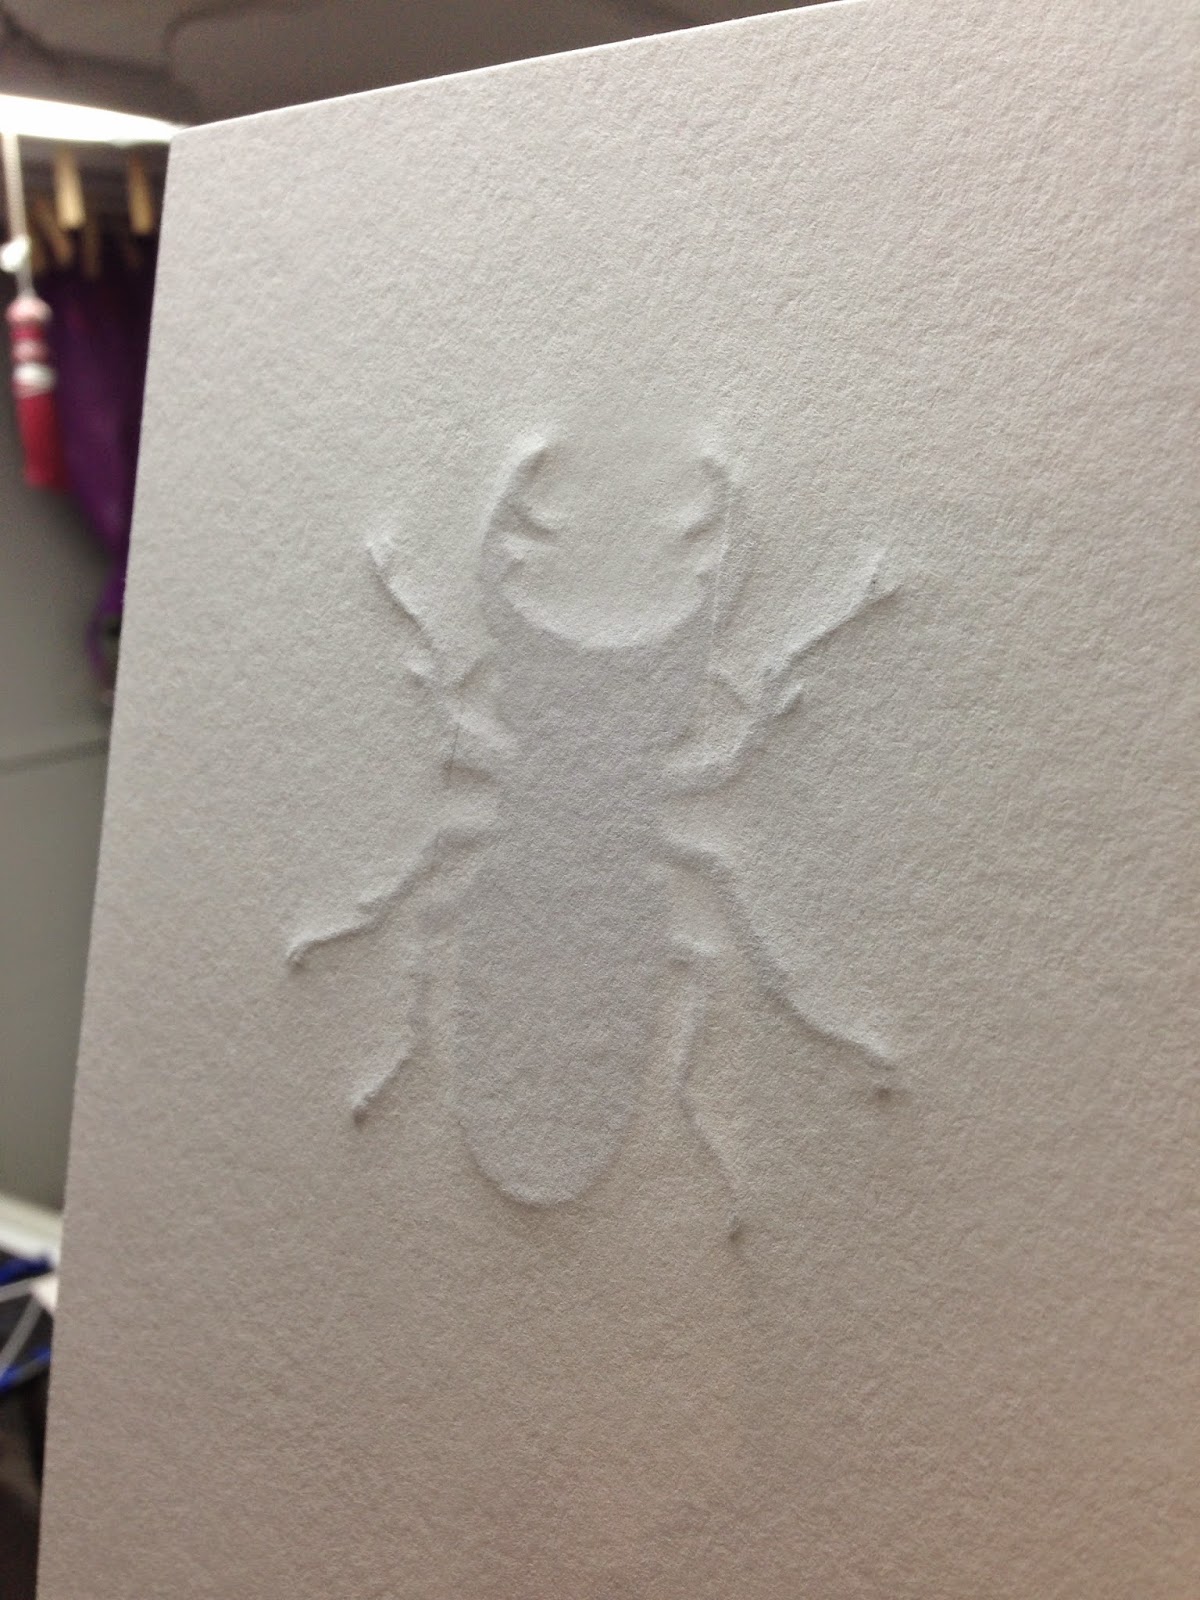
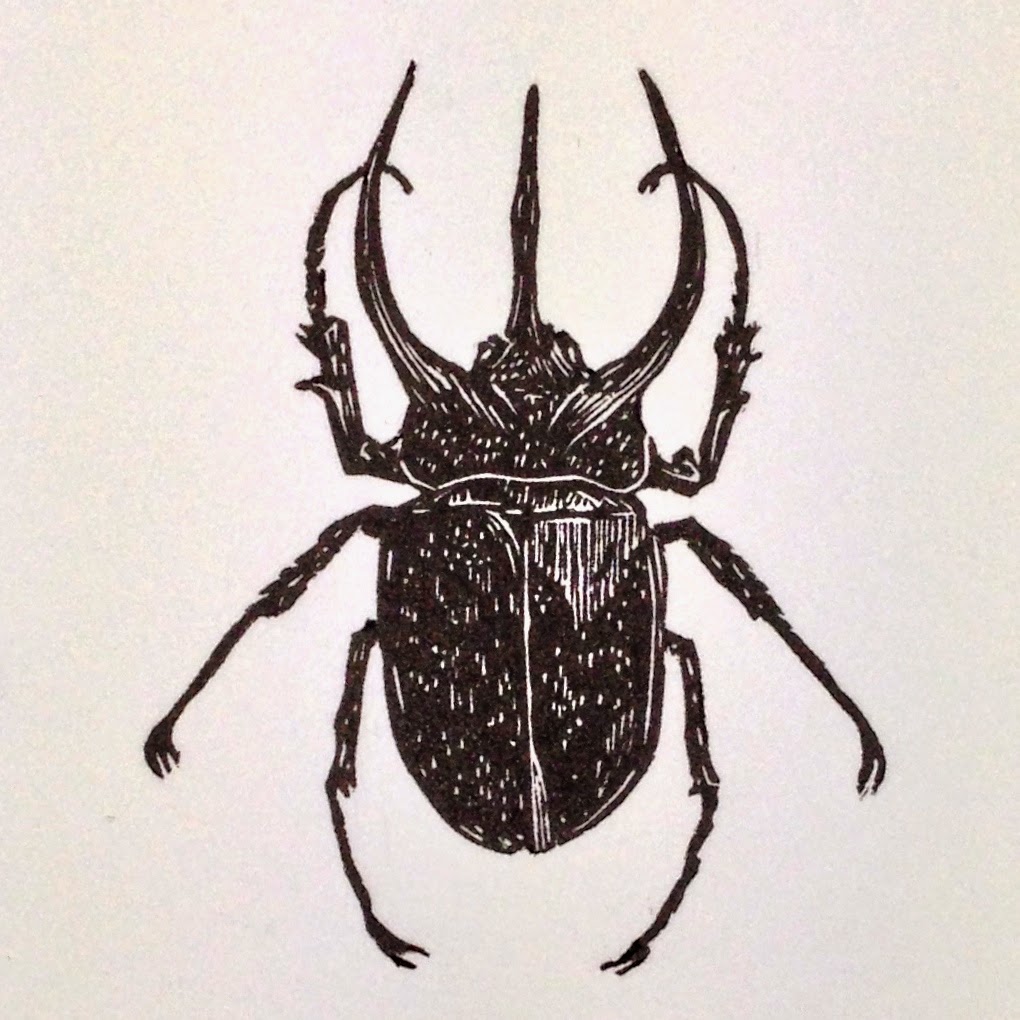
I started by taking the Resingrave block and staining it with some black ink. I then drew a rough pencil drawing to help guide me while engraving the lines away. The block size is only 4 x 5 inches, so this guy is little! 

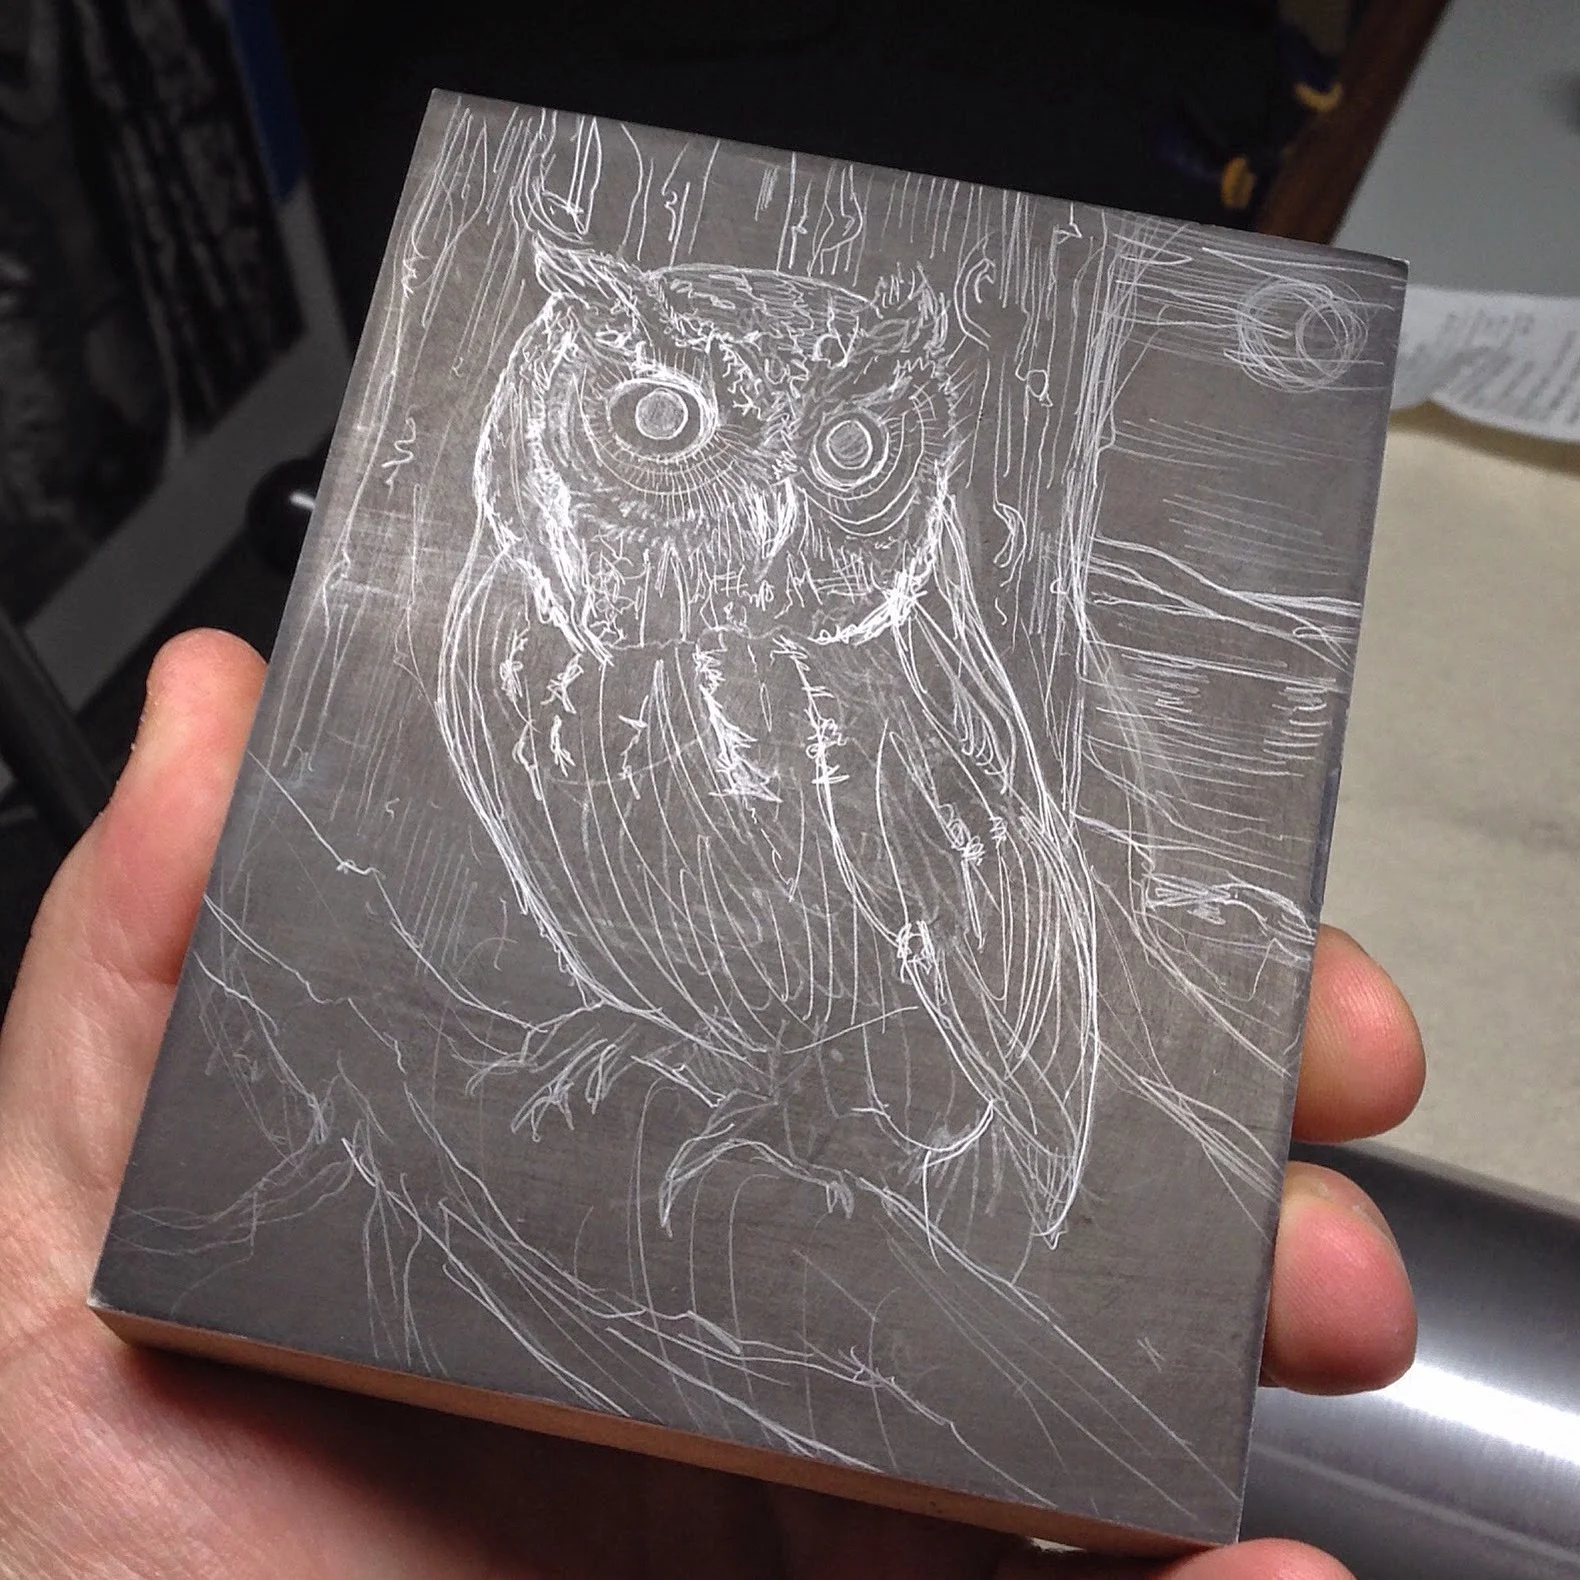
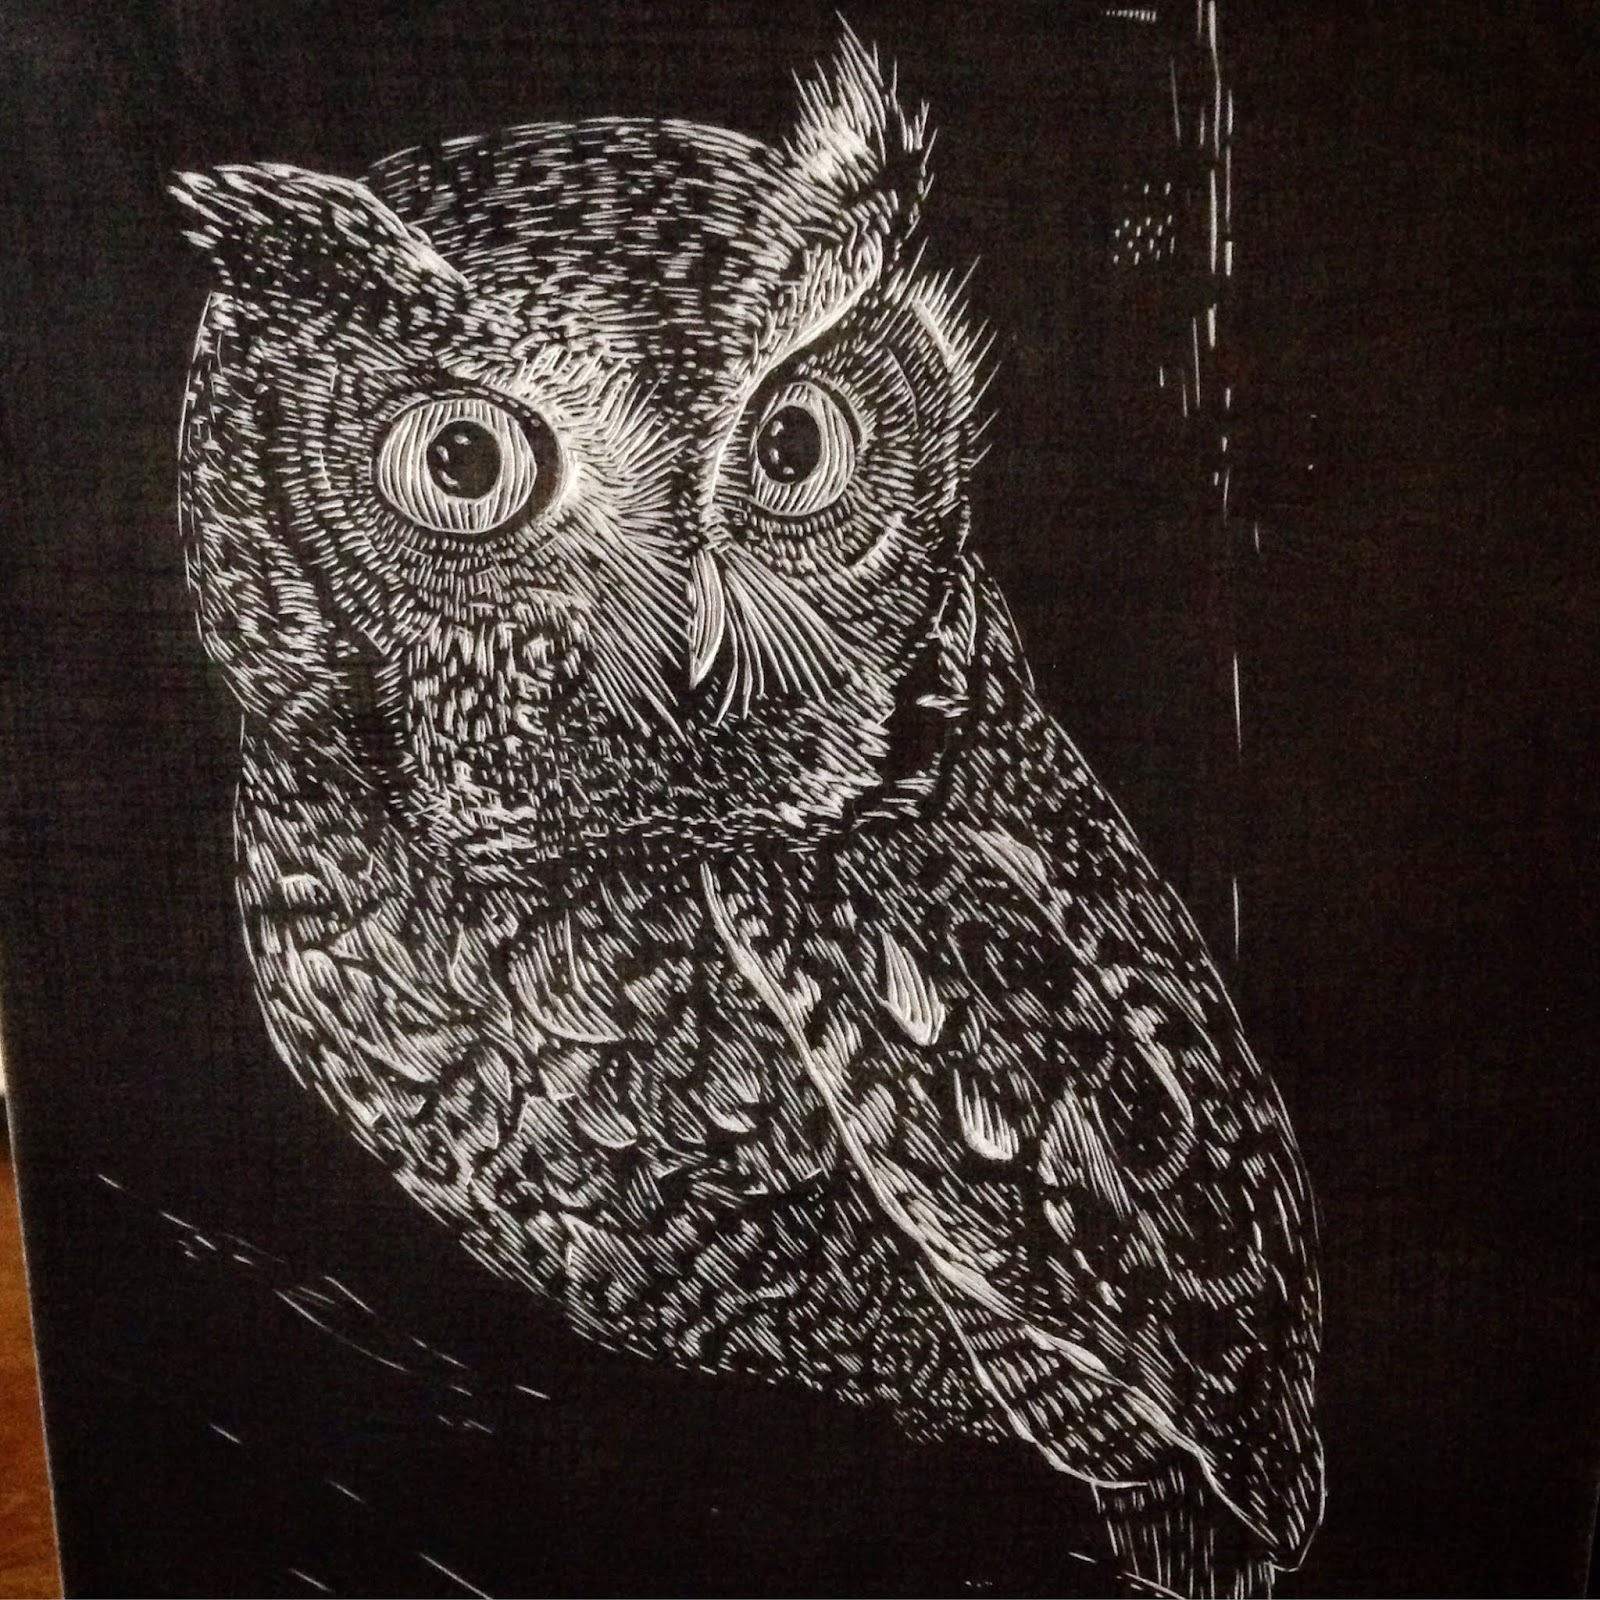
I started engraving the face of the owl first. The dime is here to show the scale of the engraving. I tend to engrave a little conservatively during this early stage by taking out very fine lines at first. Then I go back through and make wider thicker lines. 

Once you engrave a line out you can't put it back! There's really no room for mistakes. That being said, ever block has a few! 

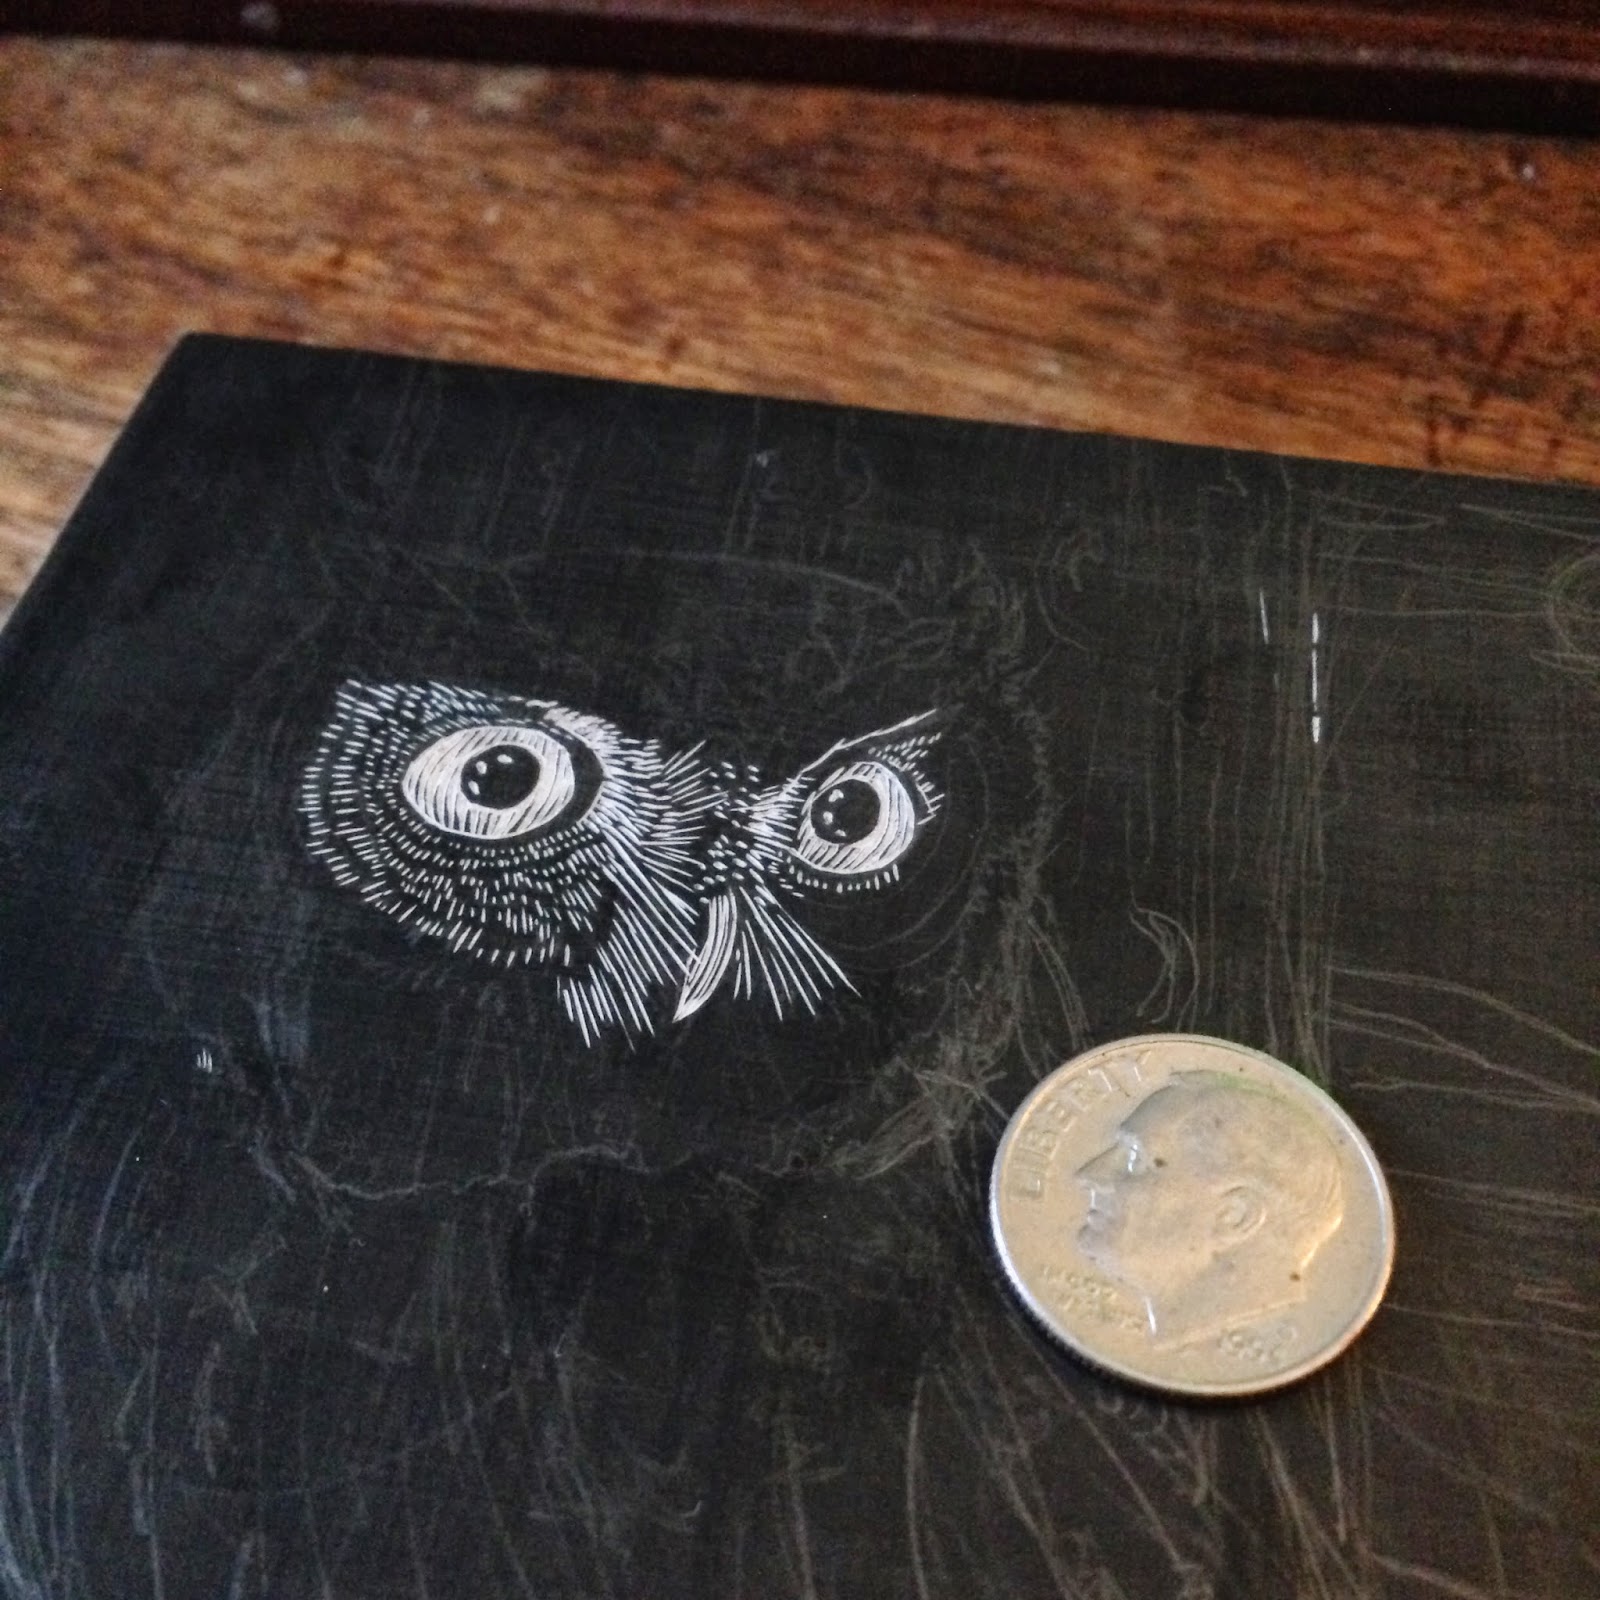
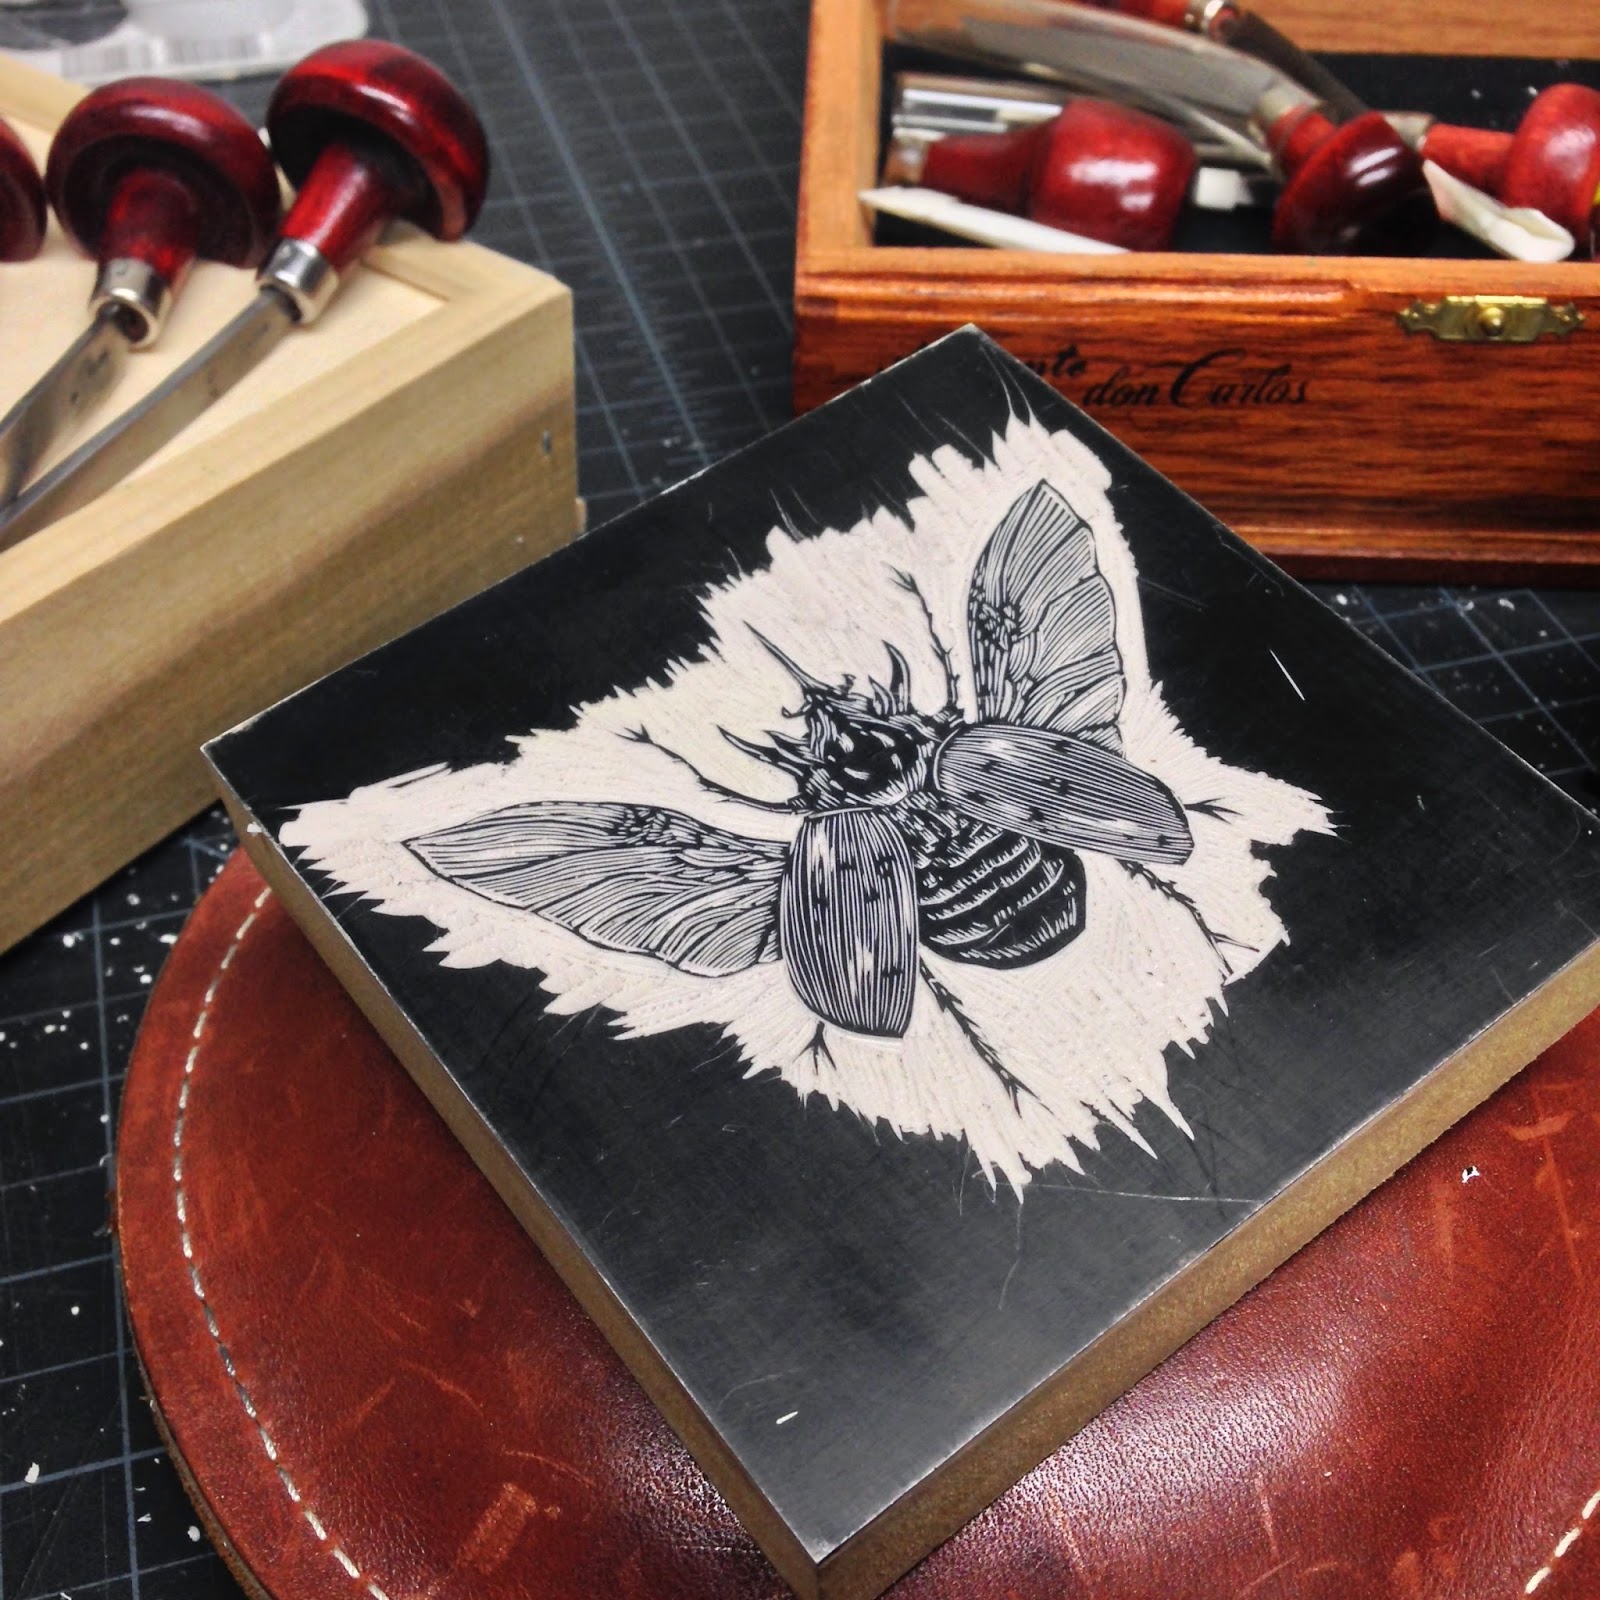
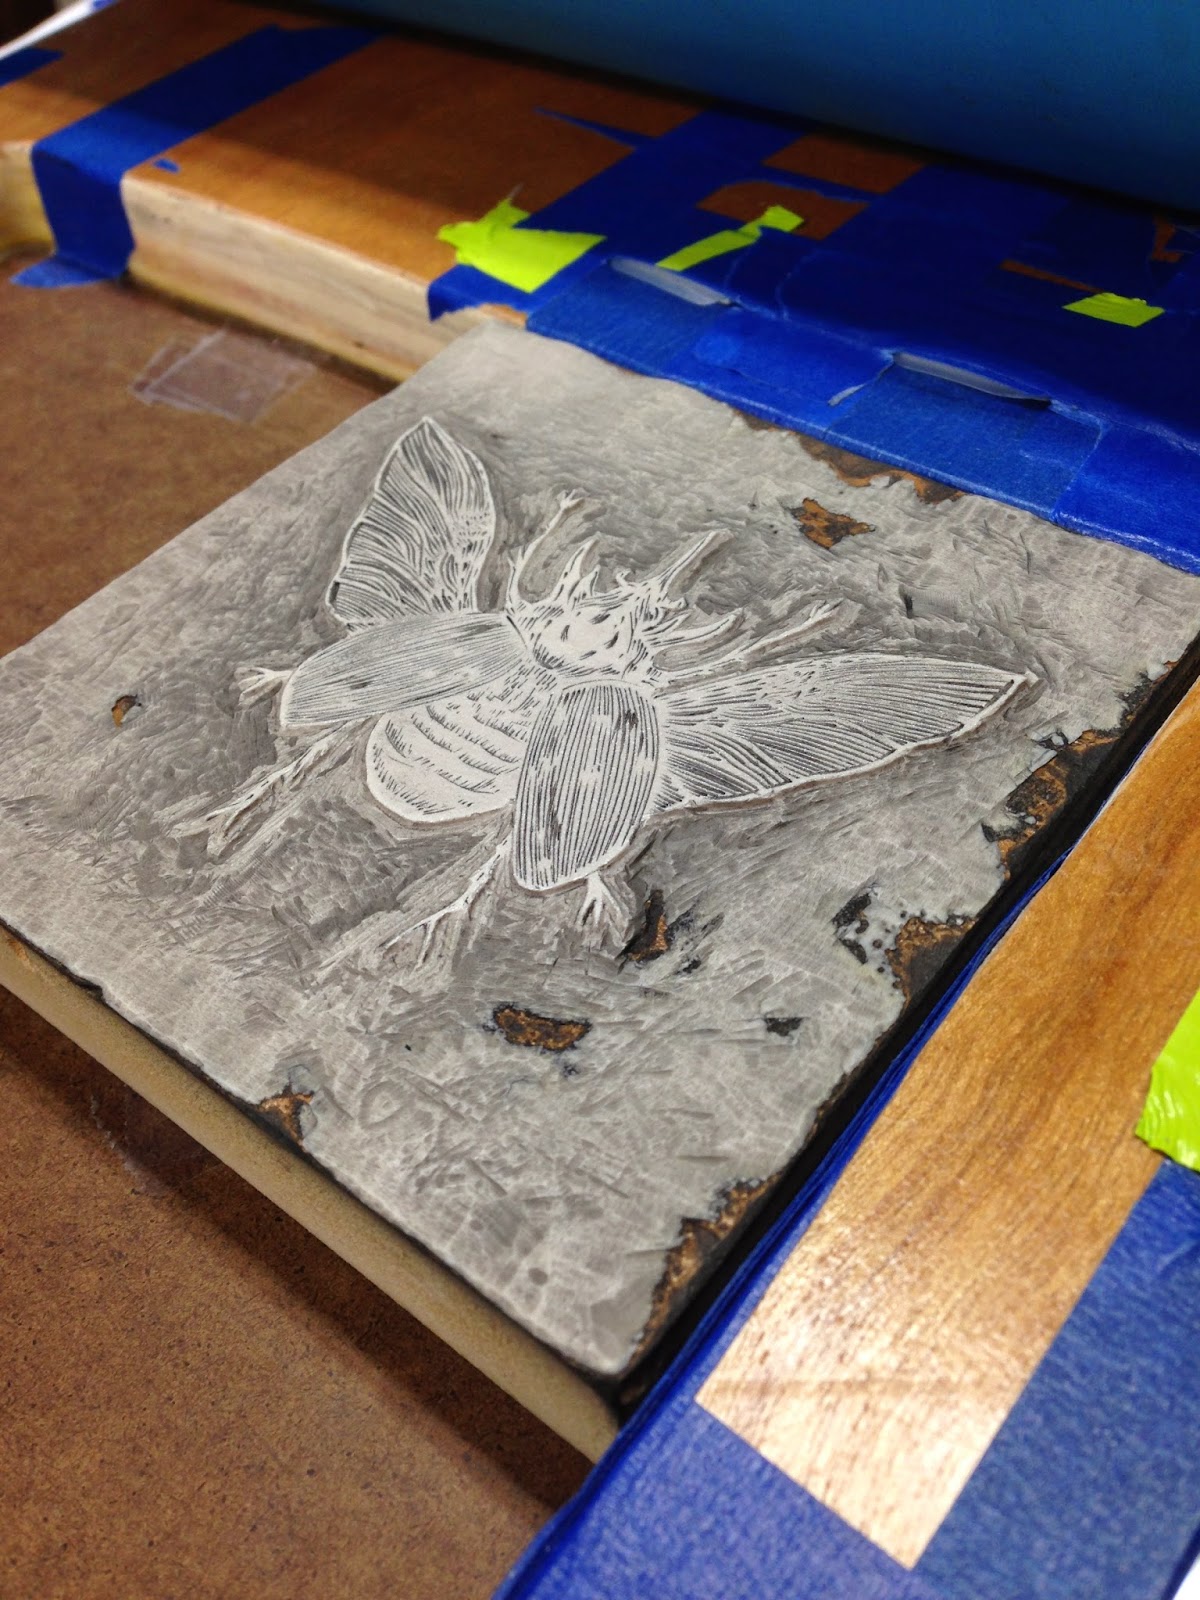
Here's the block about 3 hours into the engraving. I've brought out a lot of the details in the head. The tools in the foreground are a few of the burin engraving tools I use.  The points on the ends of them are razor sharp and very tiny, which allow for these tight details. 

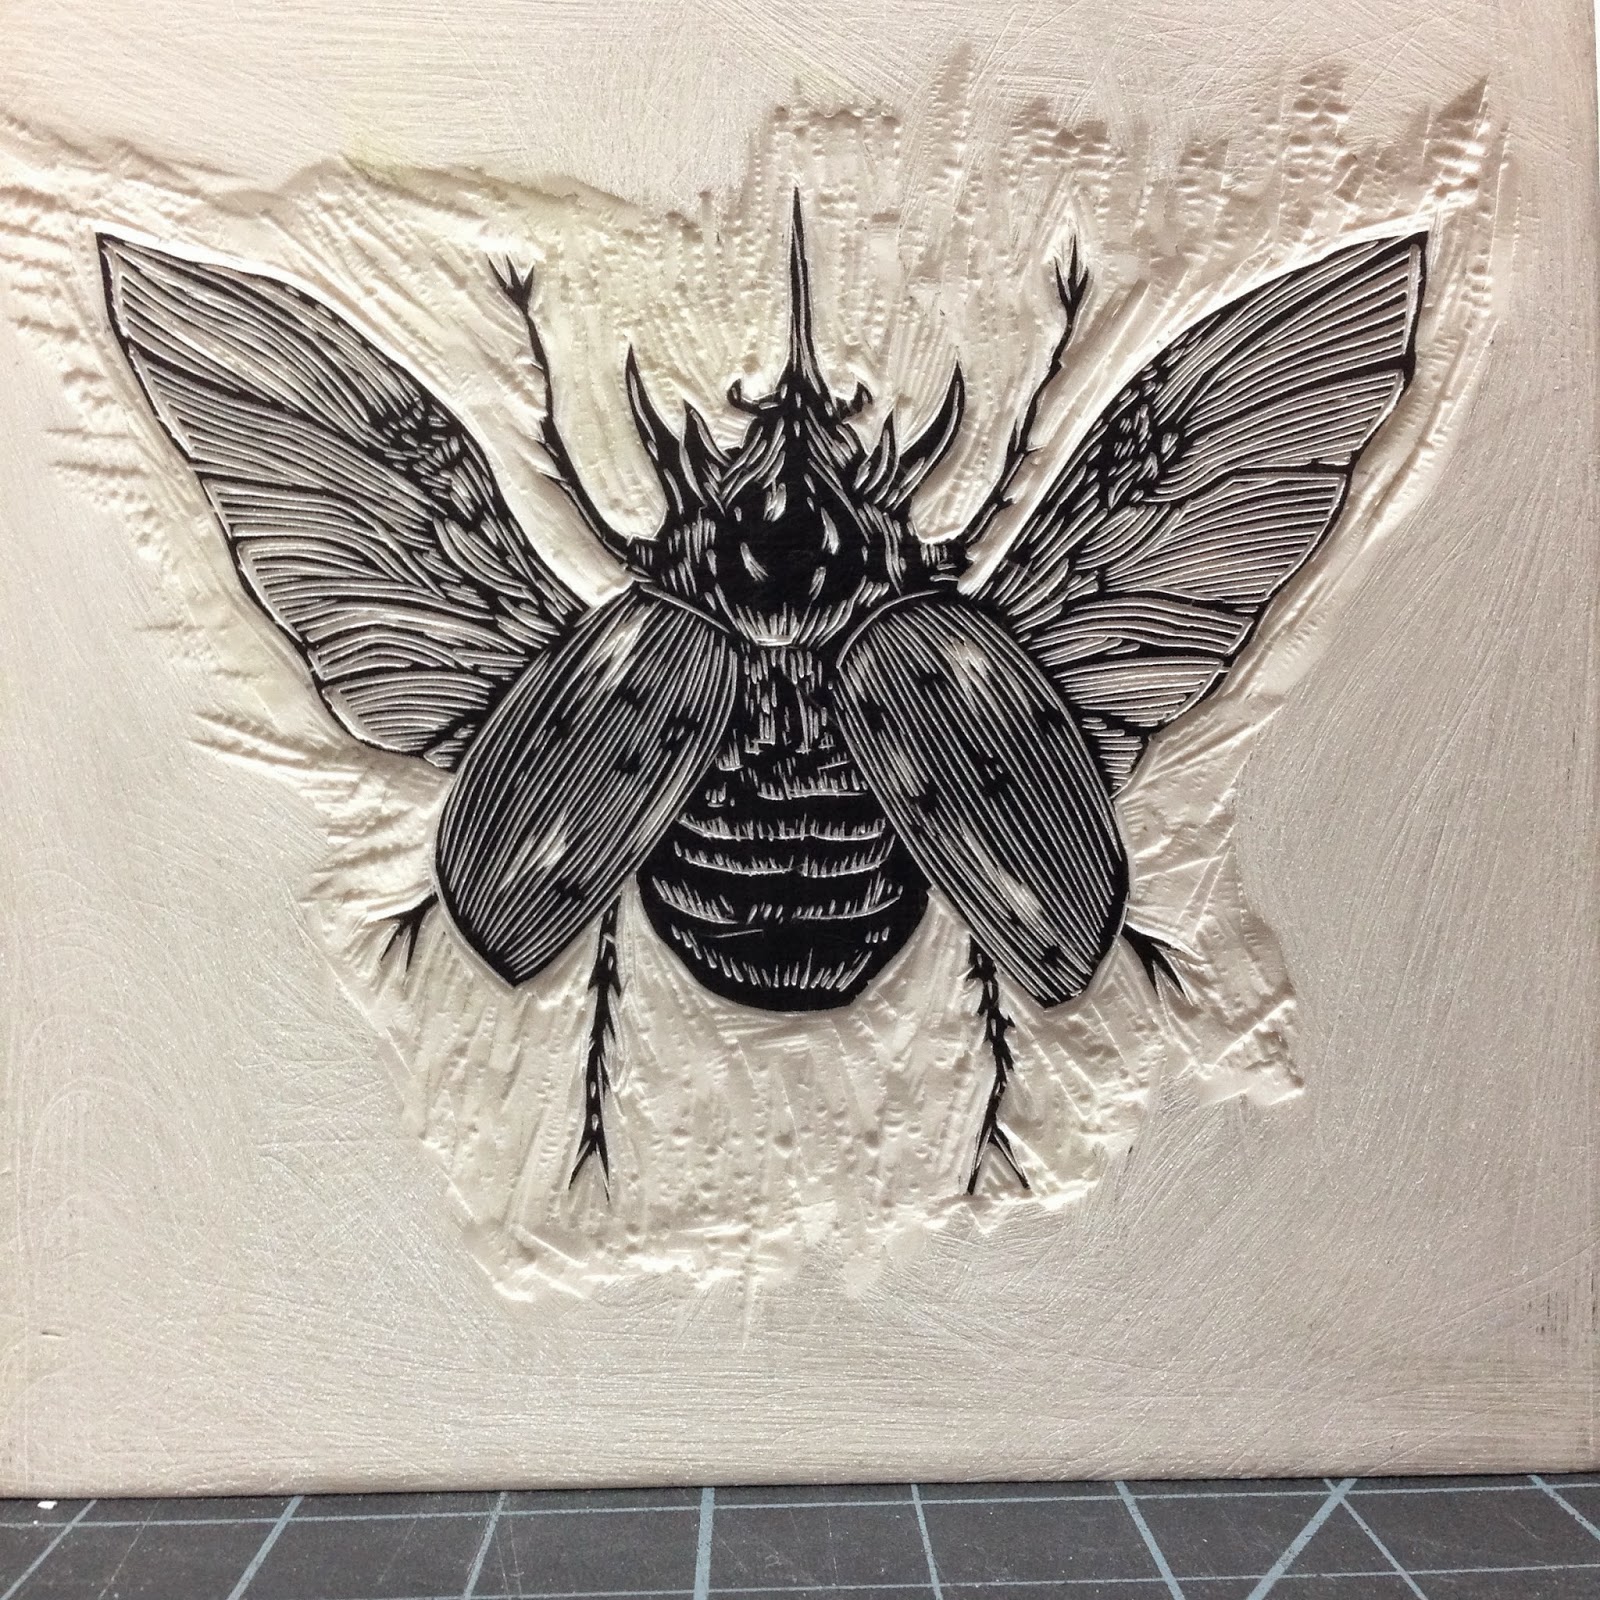
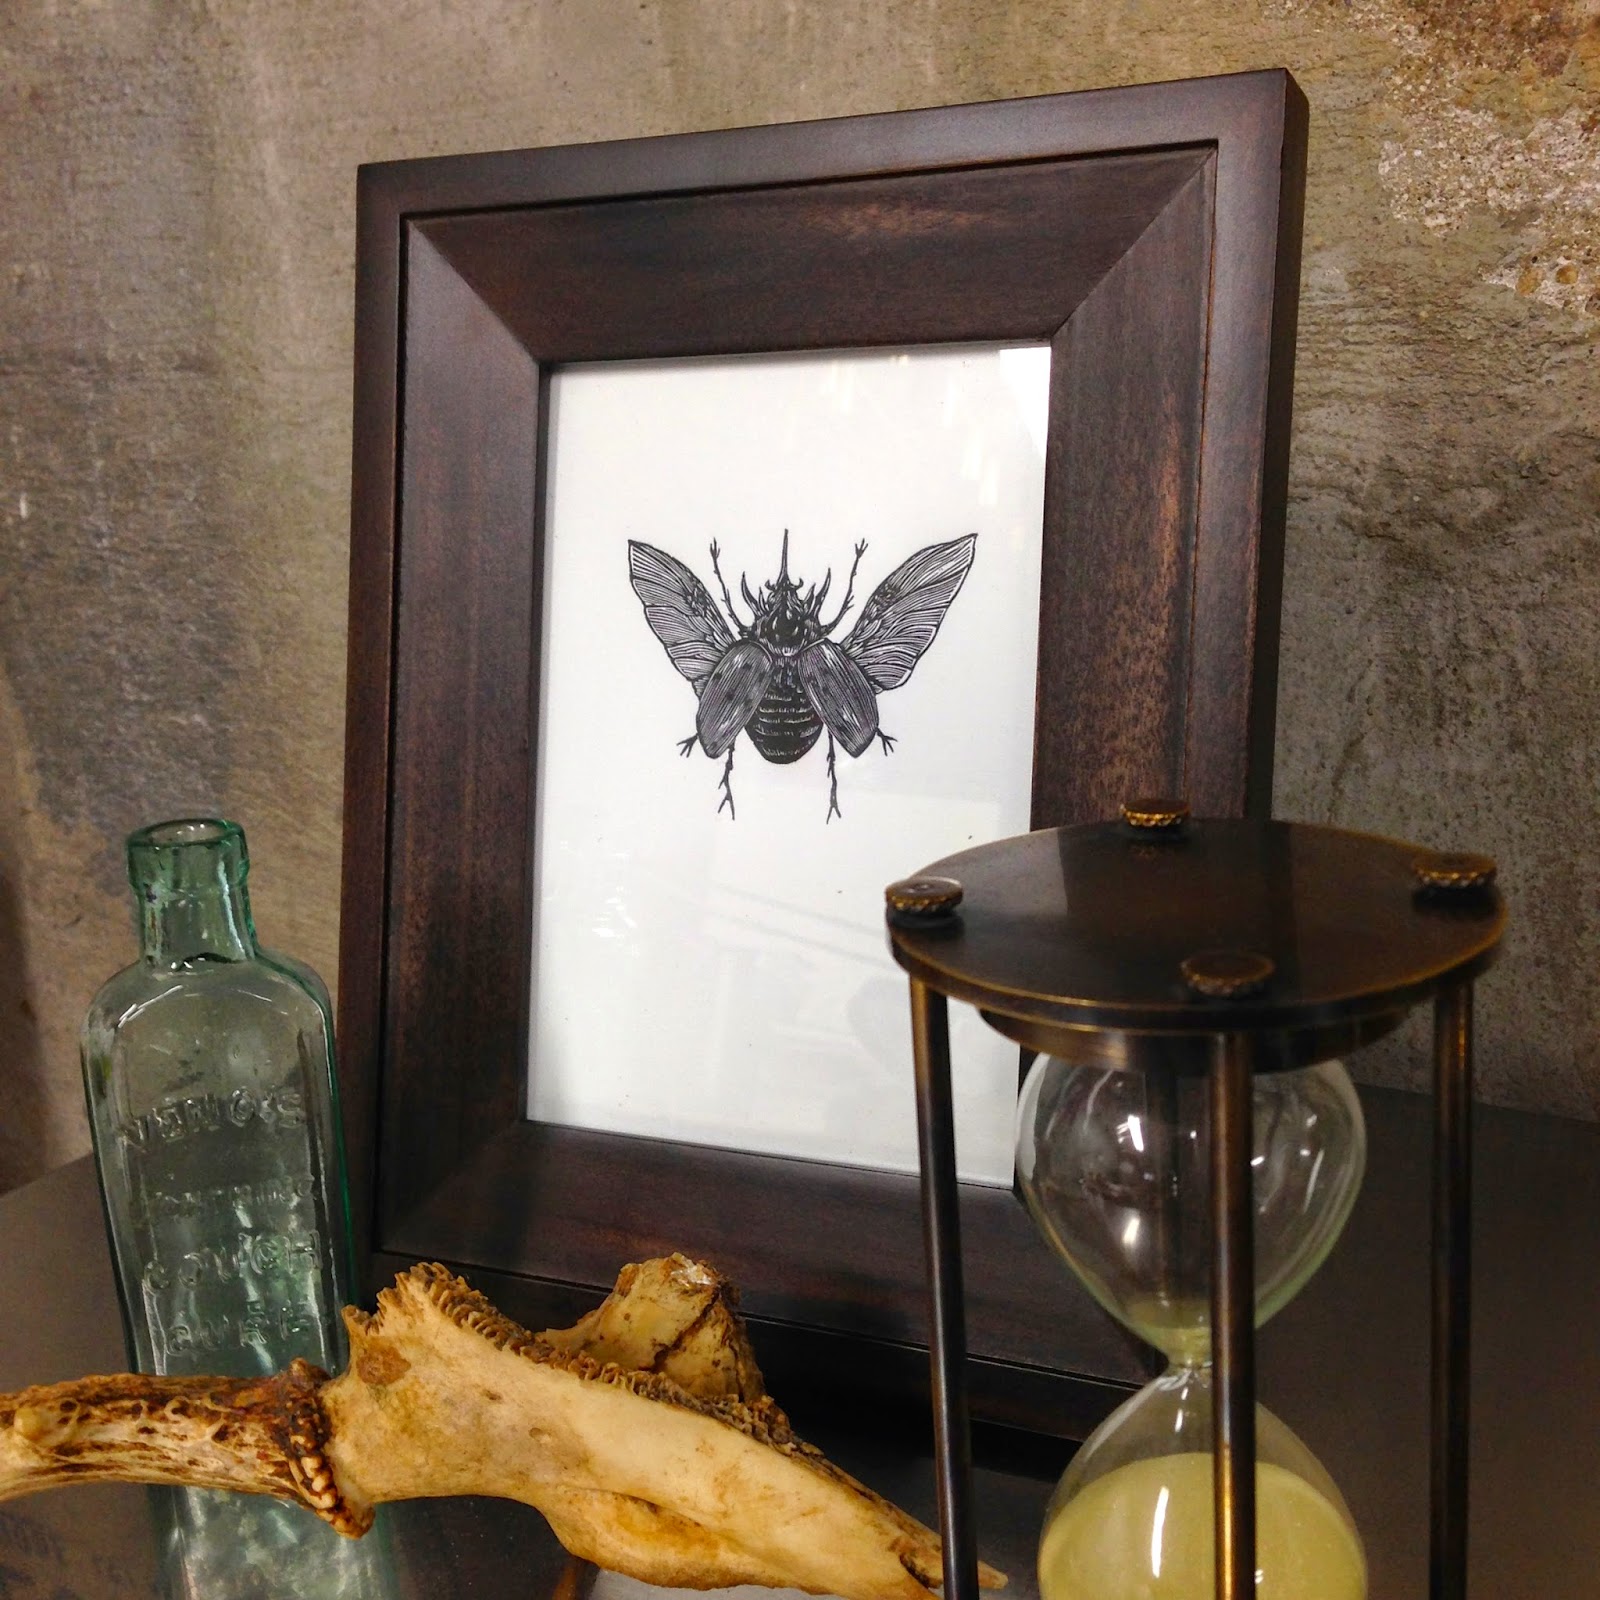
A few more hours in. The body is defined but reads a little flat. I will go back into the lines and widen many of them one at a time to add a little more highlight and make the owl more dimensional. 

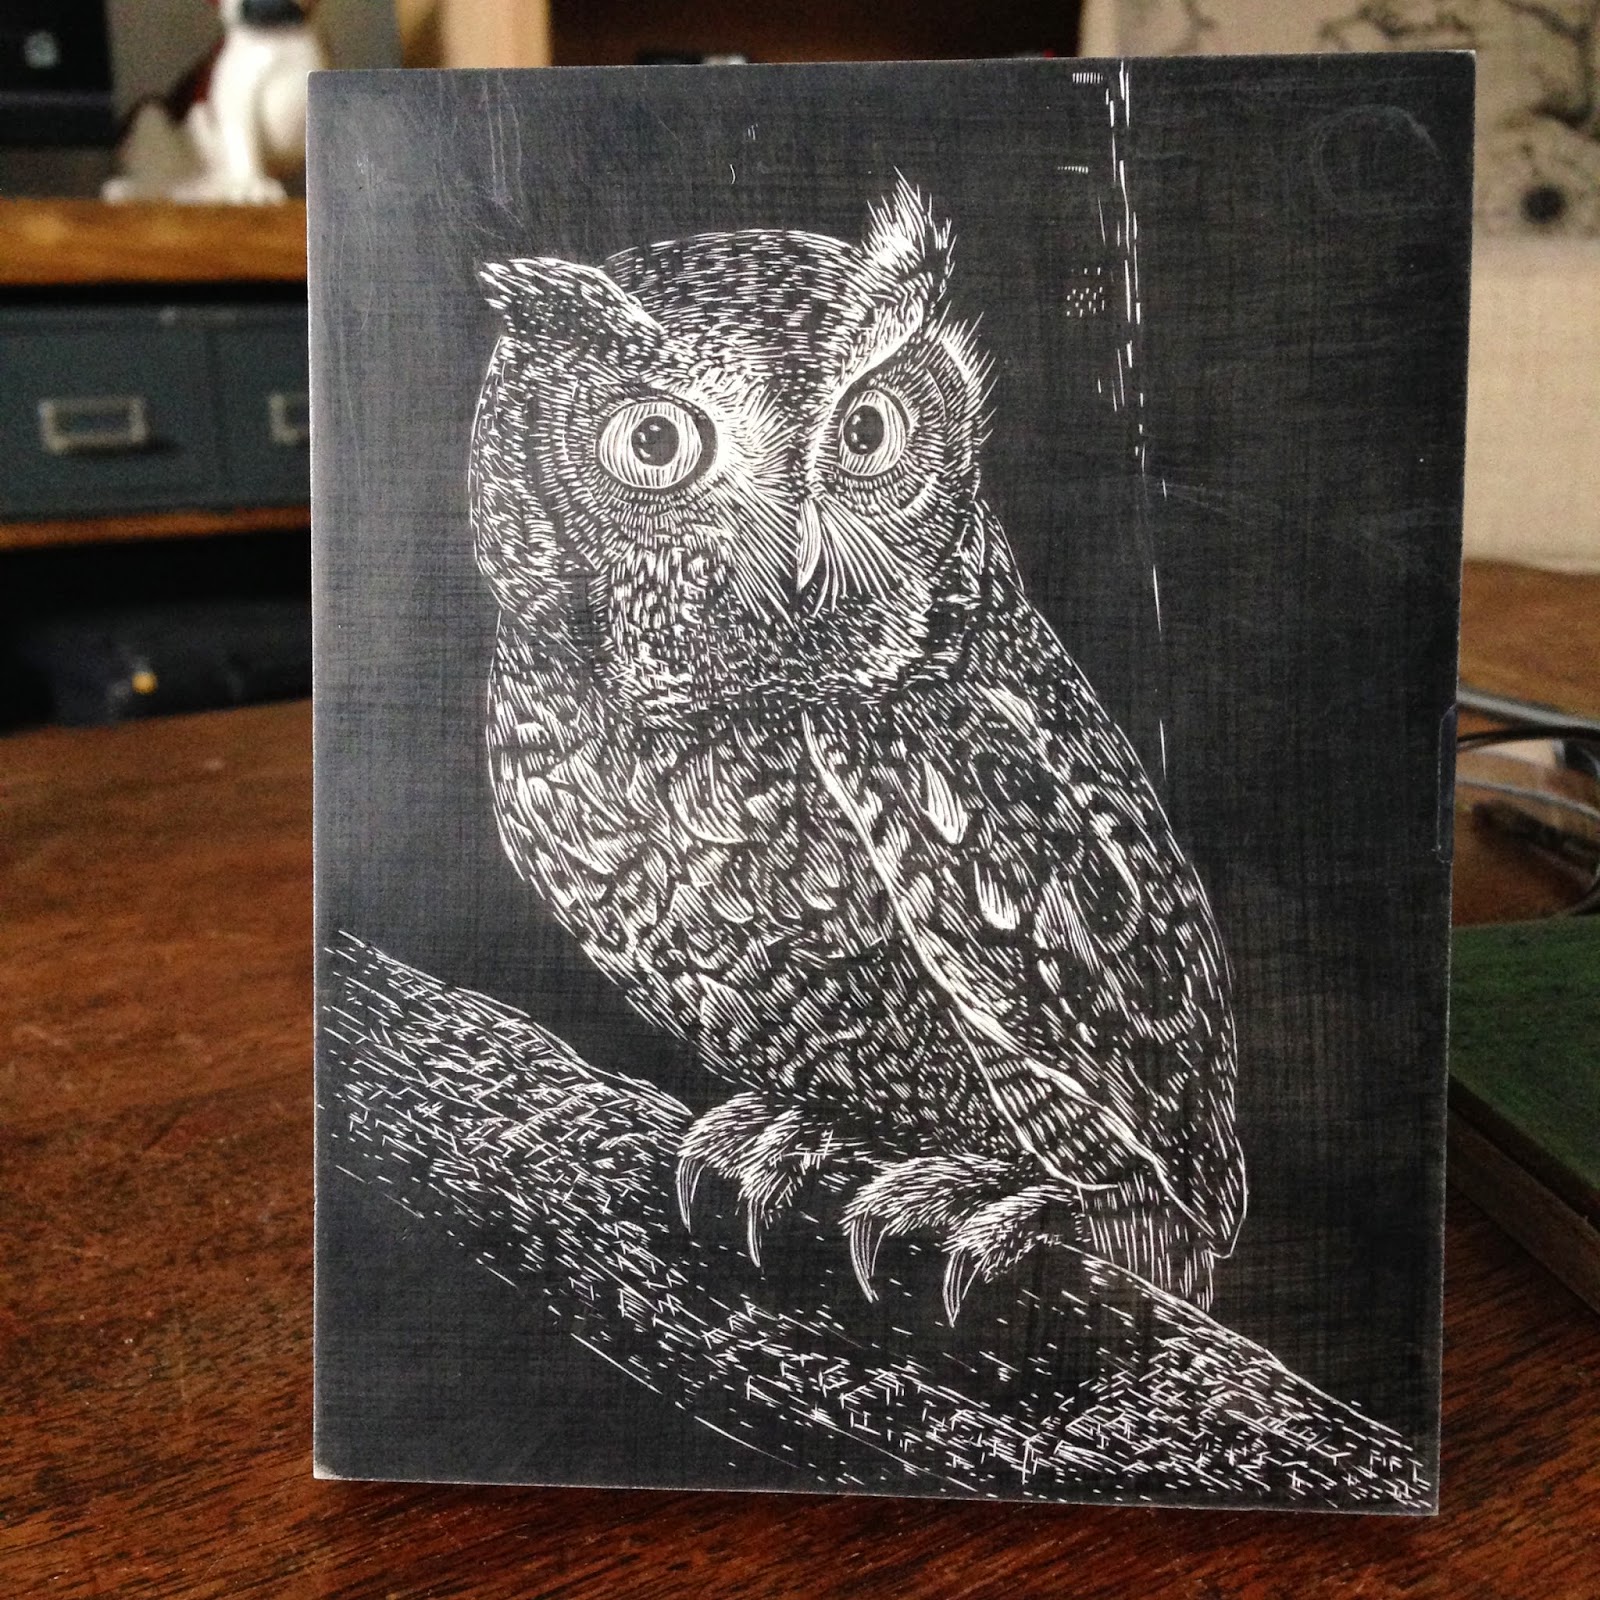
Started on the foreground branch of the tree.

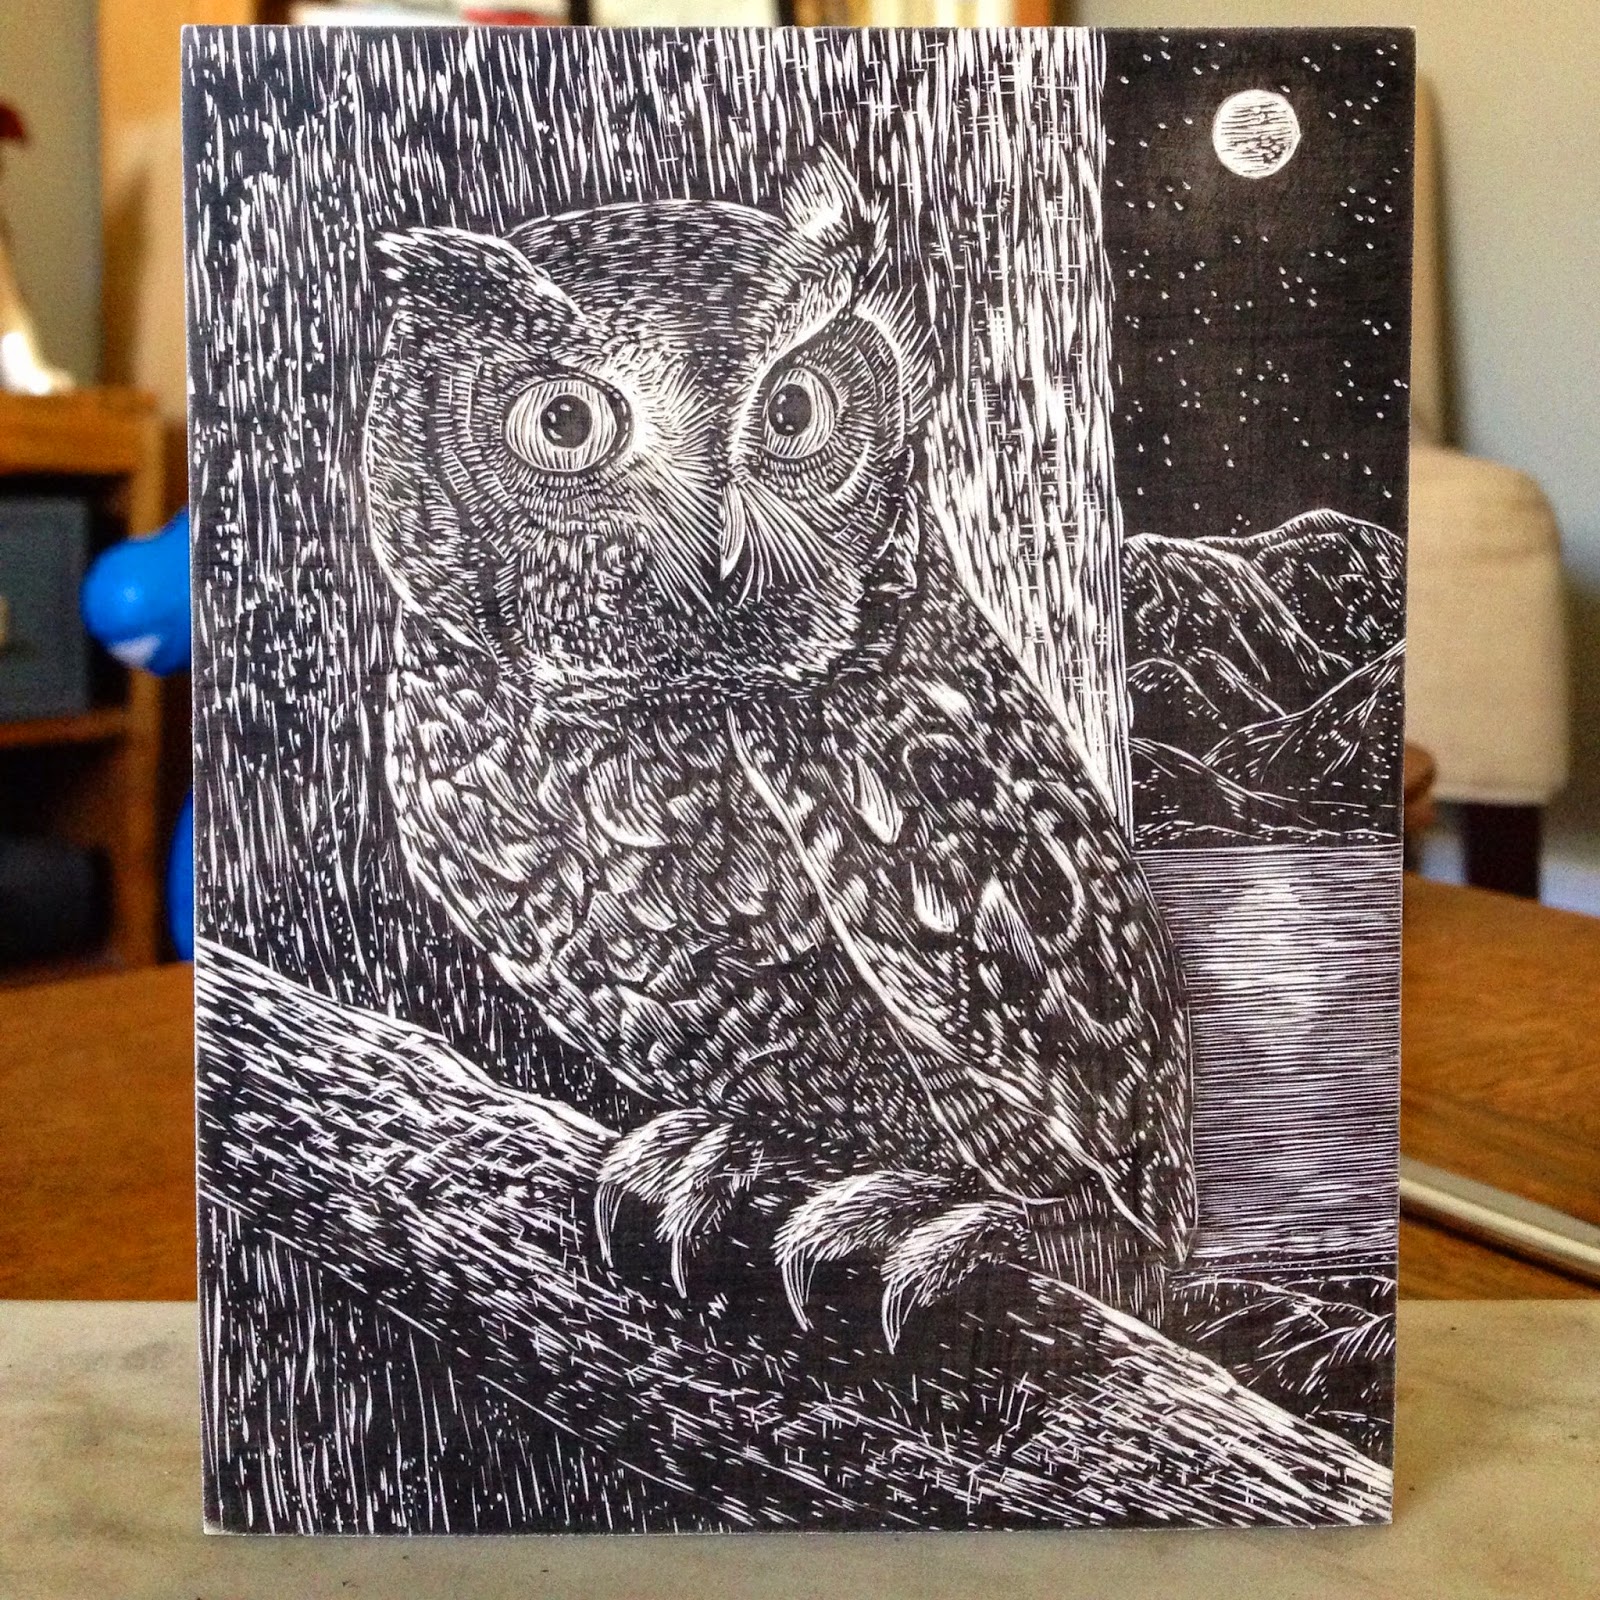
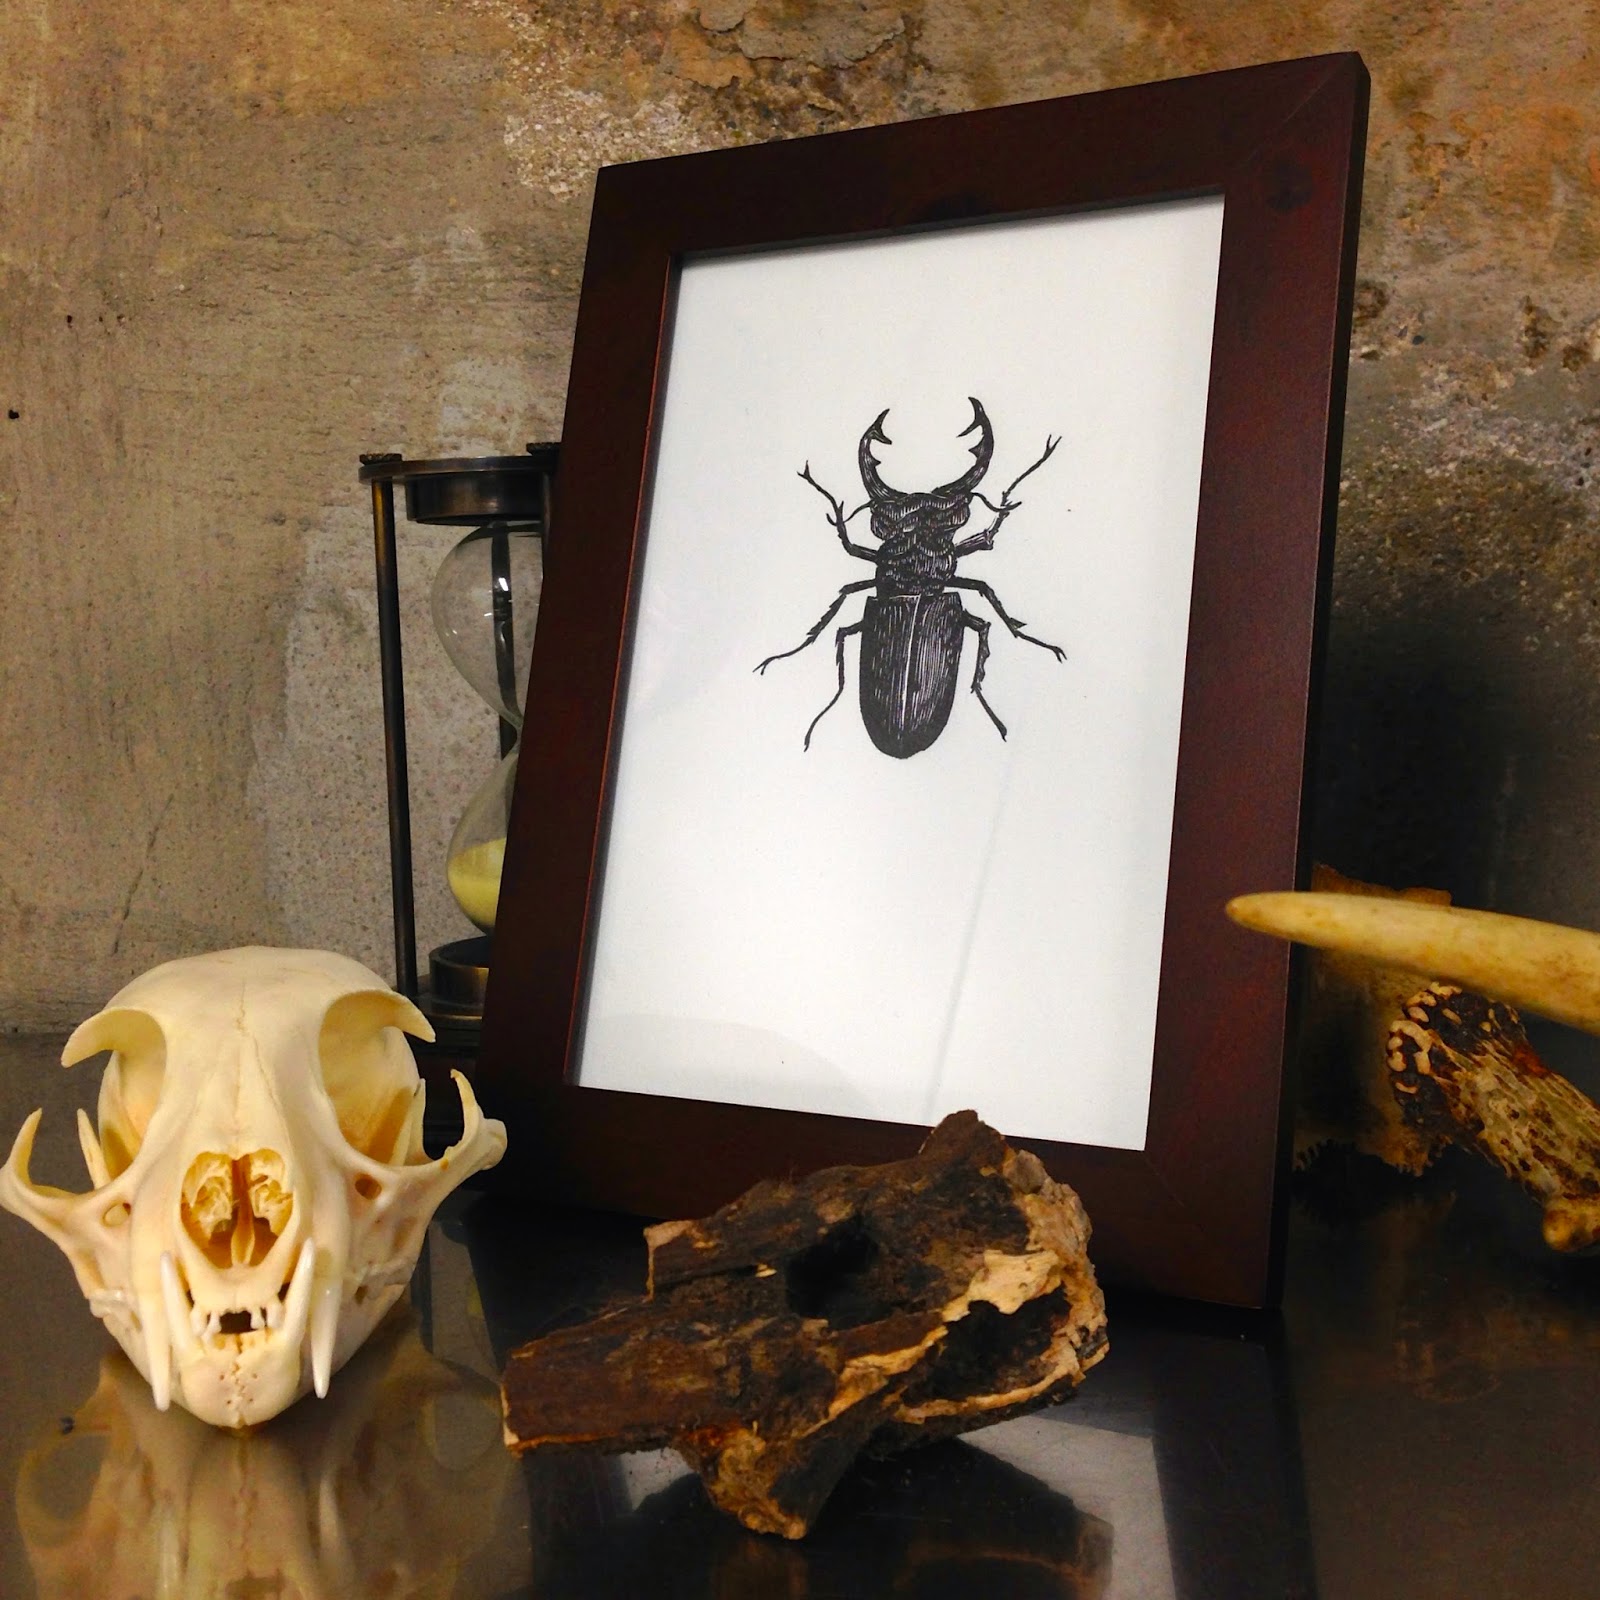
After many hours of engraving the background and making little slight adjustments to the owls feathers we have the finished block! 

I went on to make the corners of the block rounded and then started the printing process. I used our etching press for the printing. The block gets butted up in a wooden jig I've made to help it from shifting as it goes under the roller of the press.
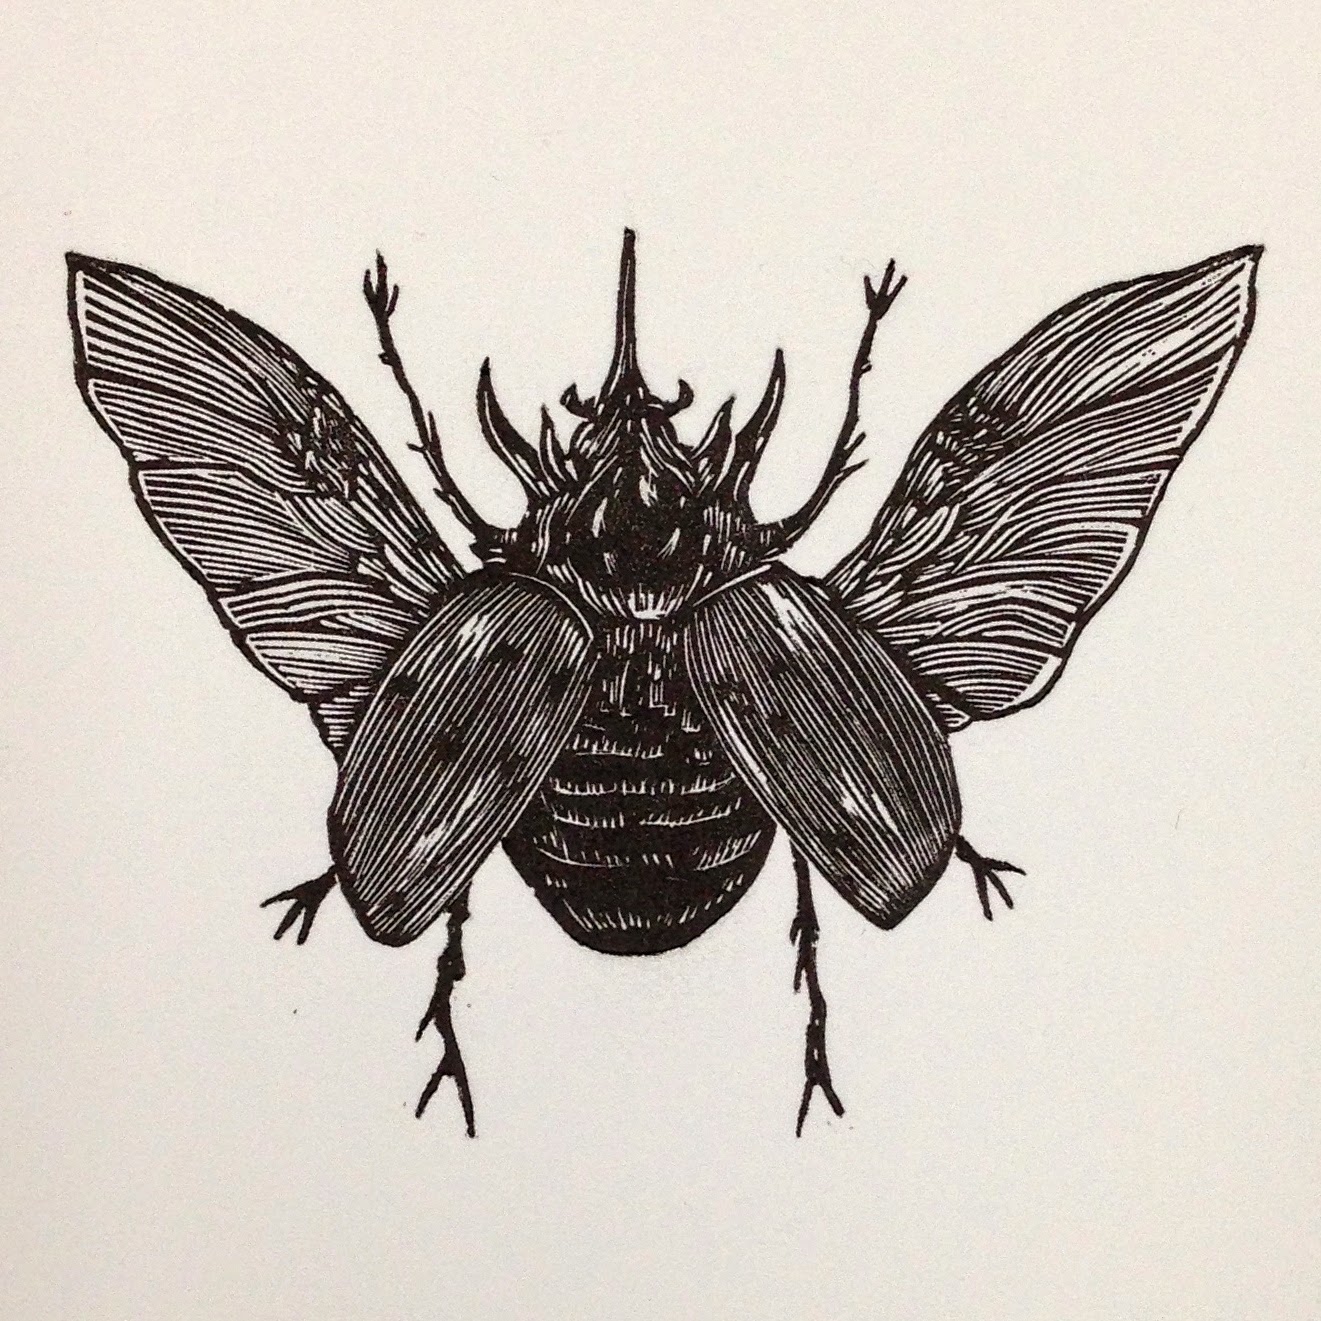
The Big Reveal!

The Big Reveal!

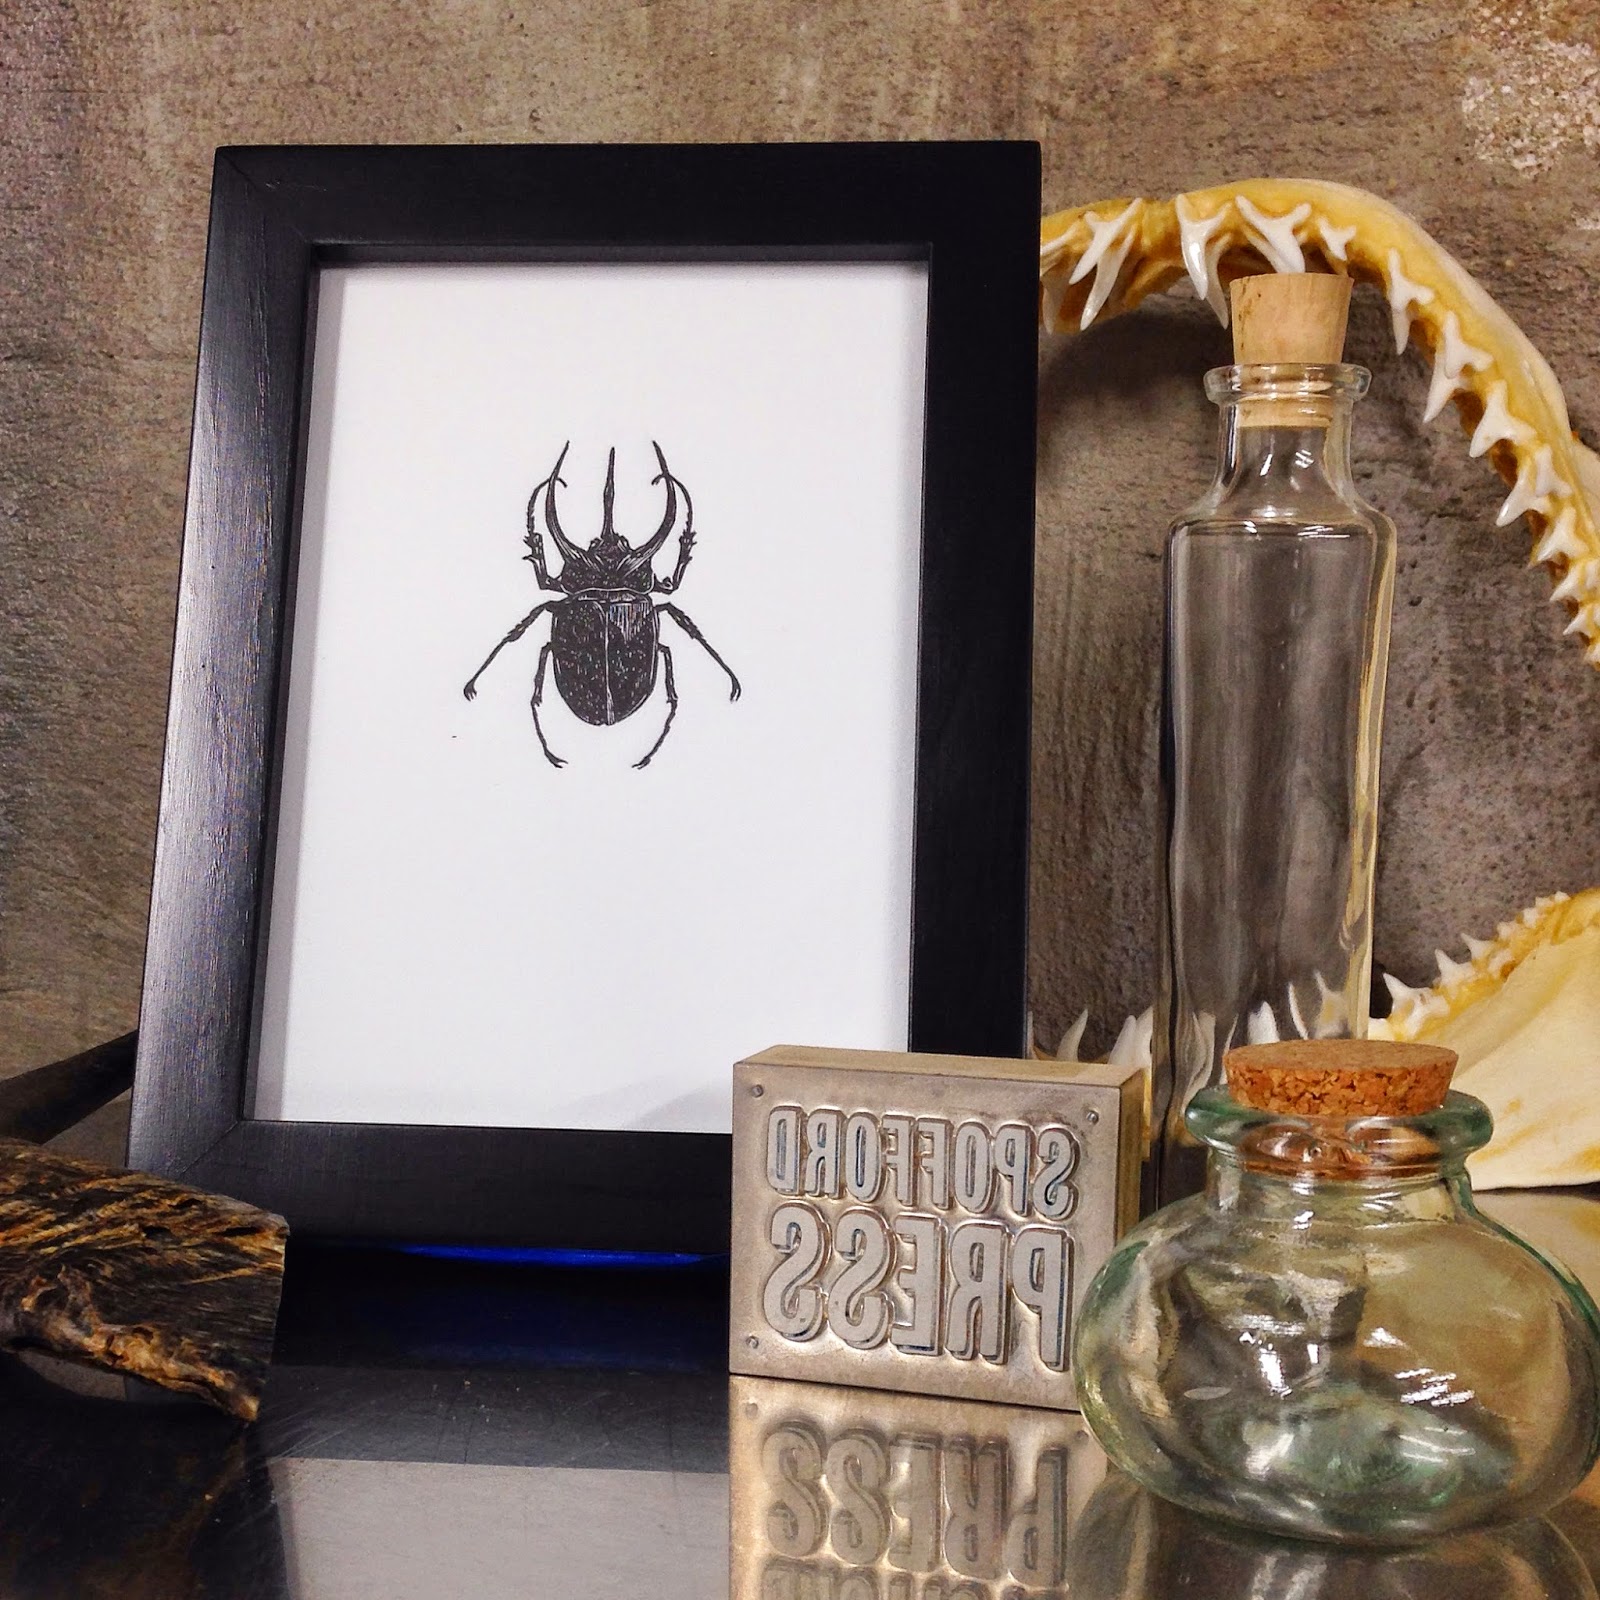
The block is inked in an oil-based black ink and a piece of paper is placed on top. I use Zerkall book weight paper for all of my engravings. It's run through the press and we have a print! 

finalscreechowlprint.jpg

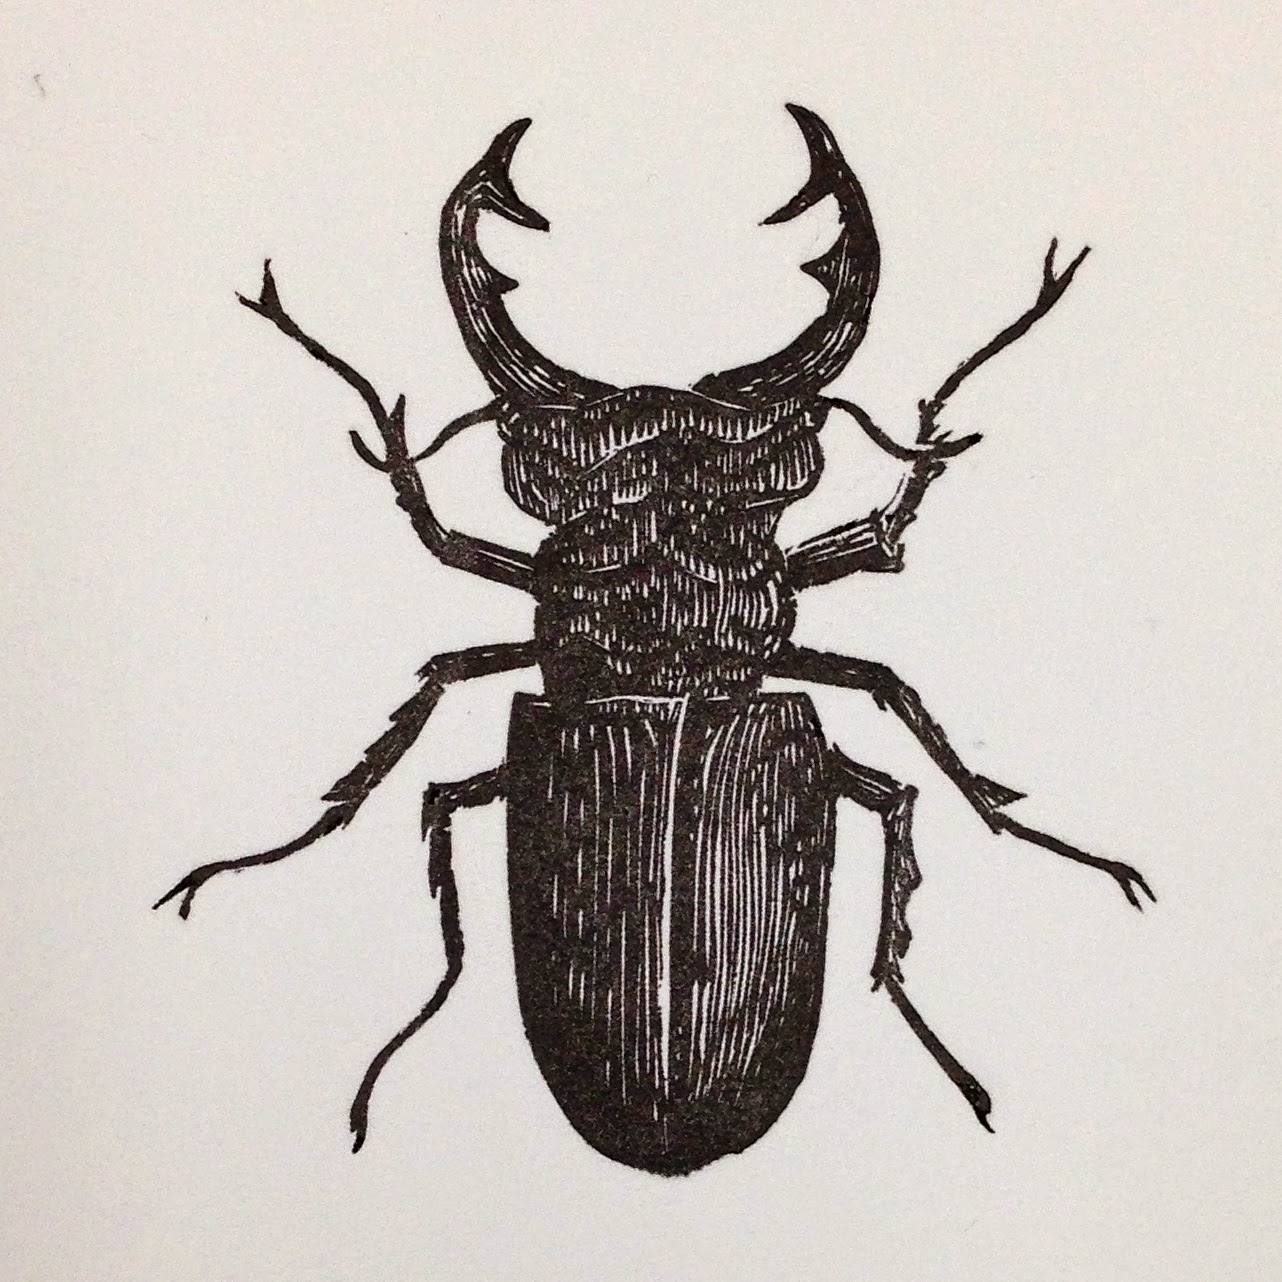
Here is the final print. The Screech Owl is 4x5 inches printed in a 6.5 x 7.5 inch piece of paper. The edition size is 90 prints with 3 Artist Proofs. They are available in our shop!!!  

Letterpress Beetles!

Hundreds of Stag Beetles

I've always liked Stag Beetles and interesting insects. I have a small collection of preserved bug specimens in with my cabinet of curiosities. I decided it would be interesting to make some small engravings based on a few of these specimens. I wanted to work from the exact specimens, flaws and all, and not make the engraved beetles look so perfect and sterile. 


The completed blocks were printed using heavy pressure on a very thick 110lb cotton paper called  Cranes Lettra. The results are these beautiful thick prints that almost have dimension from the impression.

Engraving the "Stag Beetle" block.

Engraving the "Stag Beetle" block.

This is a little flip book video to show the steps that go into engraving a block. The block pictured is the "Atlas Beetle".

This is a little flip book video to show the steps that go into engraving a block. The block pictured is the "Atlas Beetle".

"Atlas" block ready to print. 

"Atlas" block ready to print. 

An early stage of the "Cicada" block.

An early stage of the "Cicada" block.

About 2 hours later...

About 2 hours later...

The actual Cicada is finished. The final step was to clear out all of the remaining area around the insect, allowing for just the cicada to print on the paper.

The actual Cicada is finished. The final step was to clear out all of the remaining area around the insect, allowing for just the cicada to print on the paper.

The drawing of the "Rhinoceros Beetle" on a block of Resingrave. 

The drawing of the "Rhinoceros Beetle" on a block of Resingrave. 

The "Rhinoceros Beetle" coming along nicely.

The "Rhinoceros Beetle" coming along nicely.

The "Rhinoceros Beetle" block before carving away all of the area around the insect.

The "Rhinoceros Beetle" block before carving away all of the area around the insect.

Here is a picture of the "Stag Beetle" block on press during the printing session. The small piece of blue tape was used because the edge of this block was a little sharp and was making a crease line in the paper when printed due to the amount of pressure used. The tape was just enough to smooth out this edge and not leave a dent in the finished print.

Inking him up

Inking him up

Paper with the Make-Ready

Paper with the Make-Ready

 This is a picture of the "make-ready" used on the "Stag Beetle". The inked block is placed into the press, the Cranes paper placed on top of it, and lastly this odd shaped additional piece of paper. 

This extra sheet helps make the block print evenly. In this block, for example, the beetle's legs were printing perfectly, nice and crisp without the ink filling in the lines, but the body of the beetle needed a bit more pressure to get a deeper impression and a darker print.  So the section of the block where the body of the insect is under the paper gets this extra layer of paper to add more pressure. 


Inked beetle on press.

Inked beetle on press.

Ahh the best part... The big reveal!

Ahh the best part... The big reveal!

All 4 insect blocks were printed in an edition of 100, so the whole shop was covered in 400 drying bug prints for a few days.

A look at the back of the print. DEEP impression.

A look at the back of the print. DEEP impression.

The "Rhinoceros Beetle" block cleaned off after its print run. Because these blocks were printed with such a tremendous amount of pressure, the entire area around the beetle had to be carved and sanded down to almost the bare wood of the block. Leaving any little bumps in that large section would make a bump or a dent in the paper while printing. 

Invasion

Invasion

Taking advantage of out Slinky drying rack, which is the greatest thing ever.

Taking advantage of out Slinky drying rack, which is the greatest thing ever.

 Need a drying rack that holds 70 cards or prints? For about $5? Take a Slinky, stretch it out over a piece of 2x4 and staple it down. TADA!!!! 

Final print of the Cicada.

Final print of the Cicada.

Final print of the Rhinoceros Beetle.

Final print of the Rhinoceros Beetle.

Final print of the Stag Beetle.

Final print of the Stag Beetle.

Final print of the Atlas Beetle.

Final print of the Atlas Beetle.

All framed up! The paper is exactly 5x7 inches which makes for very easy framing! 

All framed up! The paper is exactly 5x7 inches which makes for very easy framing! 

I started this project in August and worked on engraving the blocks between other projects. We just printed and finished the editioning this past week, and they are available in our shop separately as well as in sets!